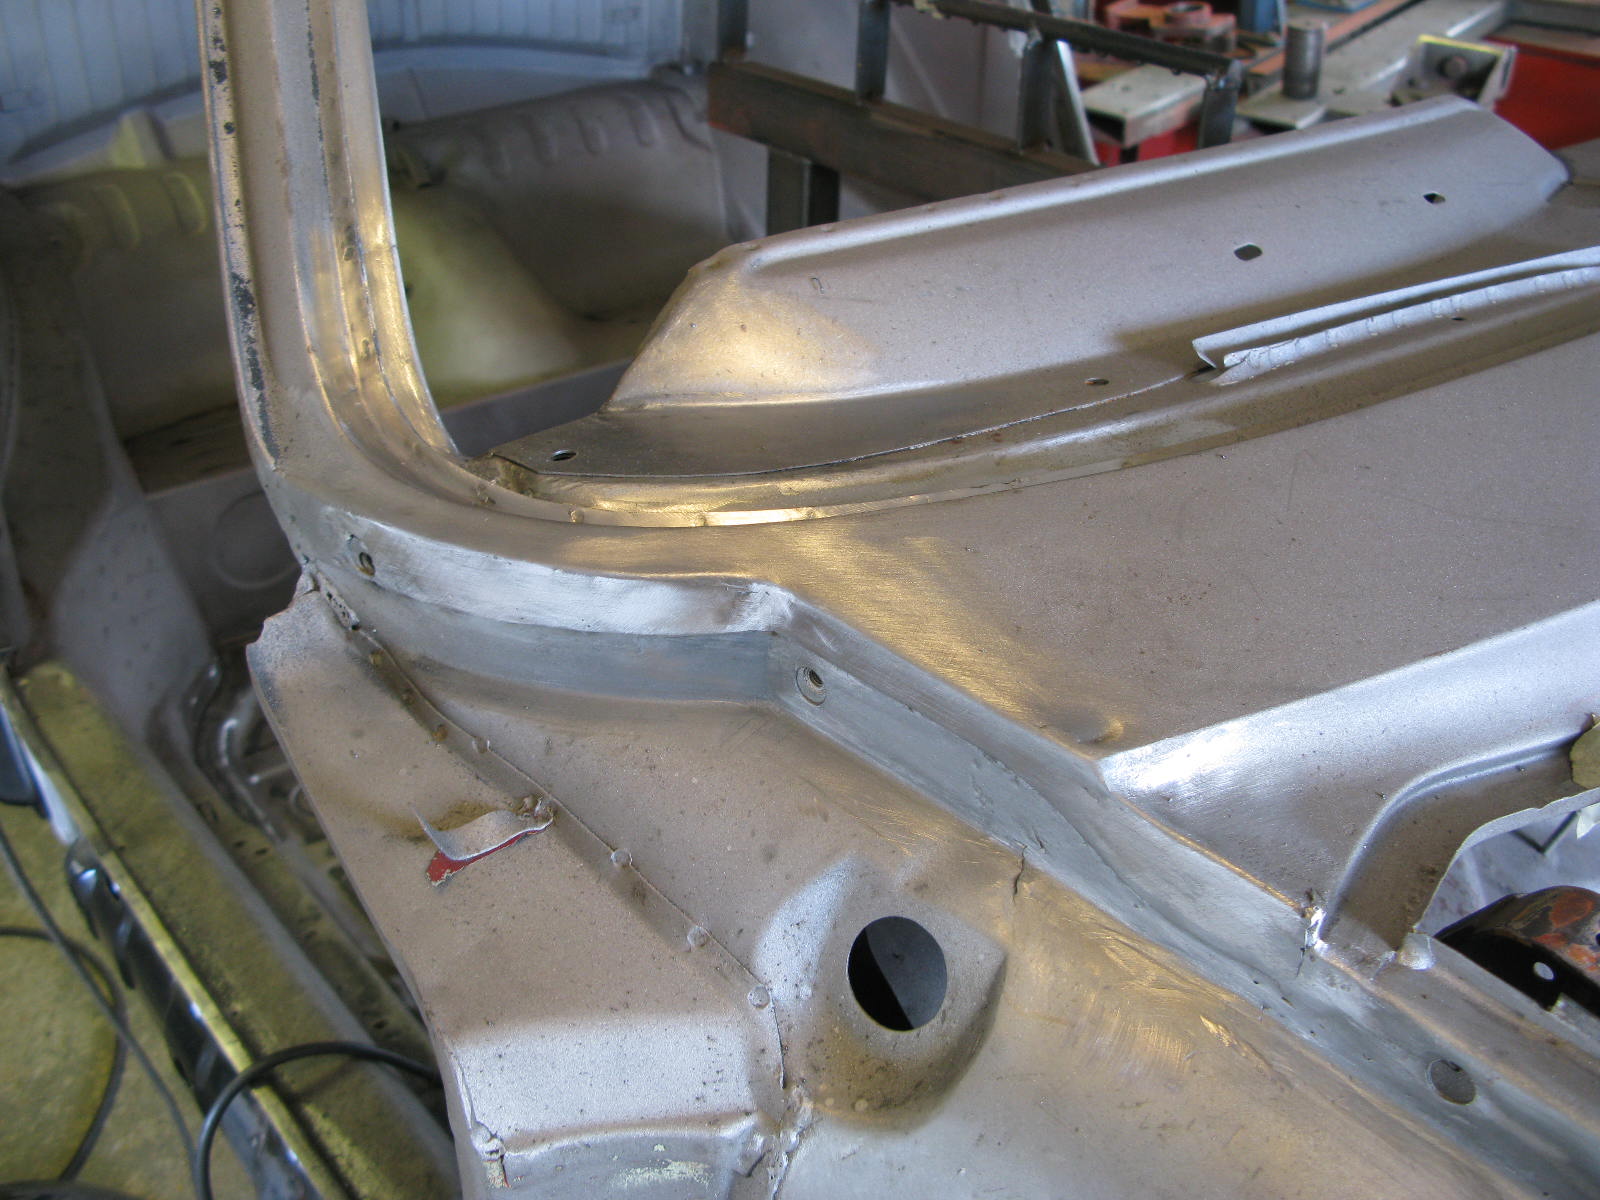
The underside is now finished, including ARB mountings and other finishing touches.


Because I chose blasting (not dipping or envirostrip), and because I asked them not to go crazy trying to blast away stuff that didn't want to shift, there were a few detail areas still having old underseal and sound deadening in place. For example in the engine bay, footwells and up behind the torque tube:

Those areas were stripped by hand. Barry's hand, not my hand. I had intended to do it myself but, strangely, never quite got around to it. Equally strangely I don't regret handing it over to a rather overqualified operator of the drill with wire brush attachment.
I know some people have used dry ice to get the sound deadening off - make it very brittle then hit it with a hammer. Like the banana in liquid nitrogen + hammer in the Big Bang Theory ("I couldn't find a knife"). I should have done that, it would have been fun. Will try to do some dry ice blasting in due course. BTW it really is true that you can buy dry ice in supermarkets in the US.
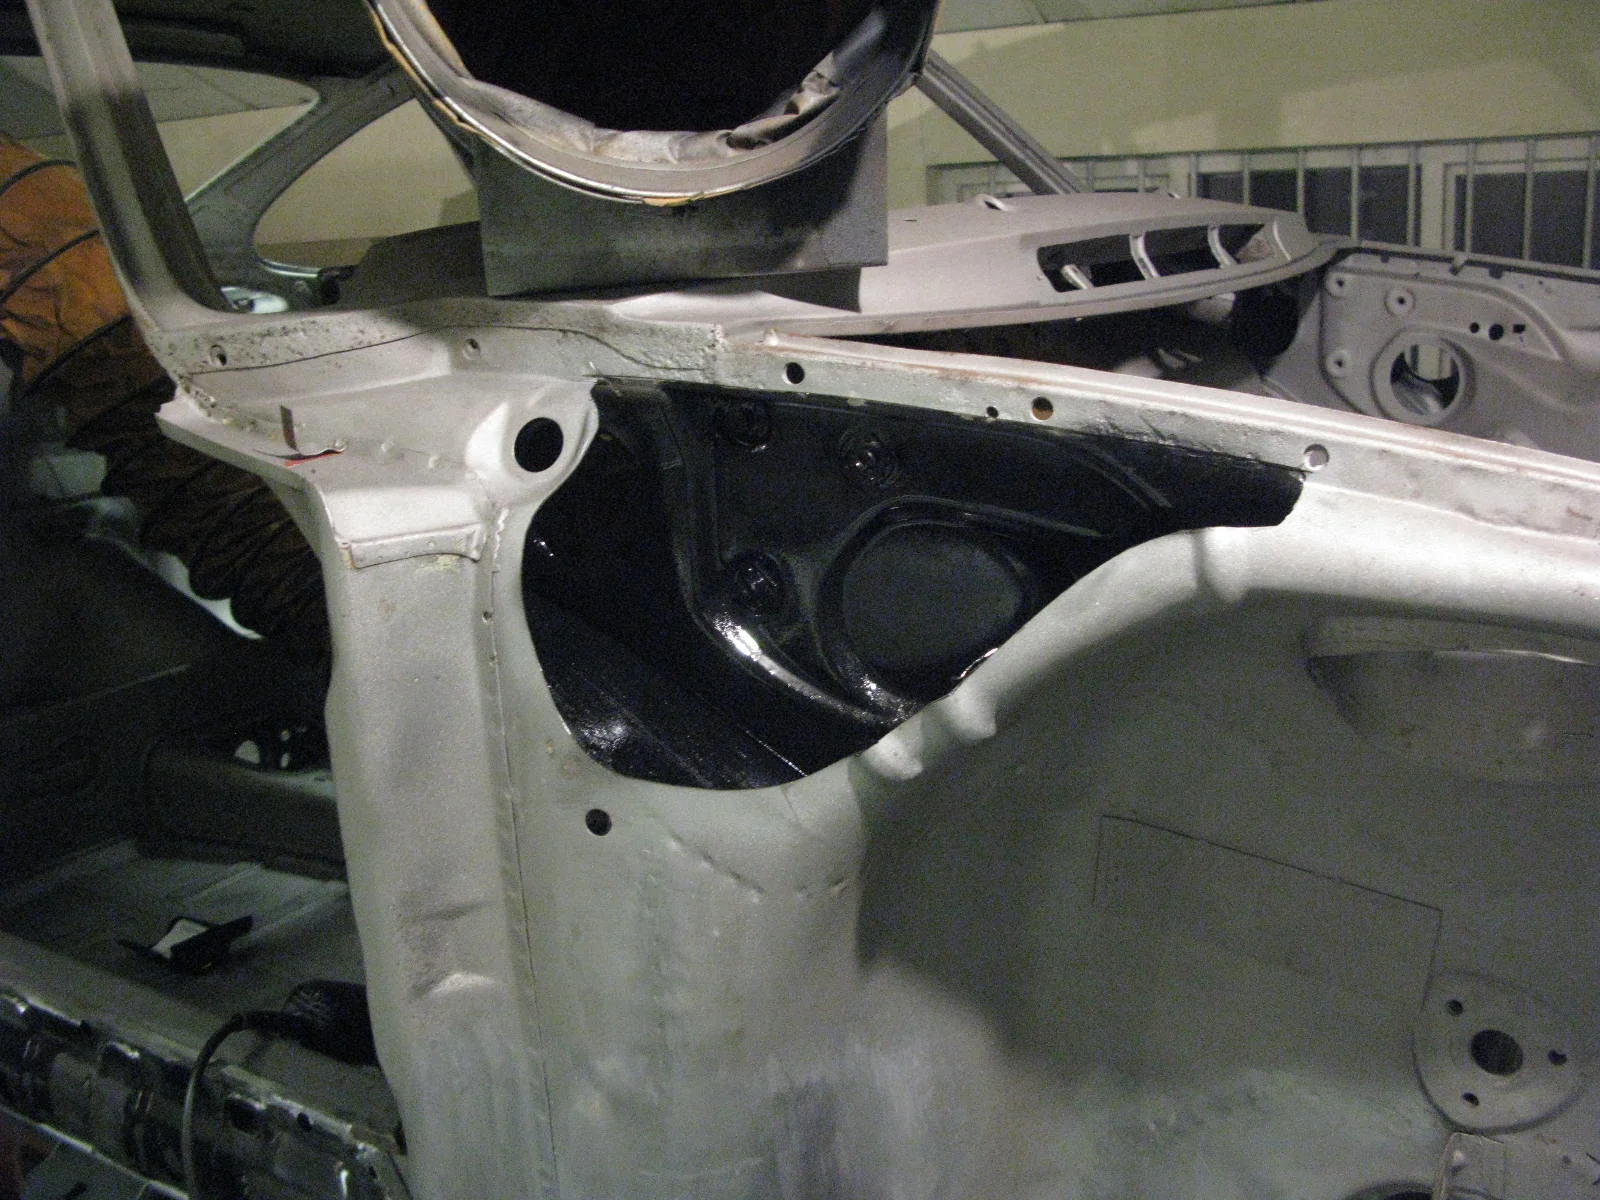
Anyway it all looked much nicer afterwards:


As I mentioned previously, I declined with thanks the blasters' offer to do the roof. Having seen various blasting mishaps on here it seemed more prudent to do it by hand.
Good news here, Barry says the roof is "perfect".


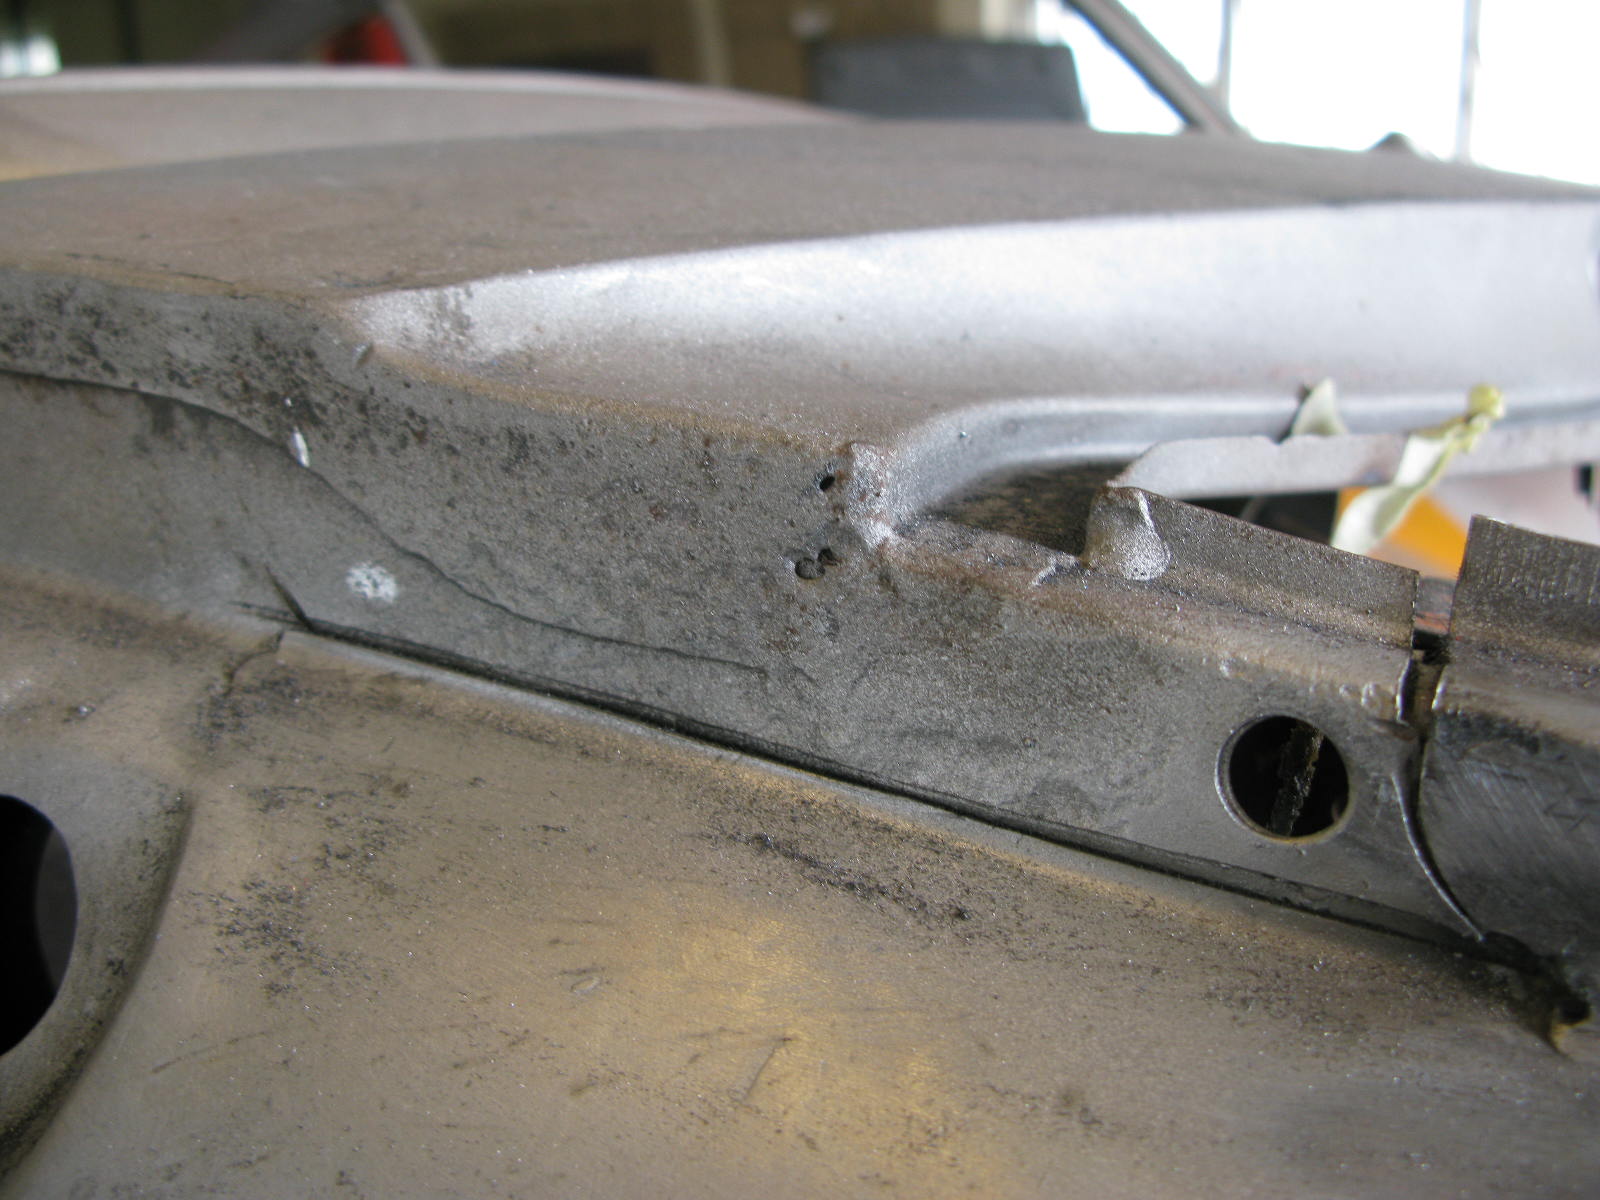
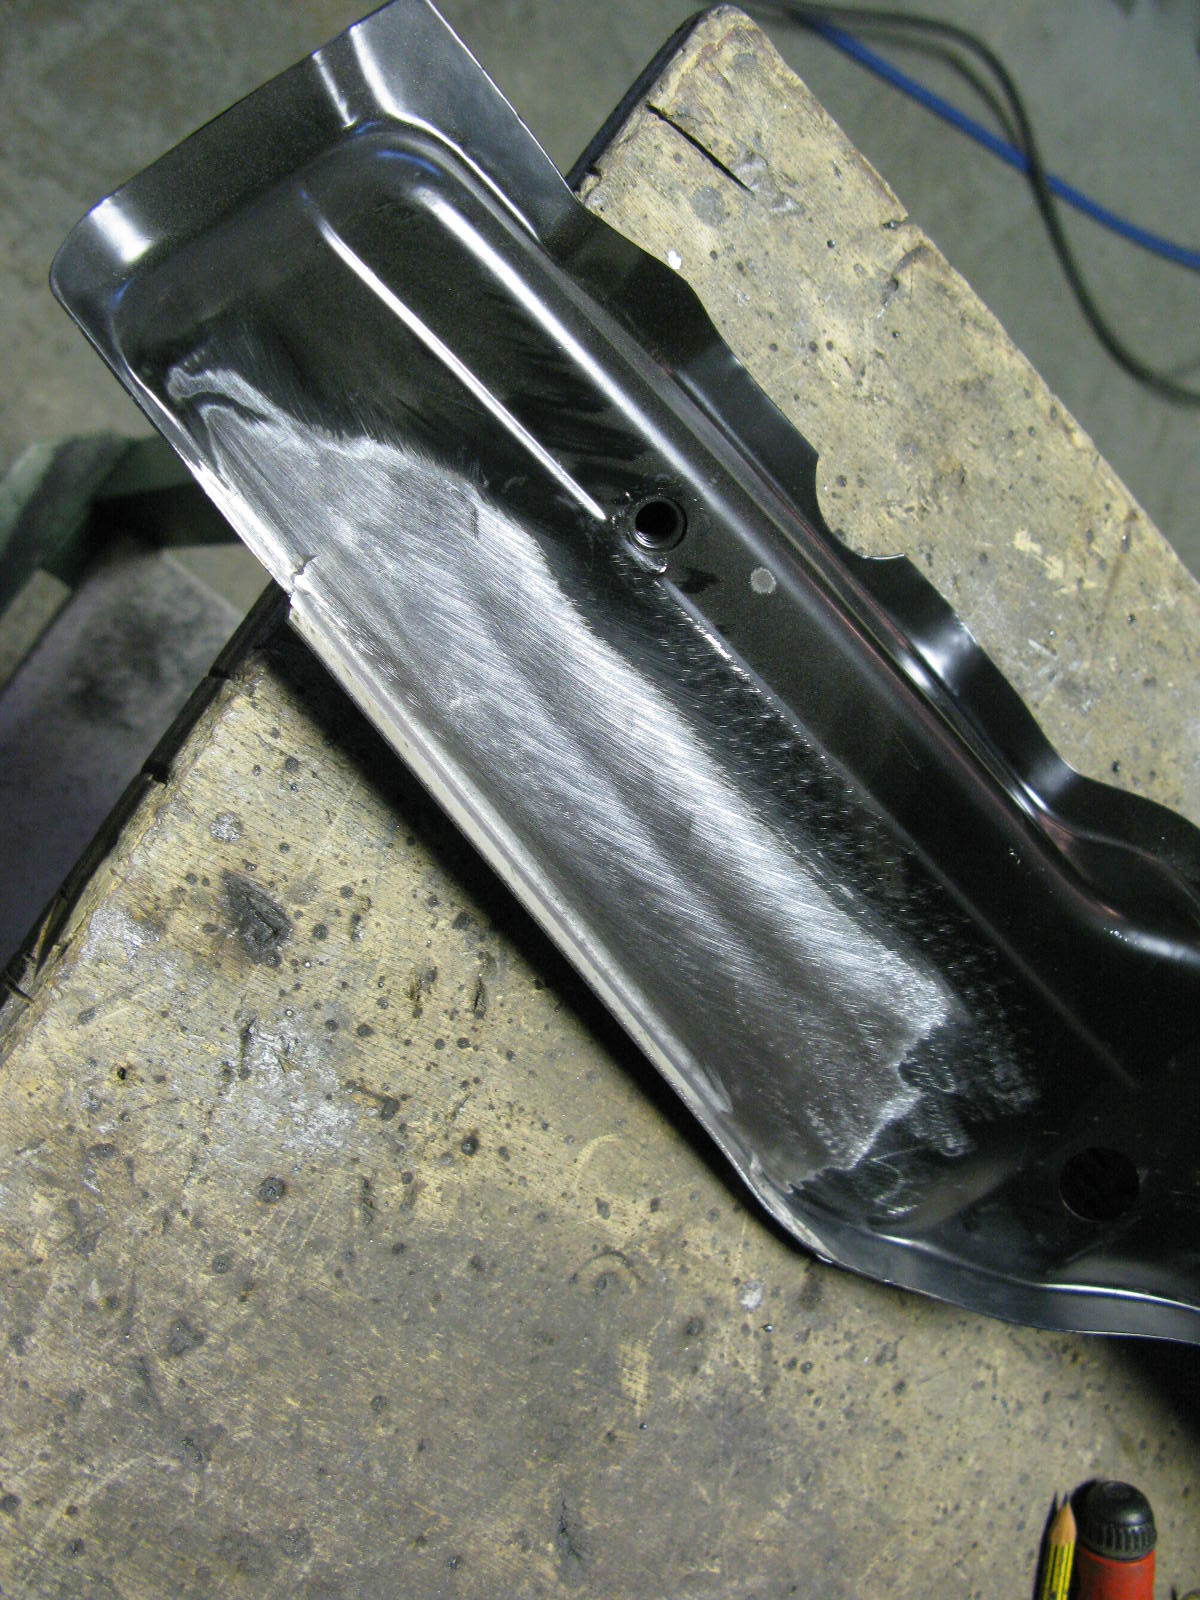
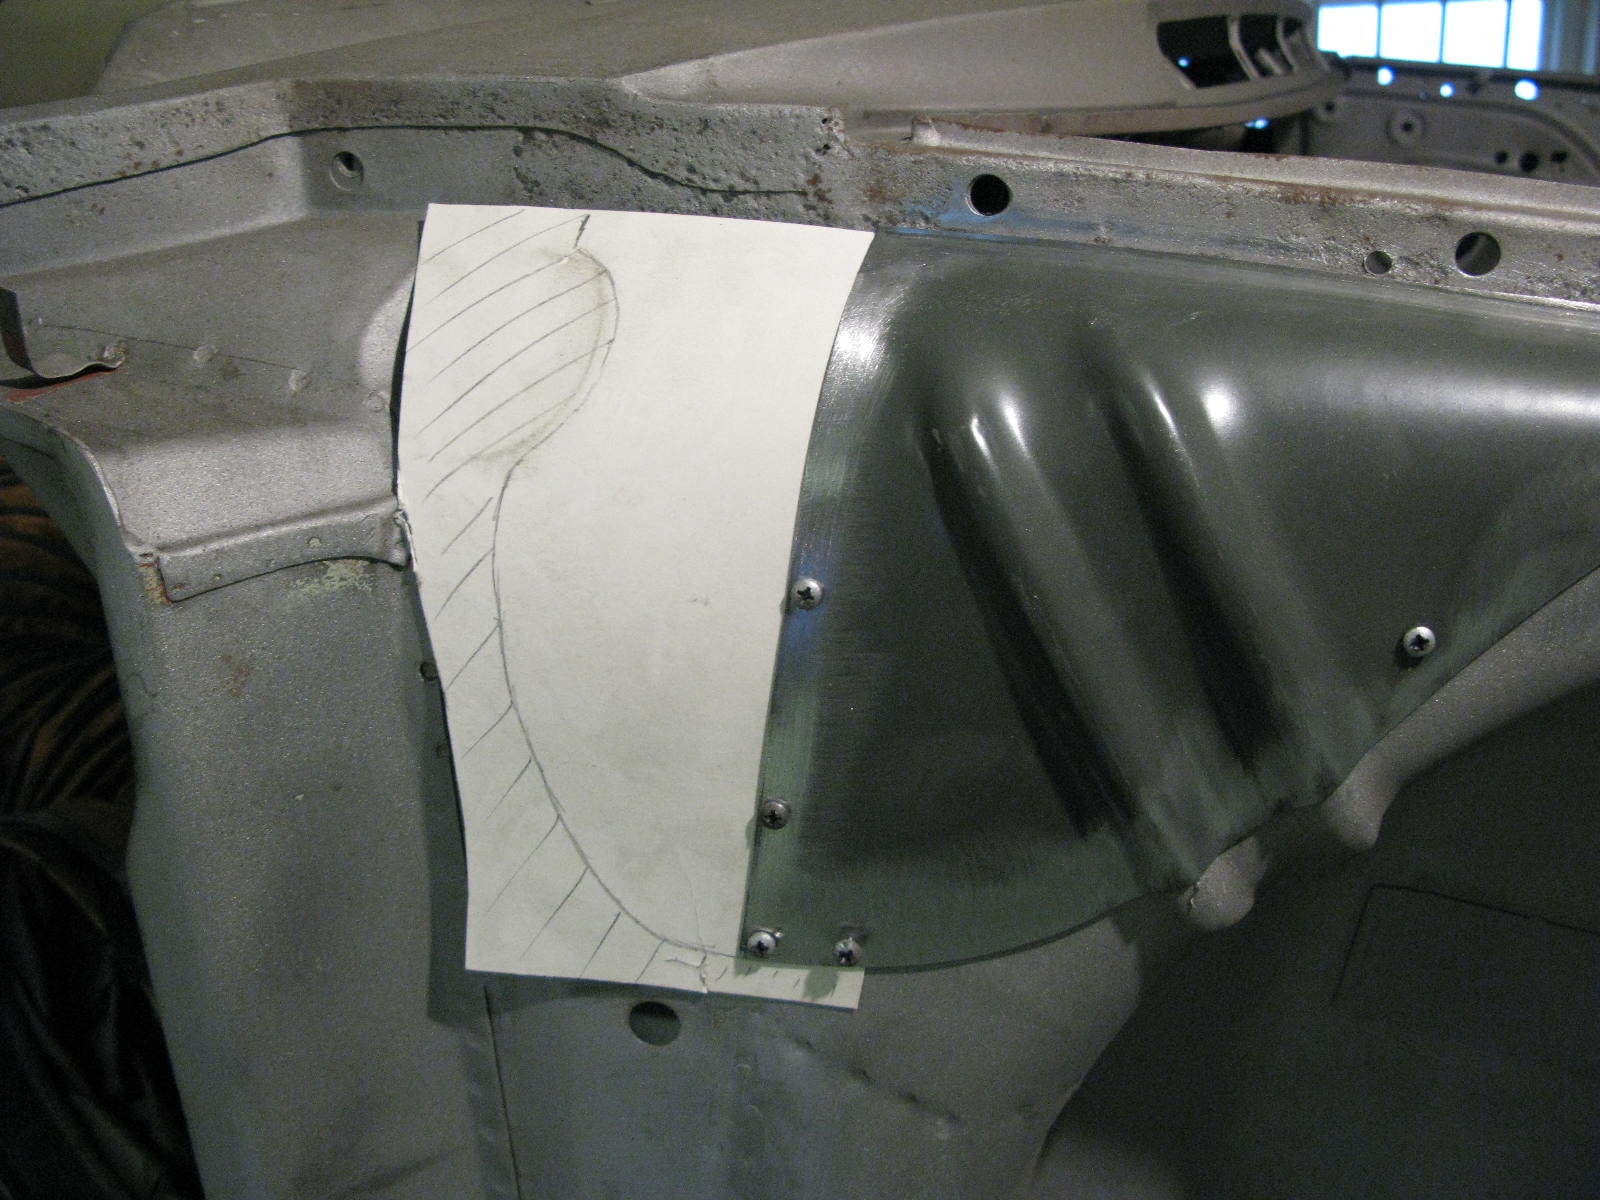
A common rust spot, and we knew this area needed work. A bit of luck here, though - the structure beneath the skin was still good. Probably another benefit of the Australian climate.


A bit of tidying up, to replace the pitted metal here.


Until now, the front end was just self-tapped together.
These pics show it finally welded into place, with all the detail seam welds etc completed.
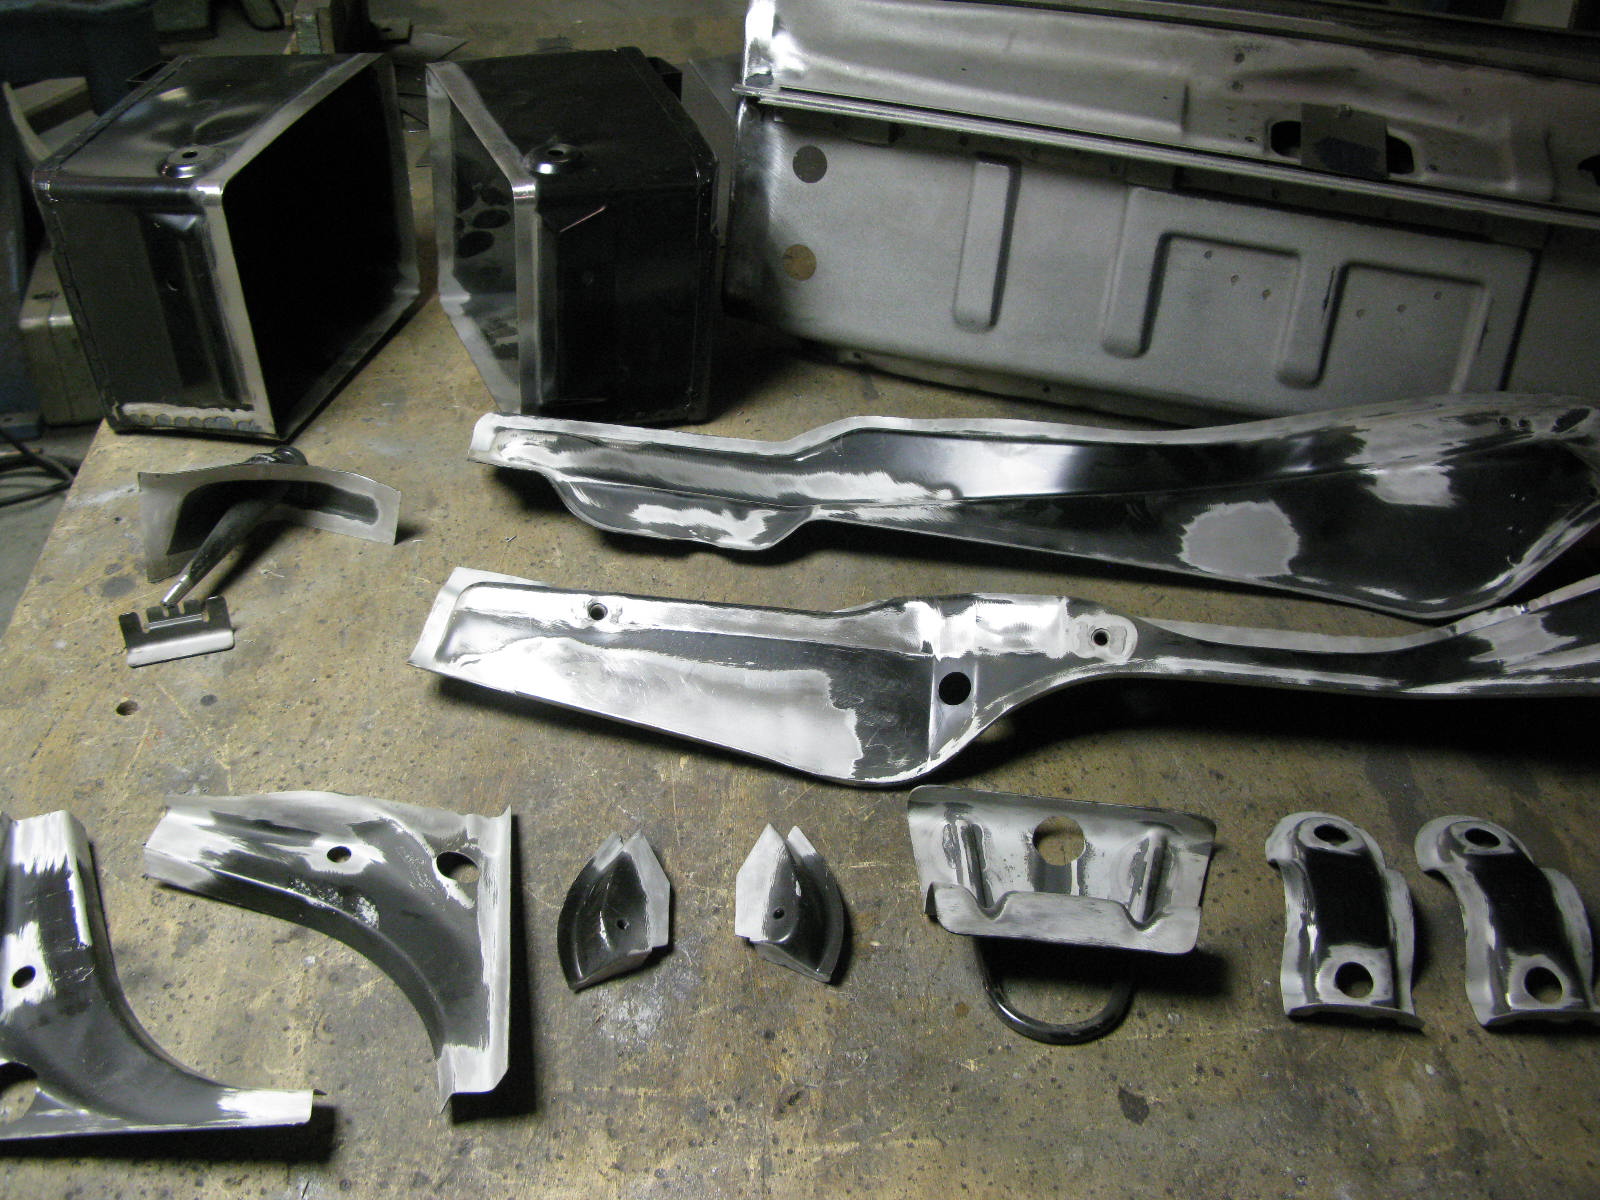
Battery boxes are in with the correct corner seam welds, and the front bumper mounting reinforcements have been fabricated and welded in.


A little bit of work to finish off the battery boxes. Barry confessed he wasn't entirely sure what these brackets were for, but since they were clearly original on my car it seemed right to transfer them across to the new boxes.


Which means, for the first (and probably last) time in the project, I know something Barry doesn't. As these pics of the 700 mile 70 S show (pics owned by David Conklin), they are mounting points for the horn brackets. Of course the horn spec kept changing over the years, so presumably this specific form of bracketry didn't last much beyond the 1970 model year.


We had three known good mounts, and one known bad one. So Barry removed the bad one, and roughed it into place using my steering rack subframe.
Barry: This did mean the shell had to float in mid-air to gain access. Be assured it wasn't as dodgy as it looked, as the rear was still on the jig on one corner, and the whole shell was being supported by the crane in the centre.
Still, rather you than me!


Barry sent this little teaser photo, from an very initial / rough trial fit of the outer panels.
Even though I know it's an illusion, and that there's still a long way to go, I find this photo curiously exciting:

It is a very good shape, the 911.
Best to let Barry describe what's going on here:
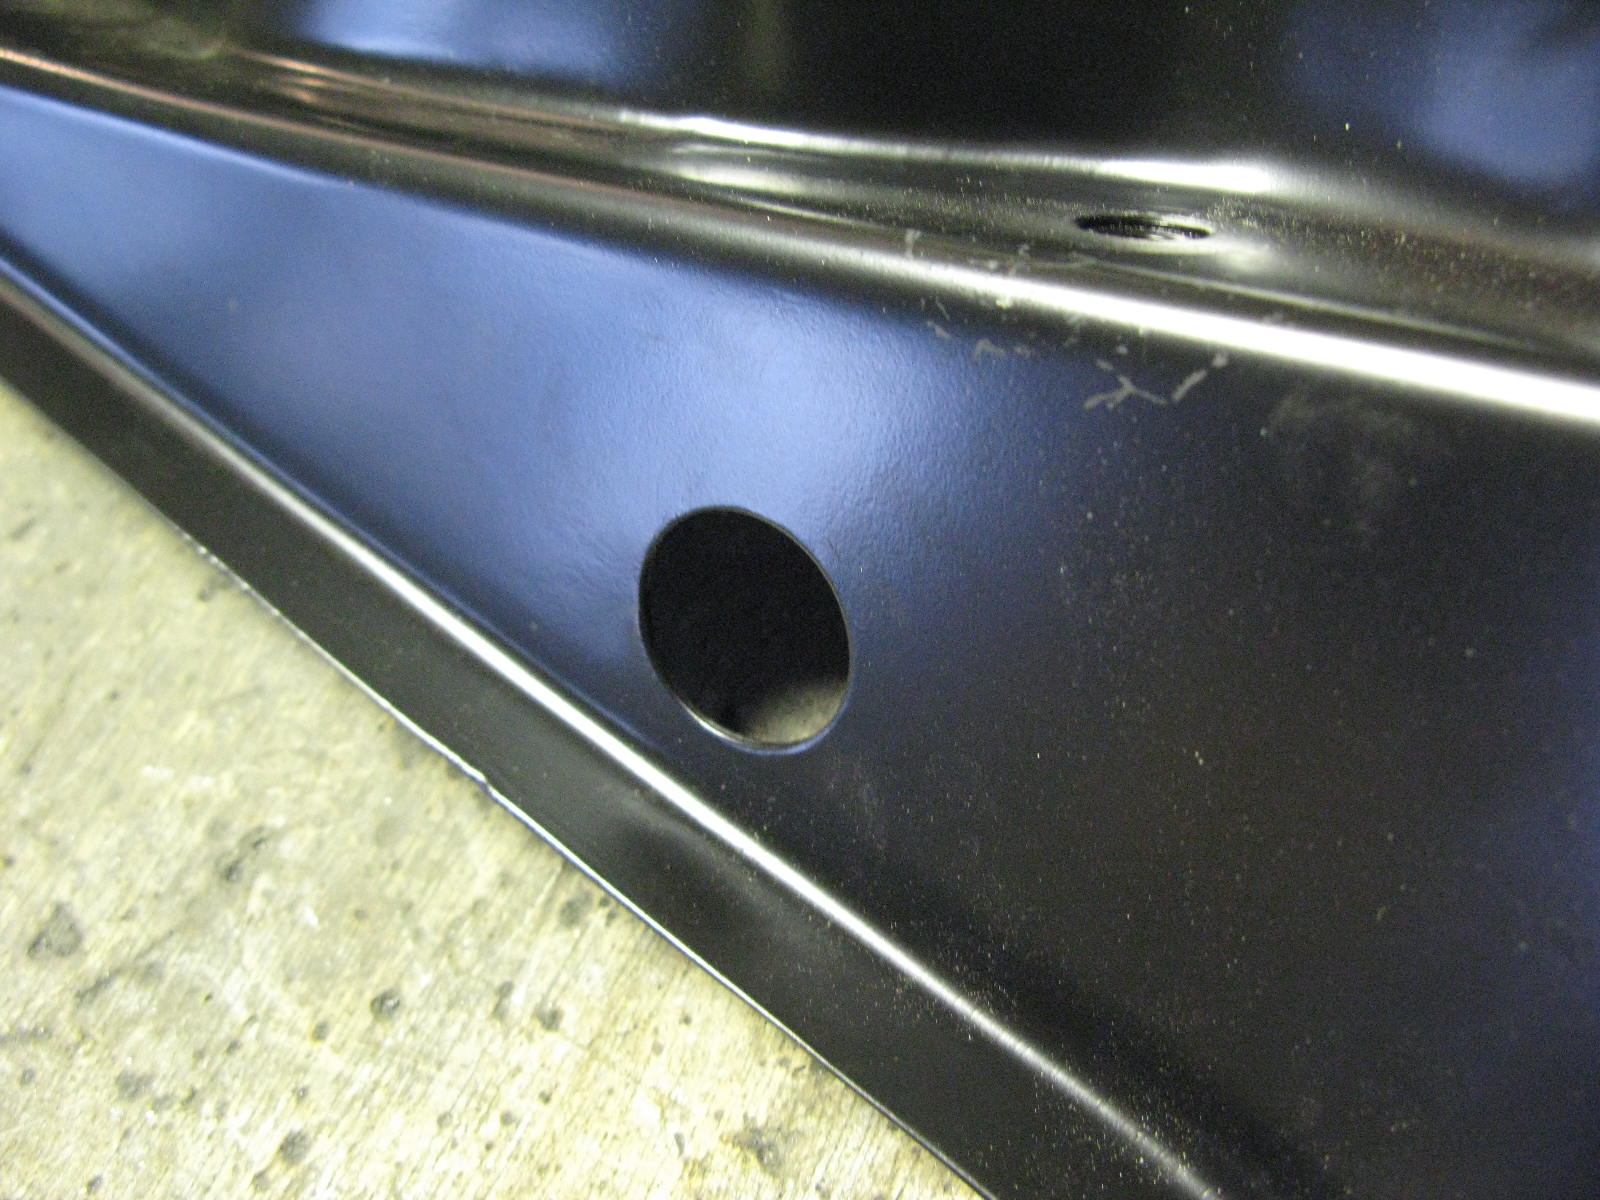
Both inner chassis legs (longitudinal tank supports) need some sort of back-dating. Charmingly, whilst doing other work on one, a captive nut literally fell off. How we would have chuckled if that had happened just after the shell was built and painted. Suitably impressed, I seam welded every captive nut on both panels. The hole that was filled on the offside leg is an impact bumper feature, and not correct for an early car.
Pics of panels stripped ready for weld-thru primer and welding. Washer bottle mounting placed in the correct, but improbable-looking position, towing eye welded on, front end less front slam and nearside inner wing repair another trial fit. This followed a good half day just tweaking all the fits to be suitably neat and crisp. Also the new tank support needed a bit of fettling to be really good, although it's a very nice panel in fact.


Good progress on the front end, as shown here. Front Pan meeting the Inner Wings.


Barry:
There was a small ex-kink at the rear base of the inner wing, so this was removed, the area behind tidied up, and new metal let in. Later on, when the front is welded and the generator / big spot welder running, I'll run a series of single sided welds around here to match into the original factory welds. In fact, there are no signs of welds here, so I think the factory did in fact miss a whole run of welds back in period. Hand made cars, these odd things crop up all the time.
The new repair panel for the top rear is a very accurate pressing, but a tiny bit small. I templated up an extra section, transferred it to steel, and butt welded in onto the repair. The whole was then blasted internally and primed. The opened cavity was vacuumed out, and again primed. The area was then welded up.
Whilst waiting for paint to dry, I got going on just truing the top of the inner wing repair on the Pullmax, thus ensuring it would be an accurate match to my own repair panel, and just tidying the shape up a little at the same time.


I like this little sequence of the car getting part of its nose, and the front pan, back. Obviously completely illusory in terms of true progress, but I always feel better when it looks more like a car (and less like scrap metal).
Barry says: This is the one time I need the jig to be truly level, so I use my lovely old engineer's level to set the jig fore and aft. I always jack one corner of the jig when I'm doing anything structural that could build a twist into the shell, but it doesn't need to be level. I also took a moment to retry the strut tower brackets and the front screen aperture jig, just to make sure everything was still straight and true before risking locking in any problems.
For the front end though, I like to have the plumb-line available as an extra measure to counter building the front off to one side or the other.
I did a rough build of the front end with the new front pan bolted in, together with the recovered front slam panel and both front inner wing repairs.
With that done, the offside repair could be scribed in, double checked and tacked. This was followed by a small repair to the base of the offside front inner wing.


You'll have seen this one before. Barry says:
One of the photo sequences that I send on every job. The front pan is an impact bumper style one, so the top ends at the front are different. I blank these ends with new metal, and later n once the slam panel is finally positioned, scoop out the semi-circular cut-outs that should be in these areas.
Whilst here, the half-moon drain is beaten flat and welded up. Later on I'll use a jig to drill the correct pre-impact front pan drain holes.


As part of the preparation, Barry fitted the new Porsche battery boxes into the new Restoration Design inner wing repair sections.
Initial fit was absolute rubbish:


Hmmm, what could have happened there? Barry says:
Surely it wouldn't be the horrifically expensive, genuine part at fault? Yes, your lovely new battery box was miles out, so the welds were drilled out, the side moved, the drilled holes plug welded. Then the area linished smooth, and some authentic looking spot welds run down the seam. All sorted.
Thanks Porsche, for another quality repair panel...


Not that the Restoration Design panel was perfect either. Barry again:
The dividers show how you've got to be careful with new panels. The front inner wing repair parts are very impressive, and are a lovely pressing. I had thought that I would use a combination of wing top holes together with this large wiring loom hole to match old to new, to help me scribe in the replacement. Good job I checked, the wing-top holes seem to be perfect, but the large hole is in a pretty arbitrary position. Probably fine for fitting up later, but no good to me.

BTW I'm sorry to moan about the repair panels. It's one area of their business where I think Porsche are really taking the p^ss, and the pattern parts makers are following their business model.
Unlike most things I've bought along the way, including a few bonkers-priced NOS bits and a set of original-paint 7Rs, I do feel properly ripped off with the panels.
In total I've spent the price of an entire cheap new car (like a VW Up exclamation mark) on panels. I realise that fitting and fettling will always be required, but still I think that the level of rework and number of fundamental faults is poor, especially bearing in mind the pricing.
Right, that's enough moaning. Onwards!
In this case, preparation meant cutting out the previous repairs. (As shown in earlier pictures) they were pretty agricultural.
After that, the front end looked like this:


Barry had removed a large chunk of the offside rear inner wing base for three reasons:
- beat out the various dents etc,
- sort the missing bumper mounting captive nut, and
- allow for complete welding of the rear slam panel
This was now mirrored on the other side, albeit to a smaller section suffering less dent-damage.
Both cavities were primed, and both removed sections were blasted, repaired and primed. Then closed up, with the backdated slam panel now in place.
Back end was now looking quite nice. Time to move round to the front.


The rear slam panel currently available from Porsche needs some backdating to become correct for earlier cars.
This sequence of photos shows what needs to be done to the two corners to re-introduce the correct curve, and various bits and pieces to indentations and drain holes. My original LH end part is resurrected here. The other end is made from scratch.


Various further repairs to the rear end. Barry says:
The area that was sliced out of the offside rear was stripped and the bumper mounting removed. The pair were cleaned up and blasted. The bumper mount was straightened out, and the missing captive nut replaced. The inner wing section accident damage was beaten out, and the pair welded back together again. They await welding back into the shell.
Next, the buckling to the nearside chassis leg was tackled. It wasn't bad, and could be tackled with a dent rod. The hole was made in an area that would later be replaced, meaning I could work the rod hard without worrying about it causing it's own damage. Then the previously damaged area was removed, and the new metal welded in before the area was finalised shape-wise with dent rods via a new hole underneath. This will be welded up later.


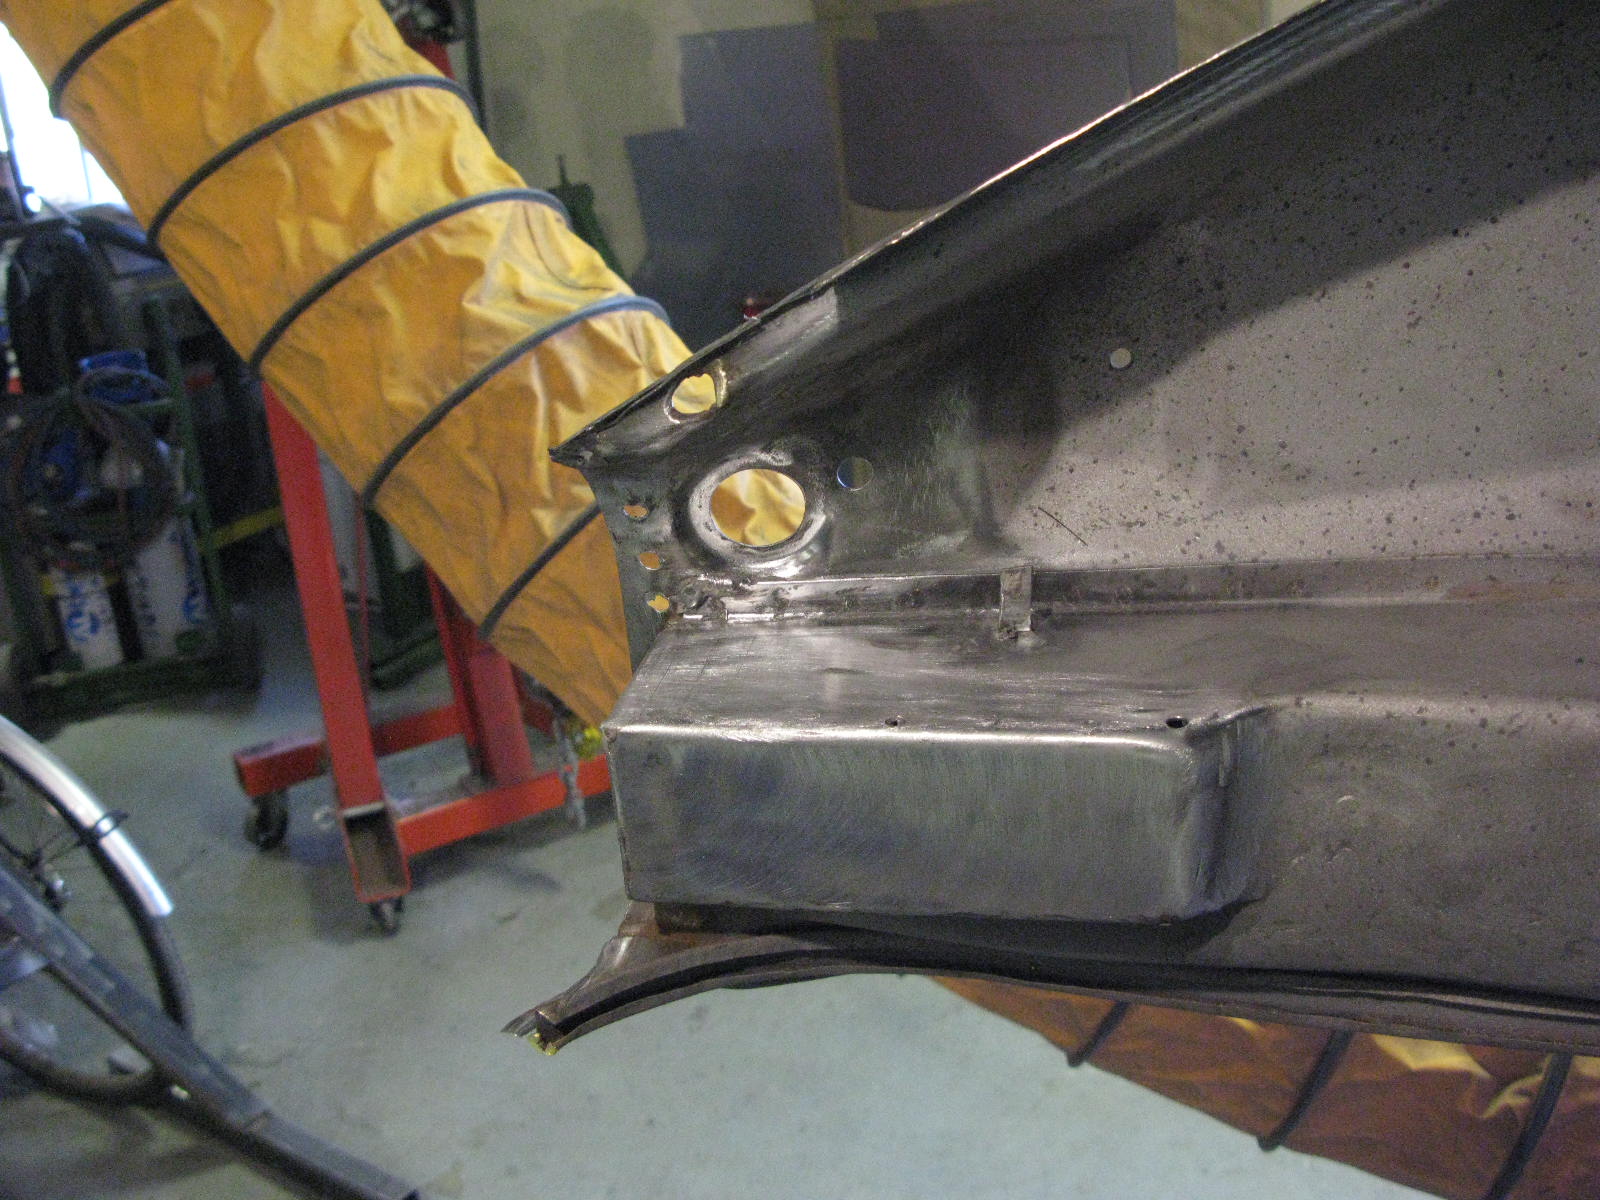
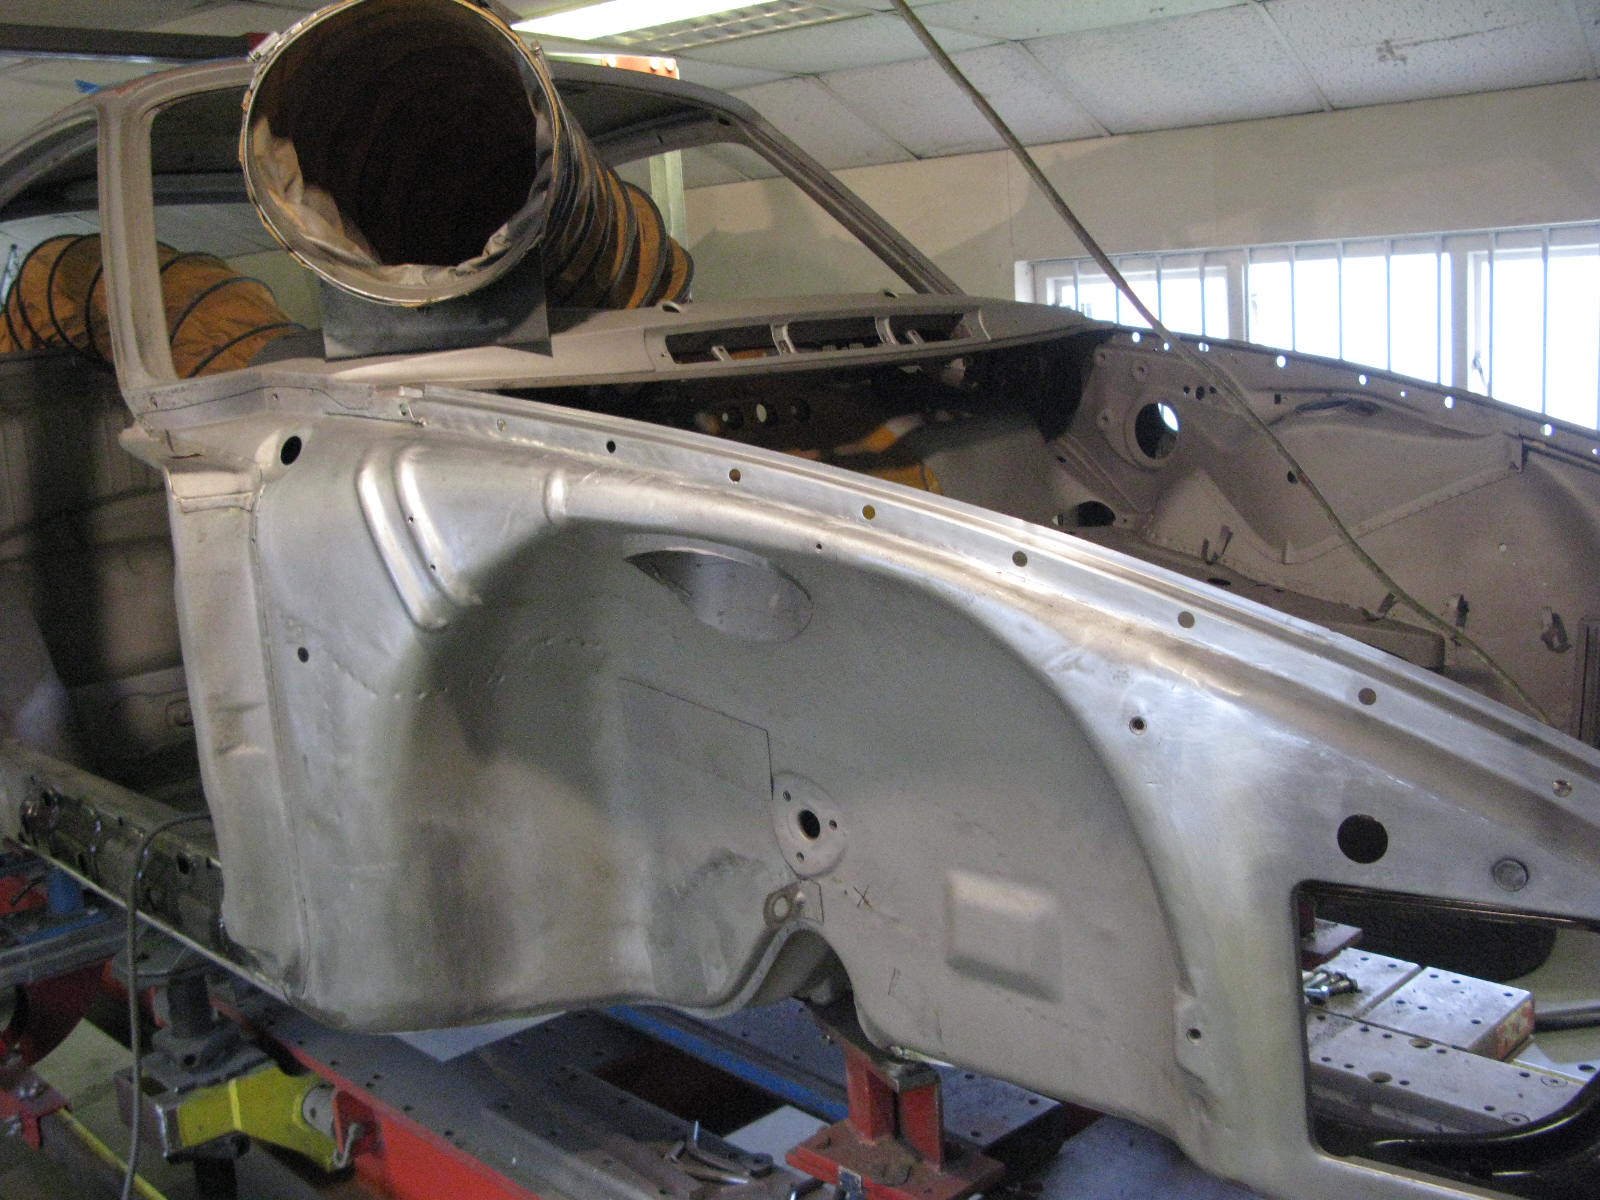
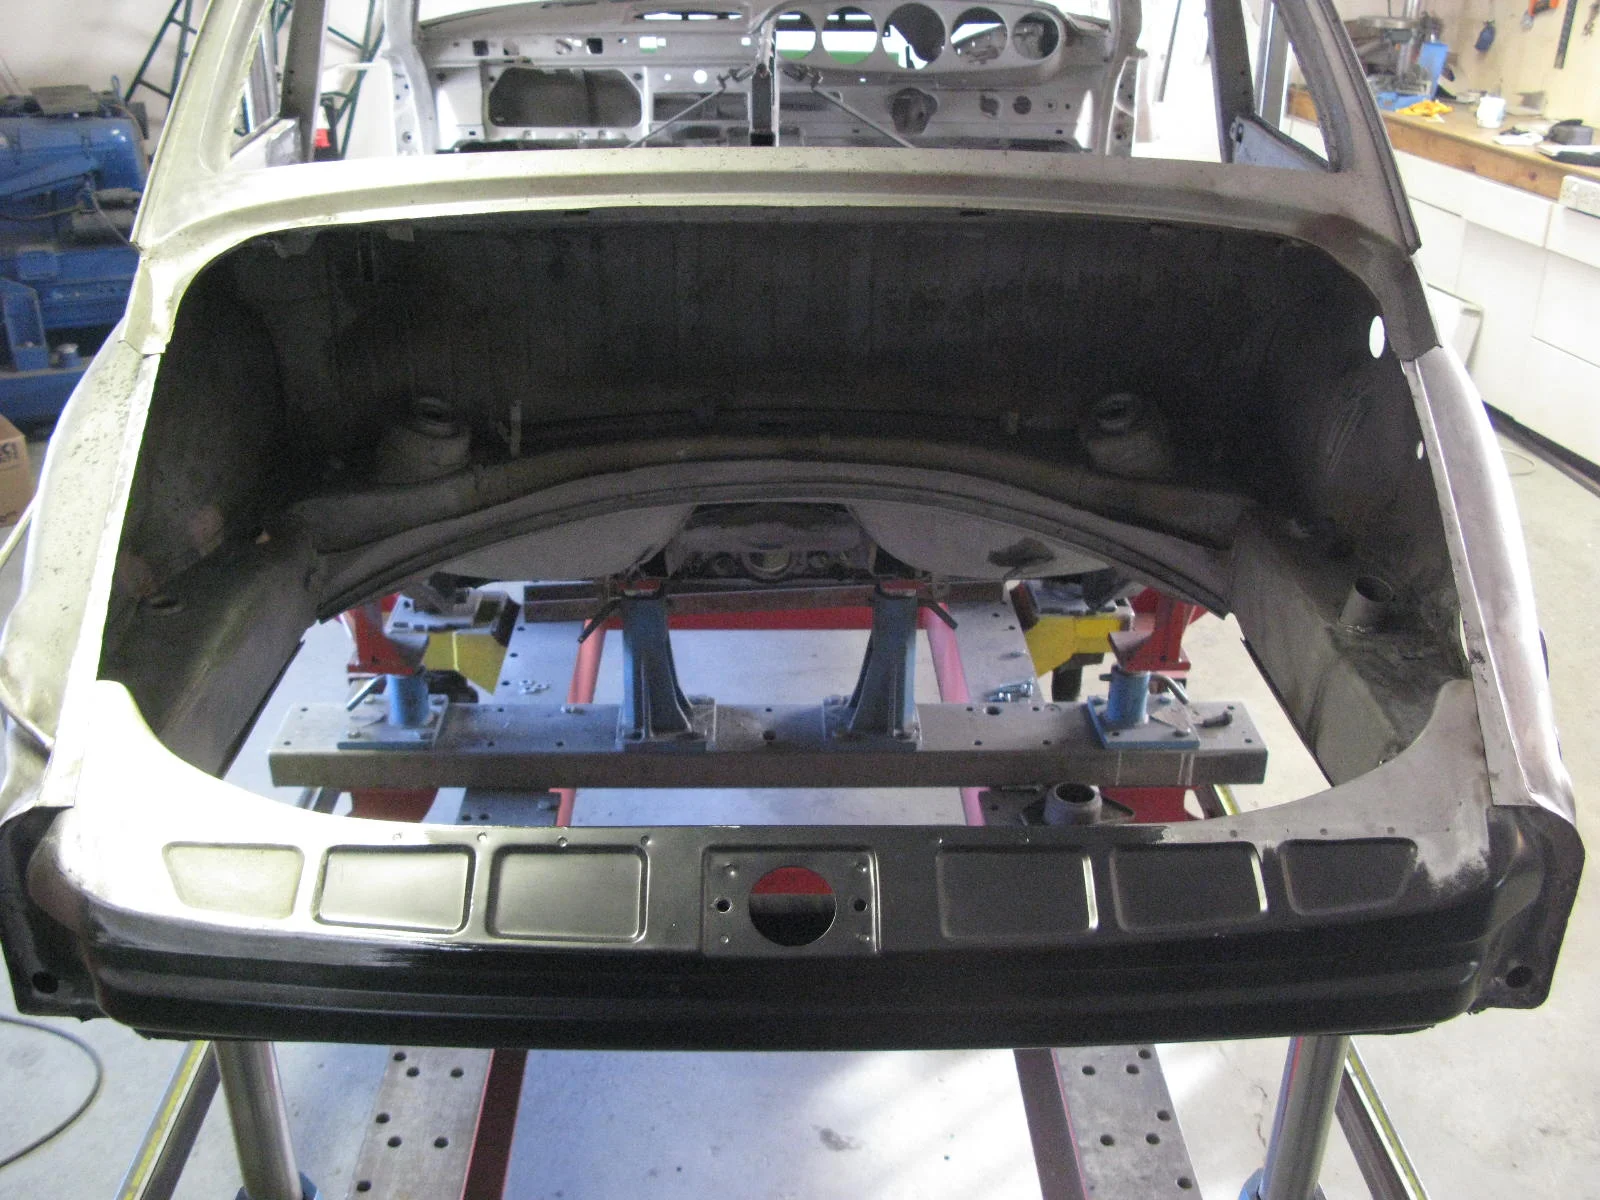
Making a start on the rear end.
It's a bit chilly in the workshop today. Barry tells me there's not much point heating it - the extractor works quite well at immediately sucking out the warm air.

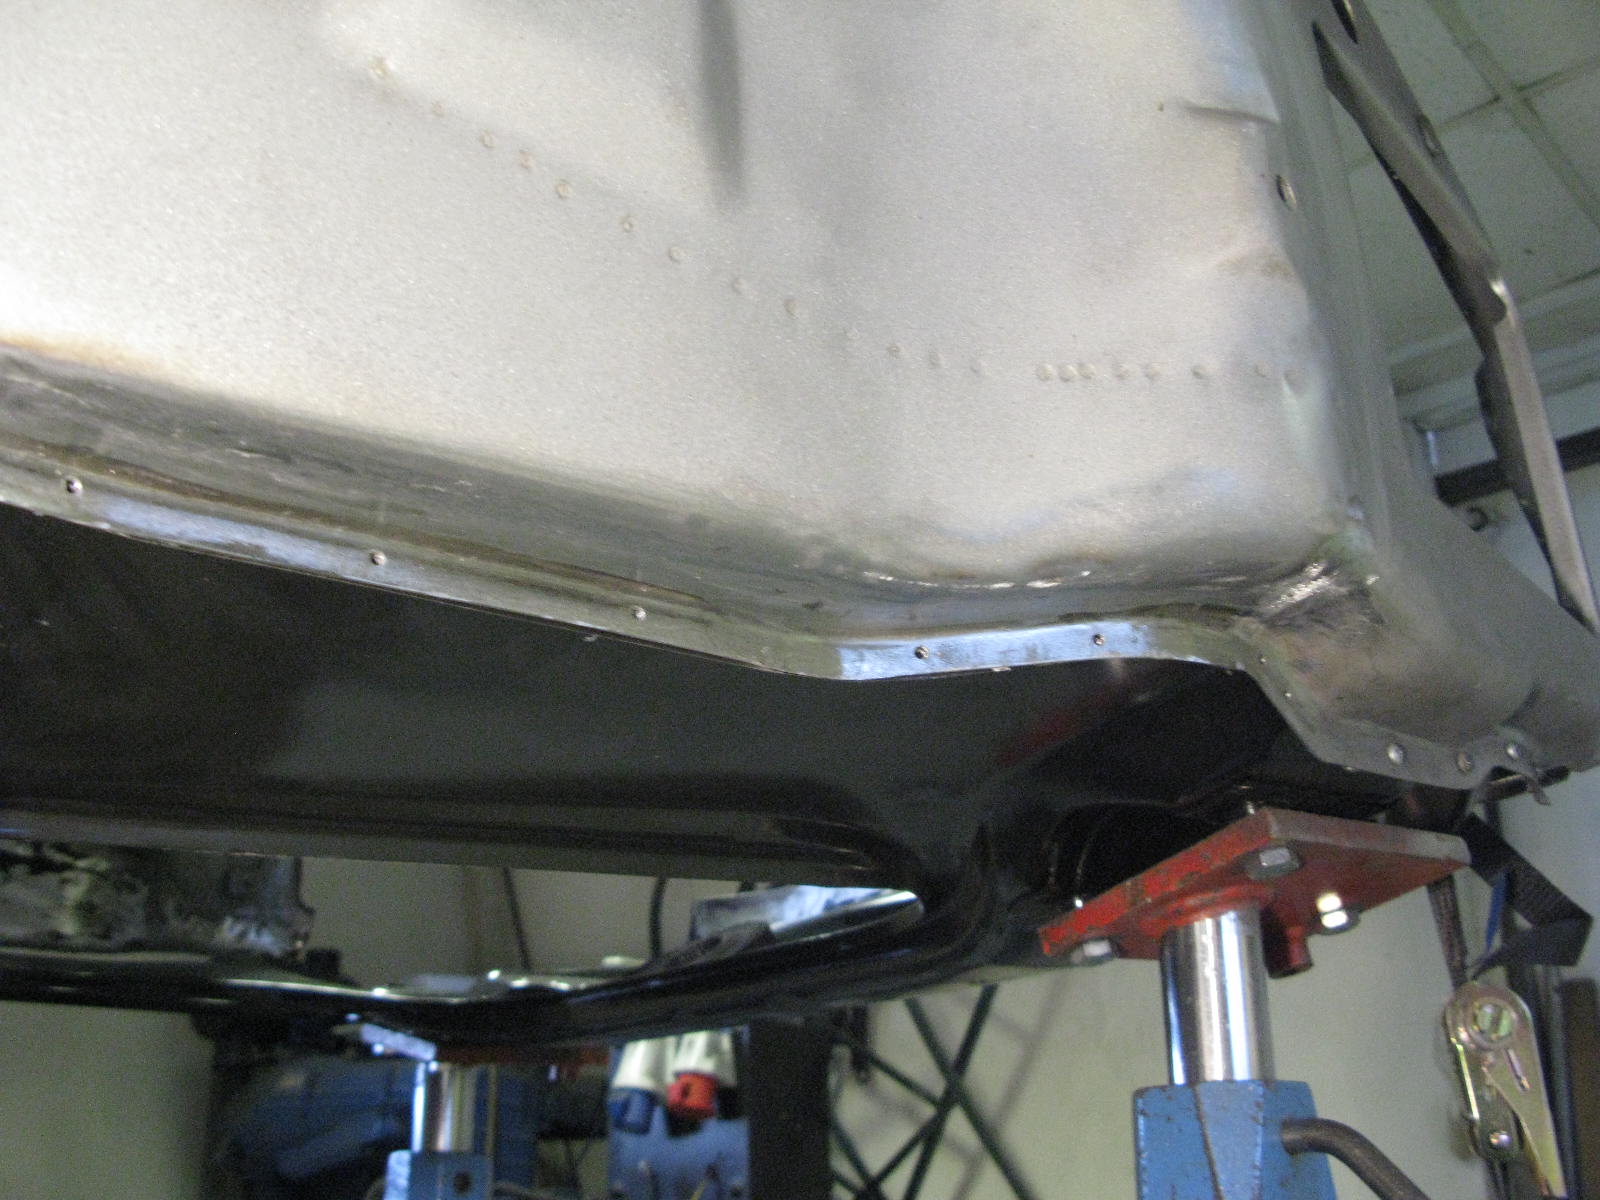
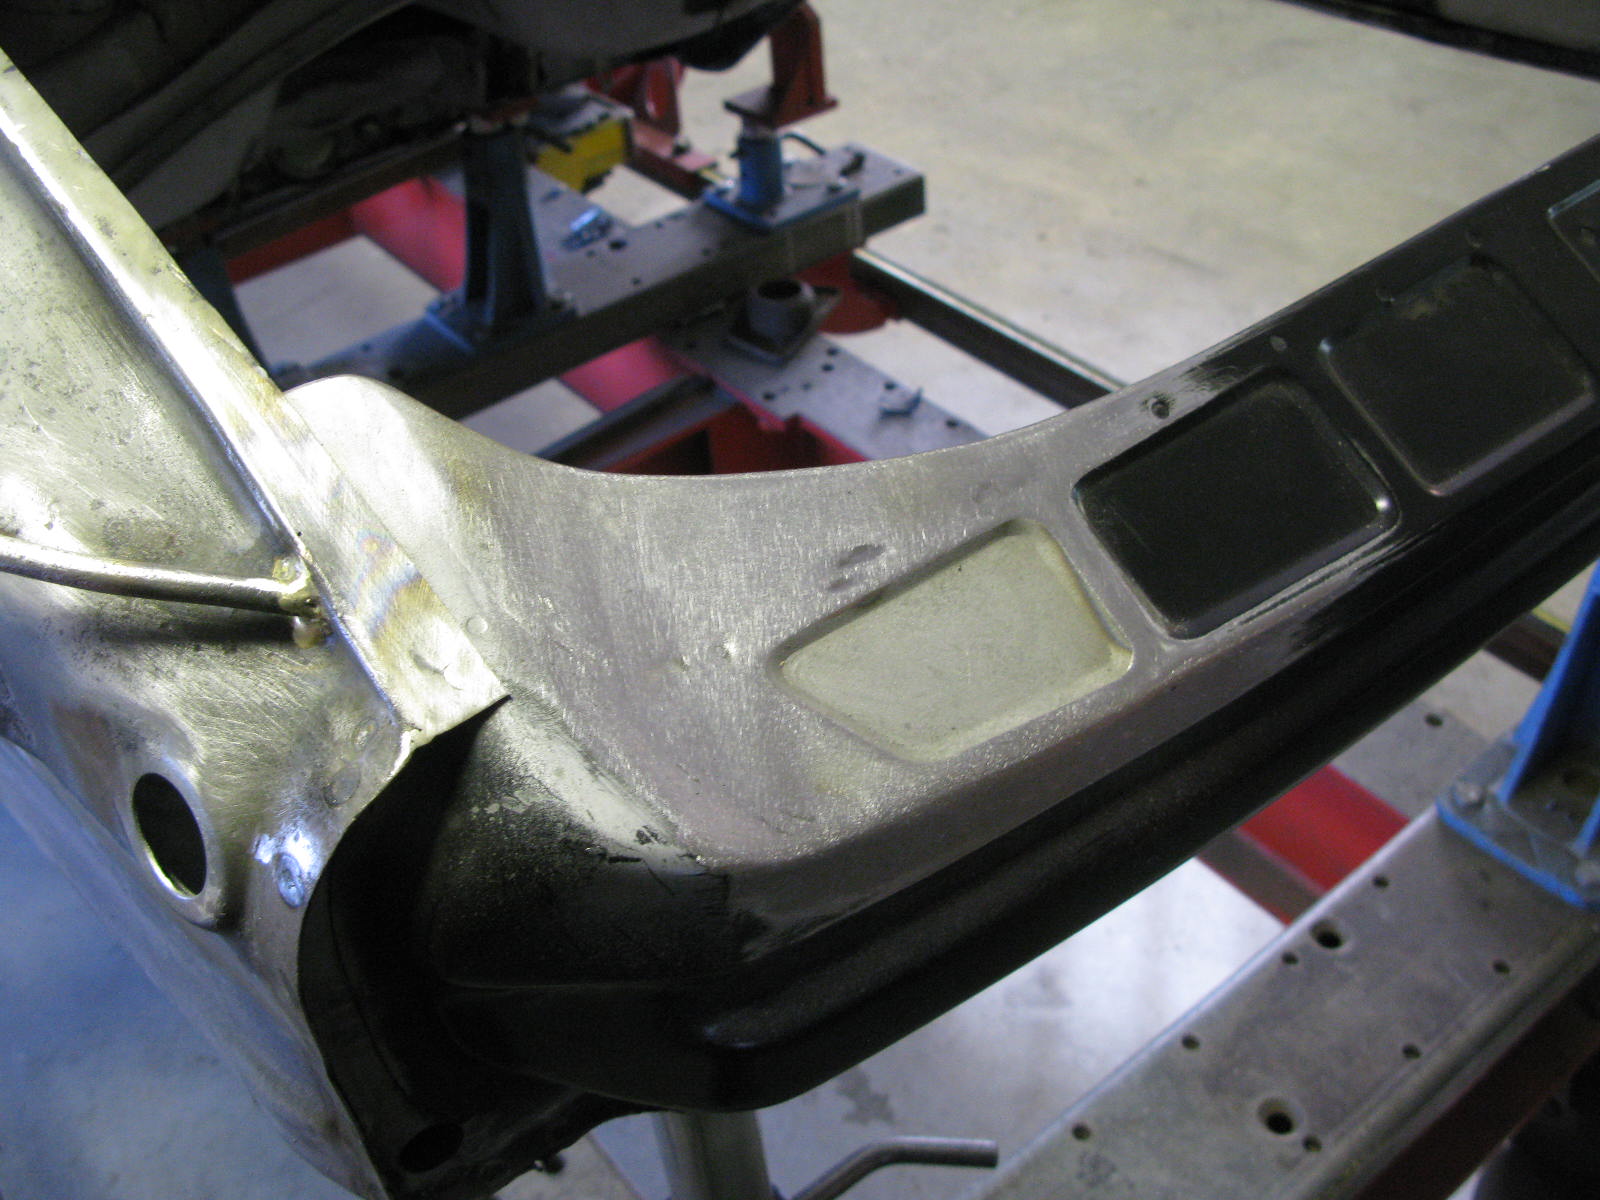
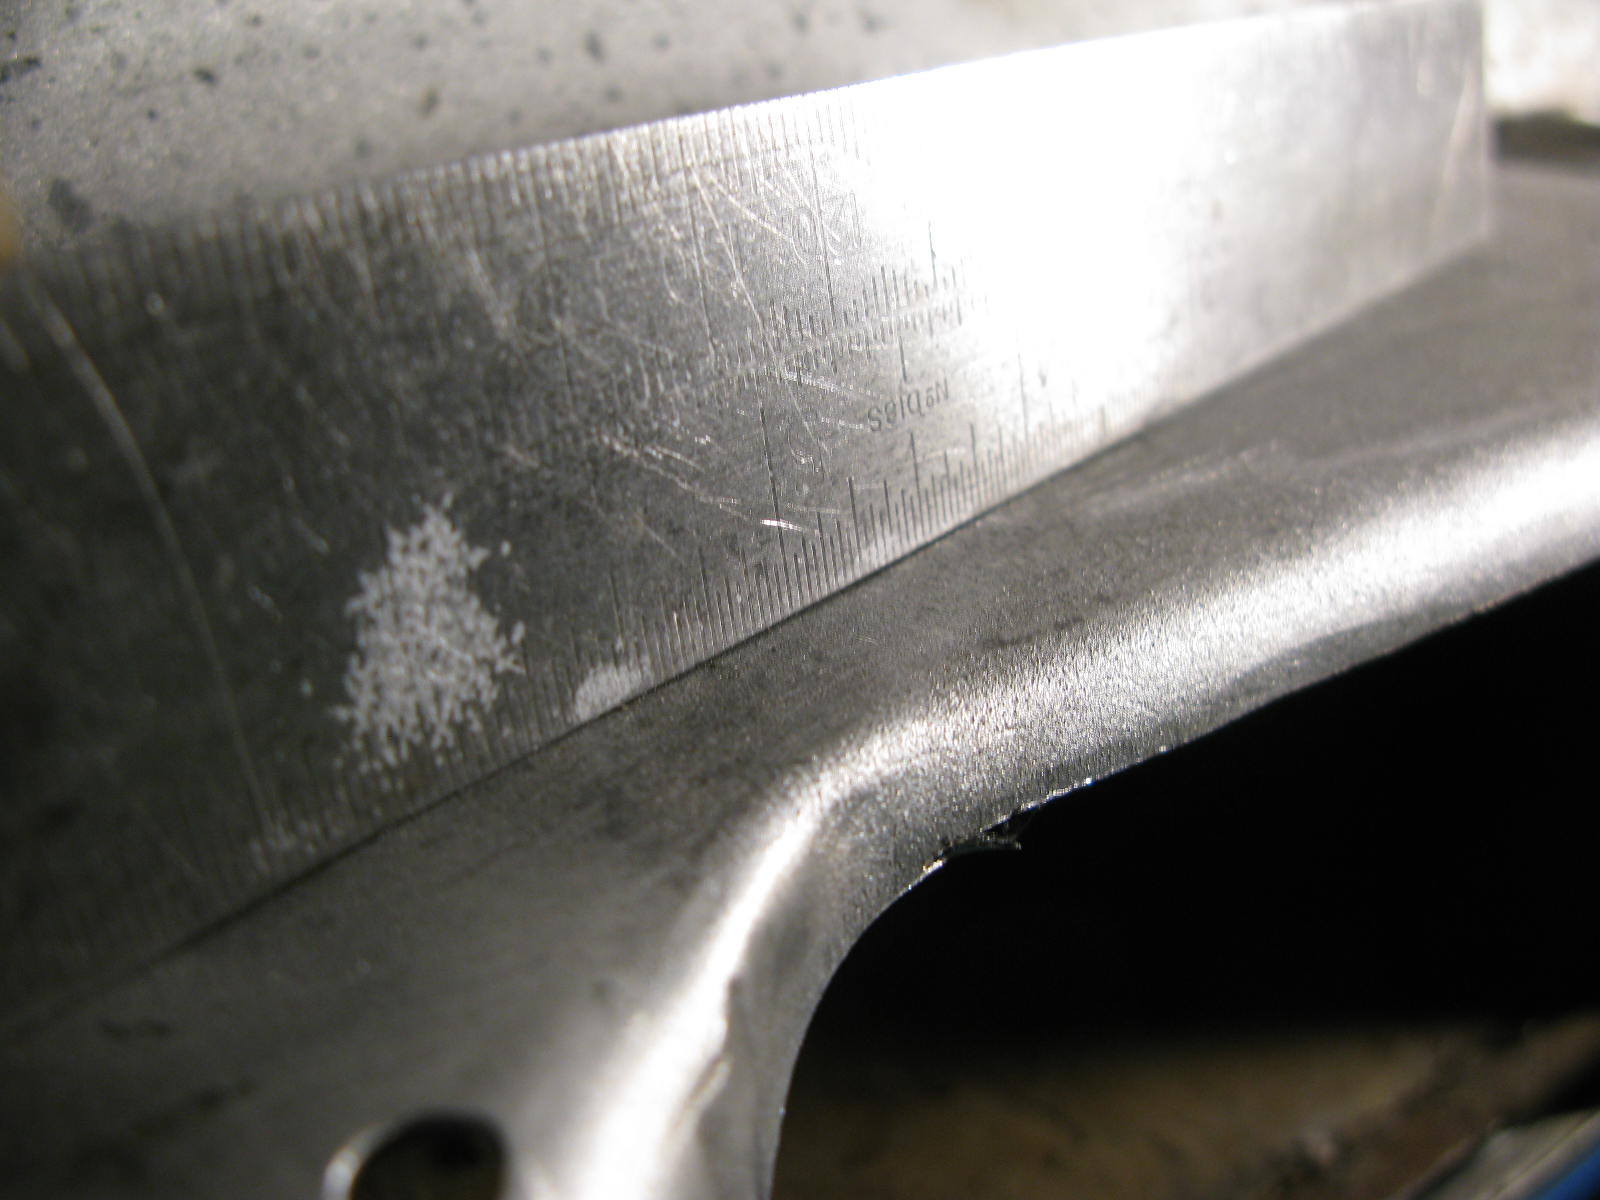
The rear end has suffered accident damage. The repairs at the time had seemingly got the car pretty straight (had not needed large corrections on the jig). But the bent areas had been pulled out fairly roughly by modern standards.
These areas don't look that bad in pictures until you either put a straight-edge across or get some lighting right down low across the surface:


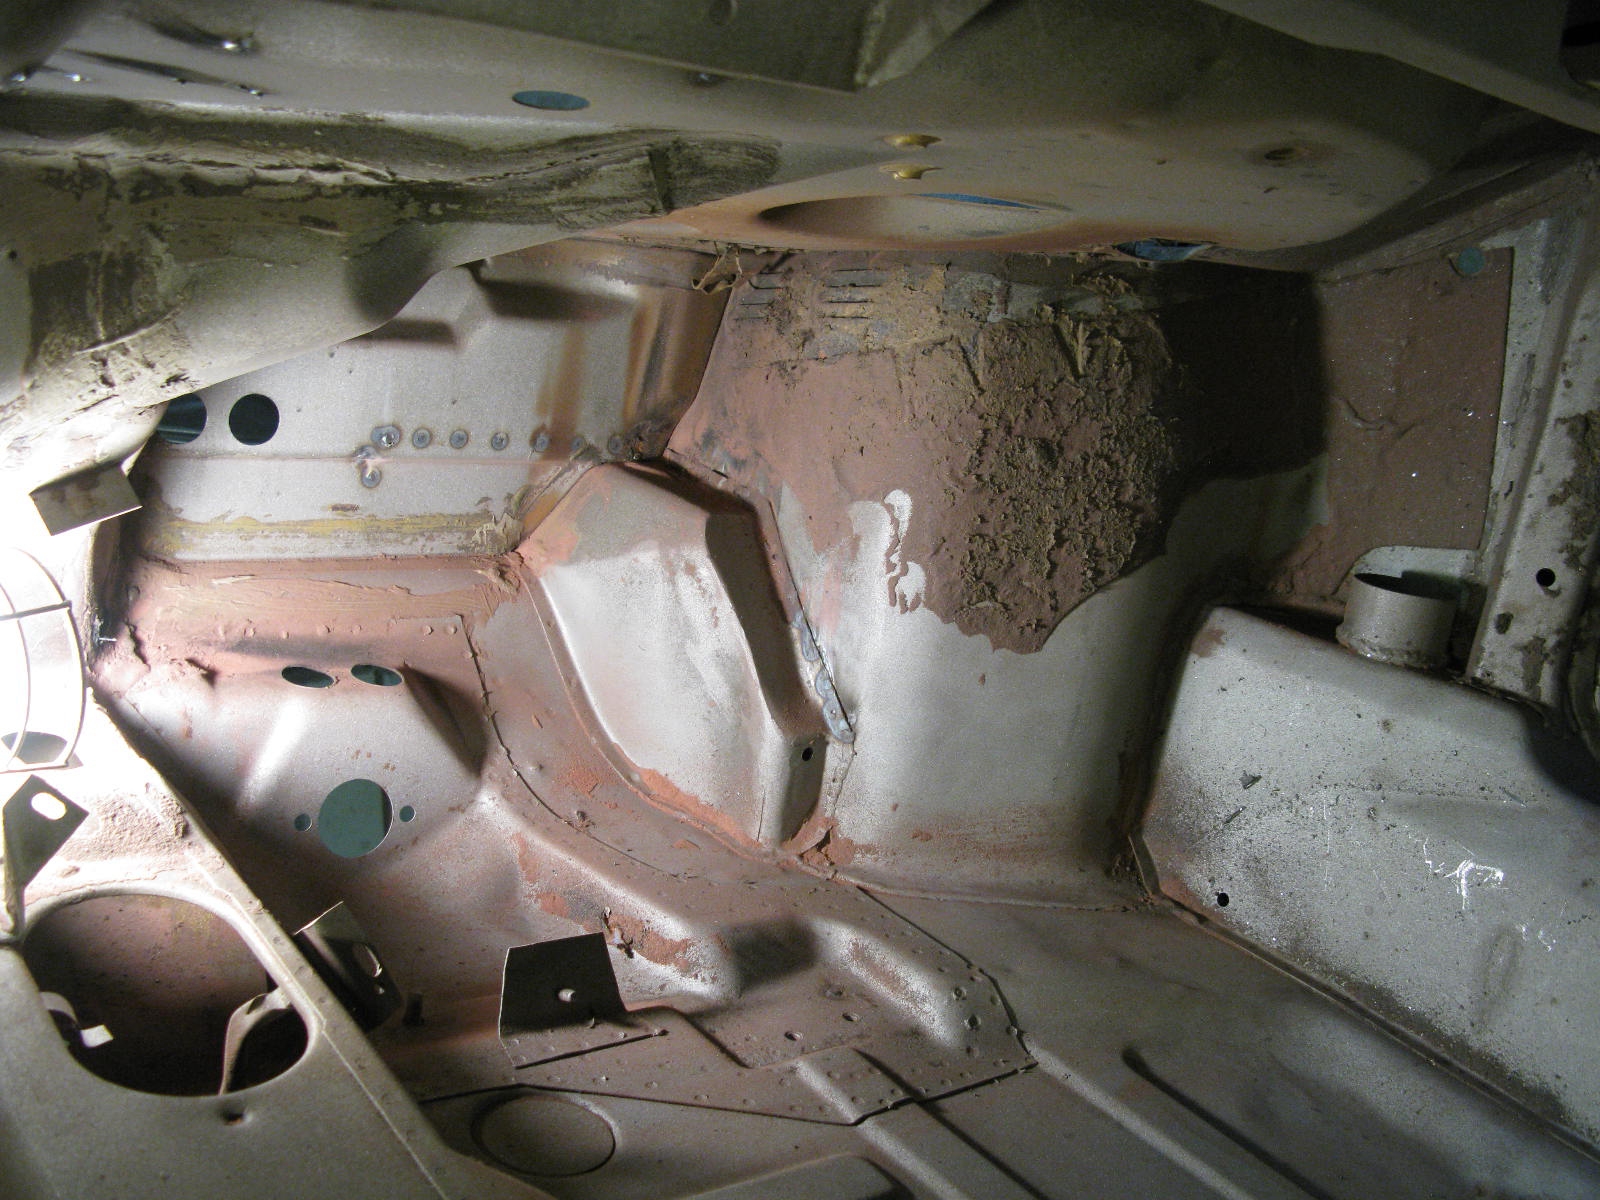
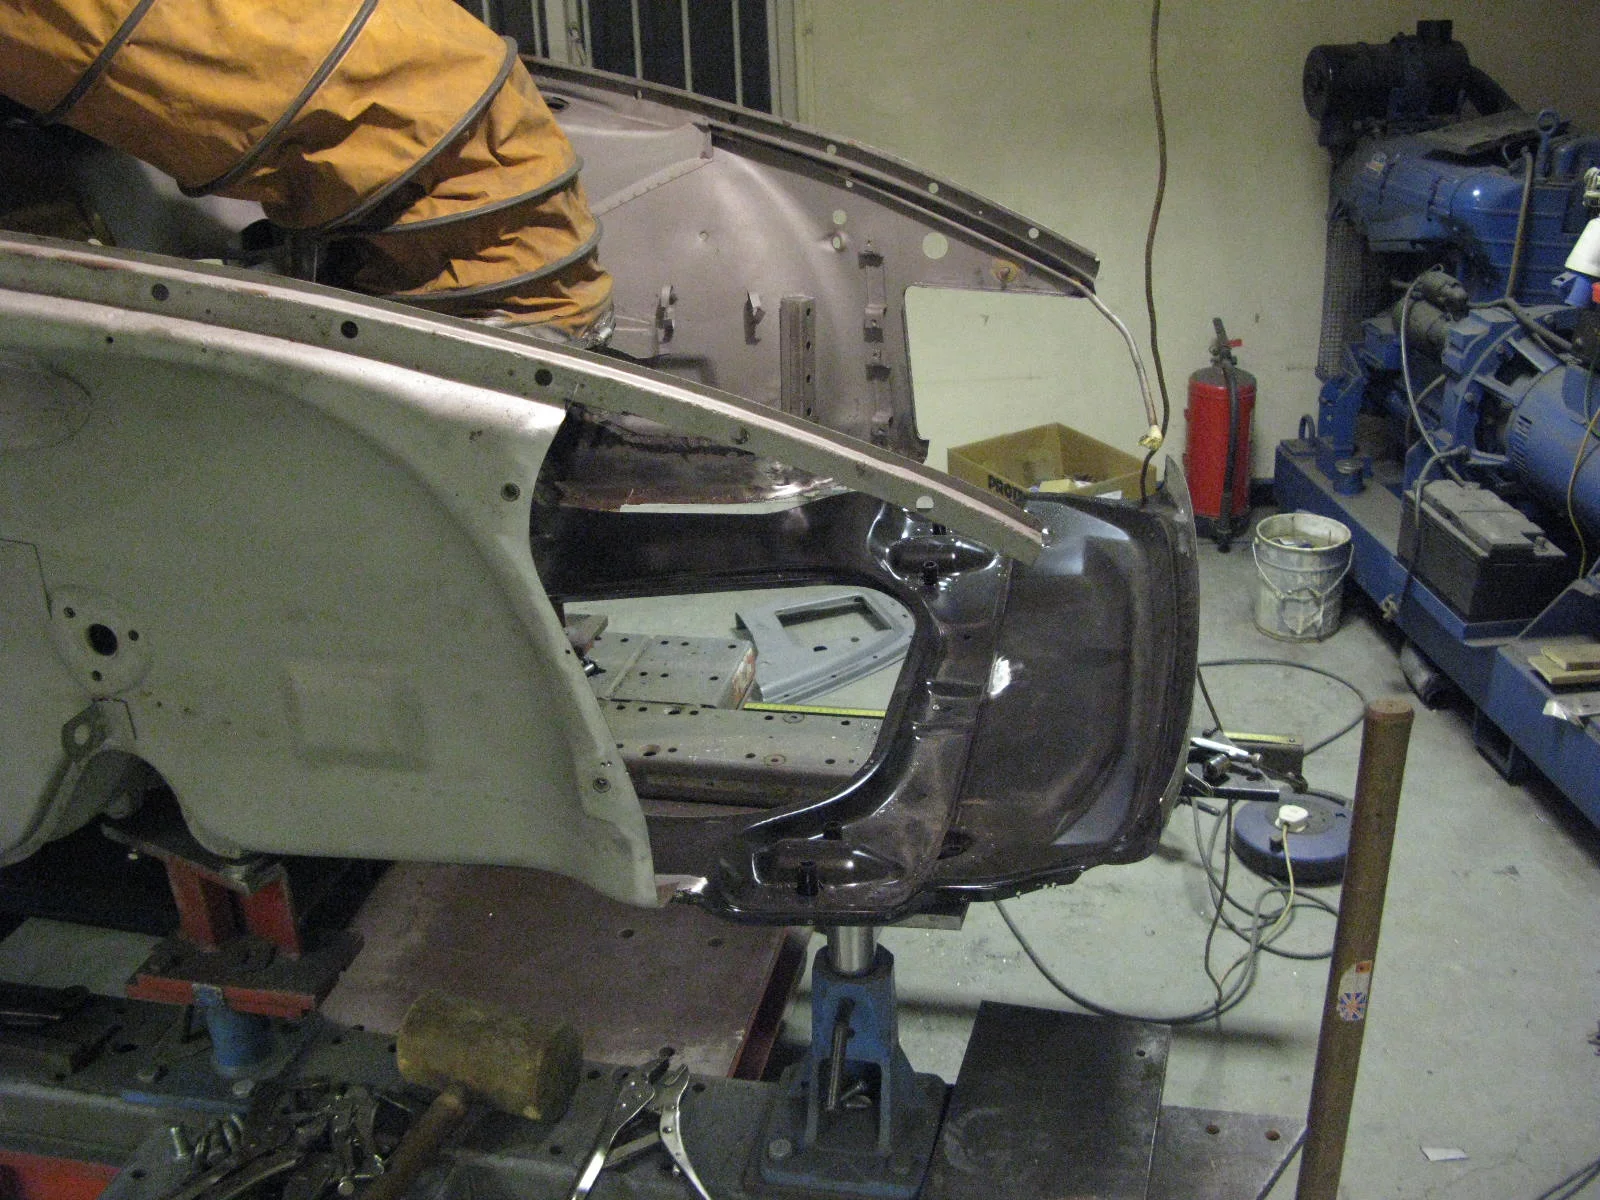
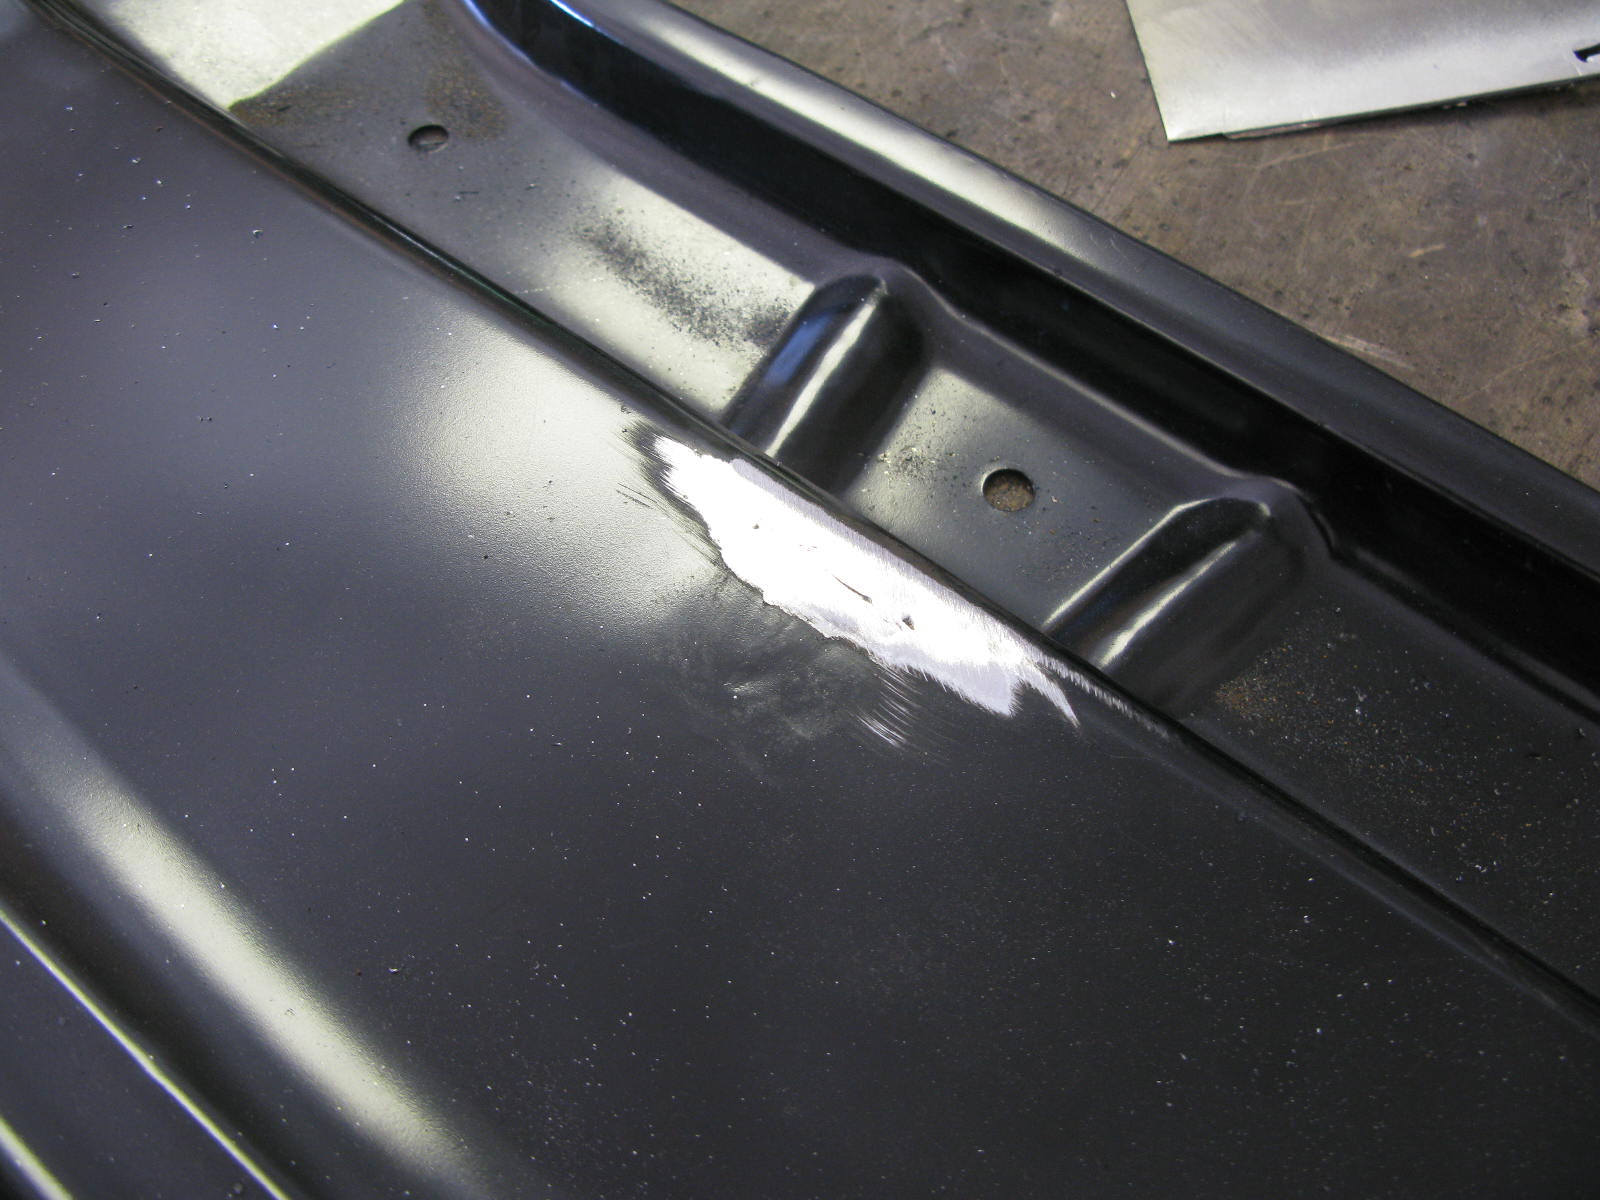
There were some nasty pulling gashes in the (original) rear slam panel. So unfortunately, apart from an end bit used to backdate the new part, the panel was beyond saving and was duly consigned to the bin.
Removing the slam panel revealed further grottiness:


So the back end repairs will consist of backdating and fitting the new slam panel, plus various making good of the dodgy parts of the "chassis legs".
For example: