Posts in 2017 Metalwork
Parcel Shelf

After a bit of discussion we decided to keep most of the parcel shelf, but the LH end was in need of replacement. A Restoration Design panel was used as the basis for the repairs, but needed work.

Best to let Barry do the talking here, I think:

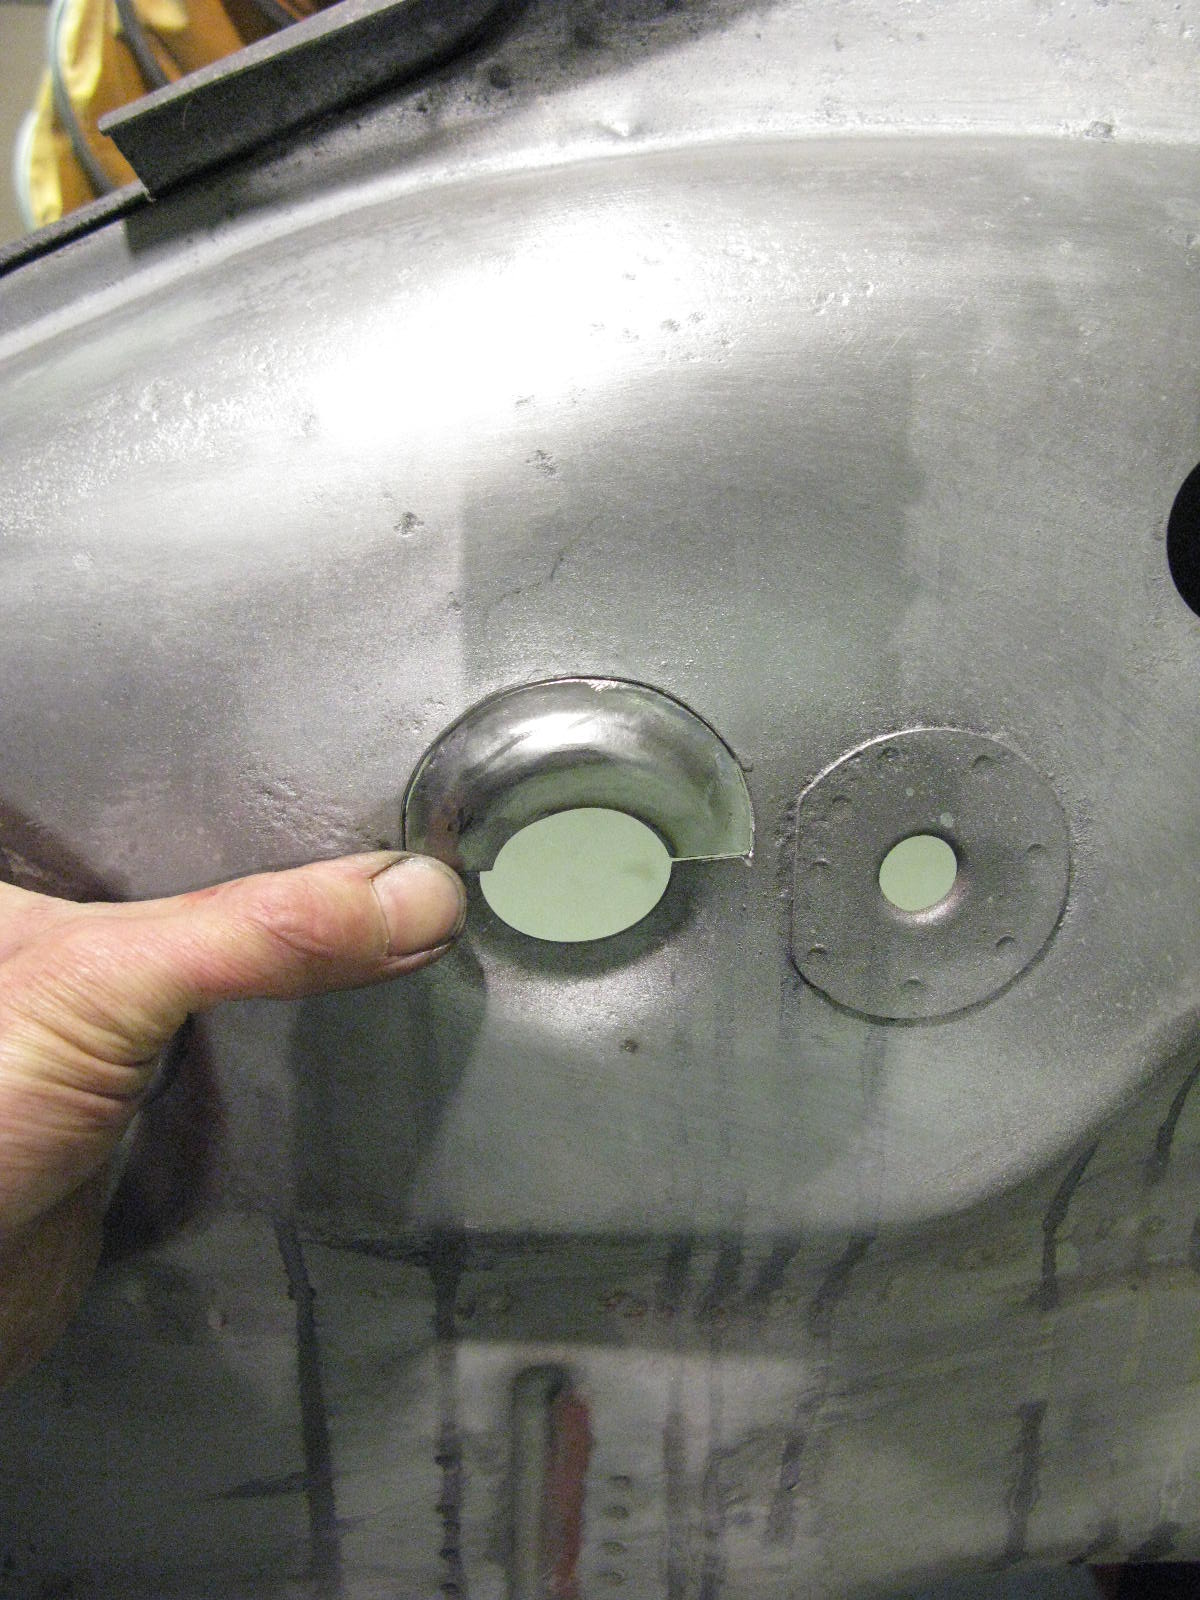
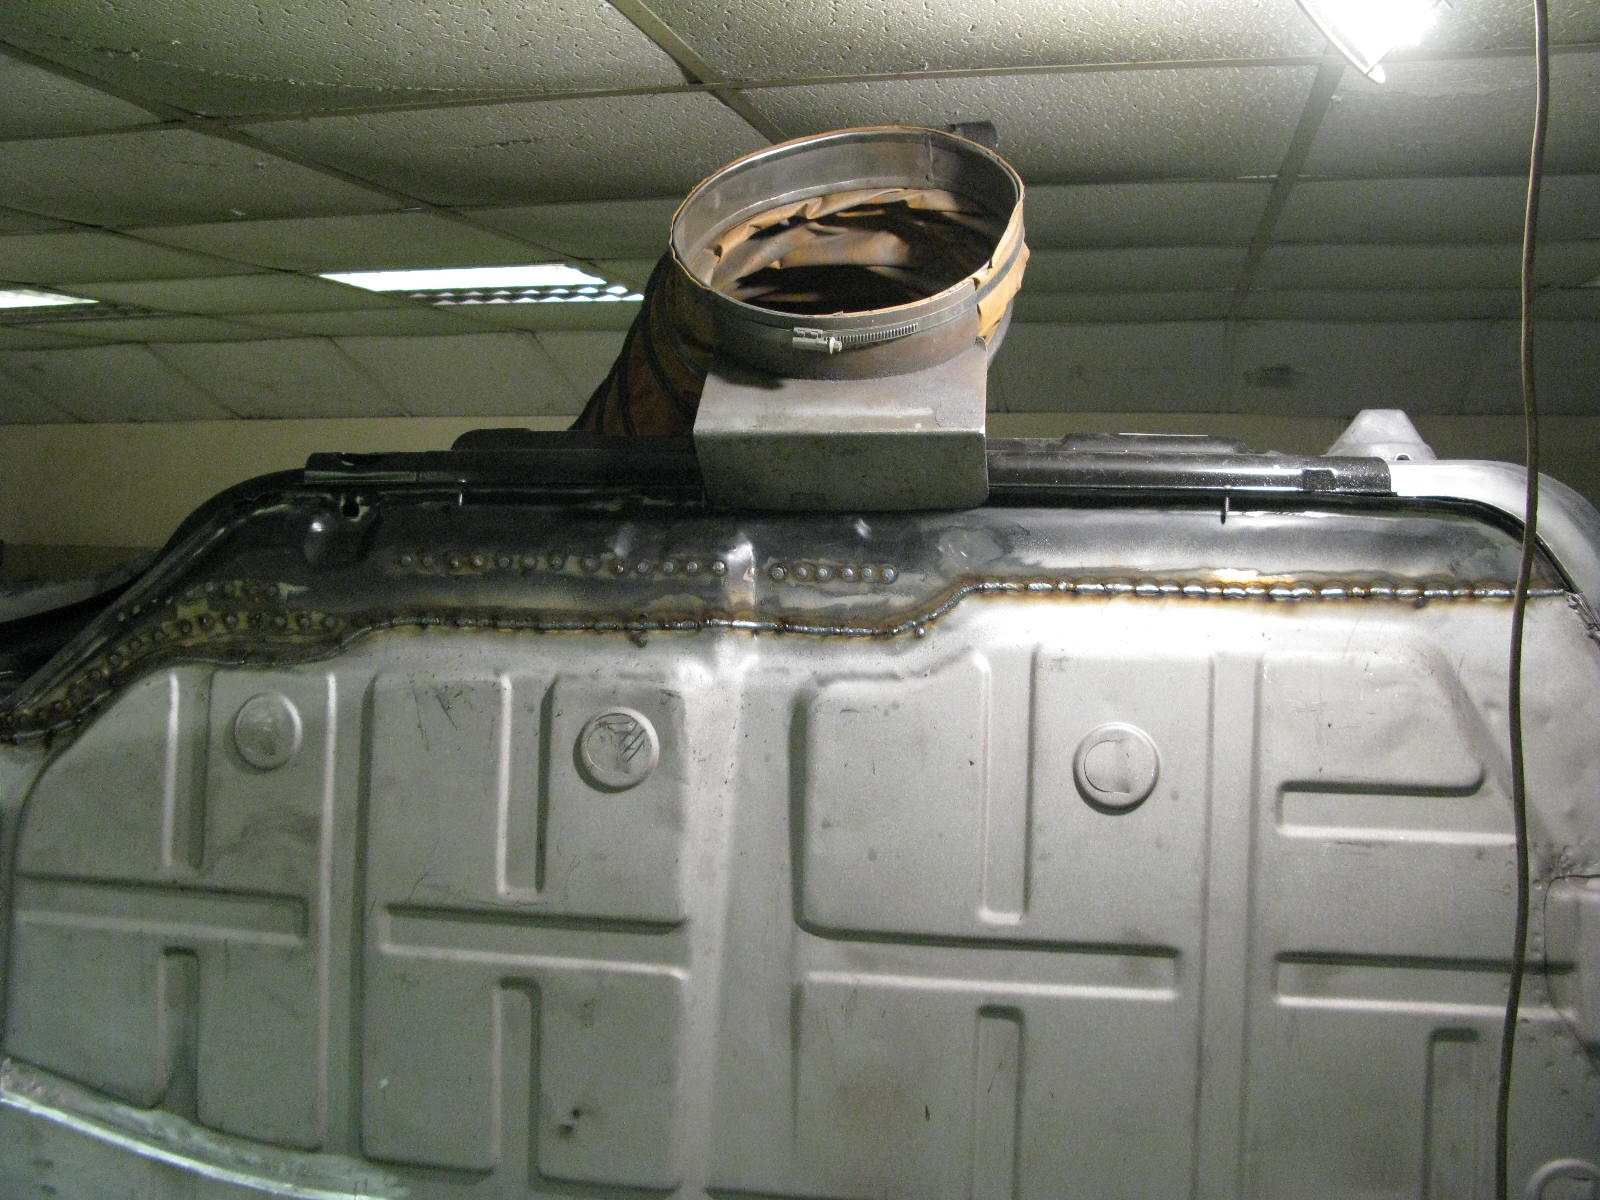
This area is quite the nastiest to work on. It can be seen quite easily, and yet access is a bit of a pain. It's covered by the huge seat-belt mounting, and also has the engine lid hinge mounting (that has to be referenced perfectly), plus the wiring and parcel-shelf tabs / bracket. It also under-laps the rear bulkhead.

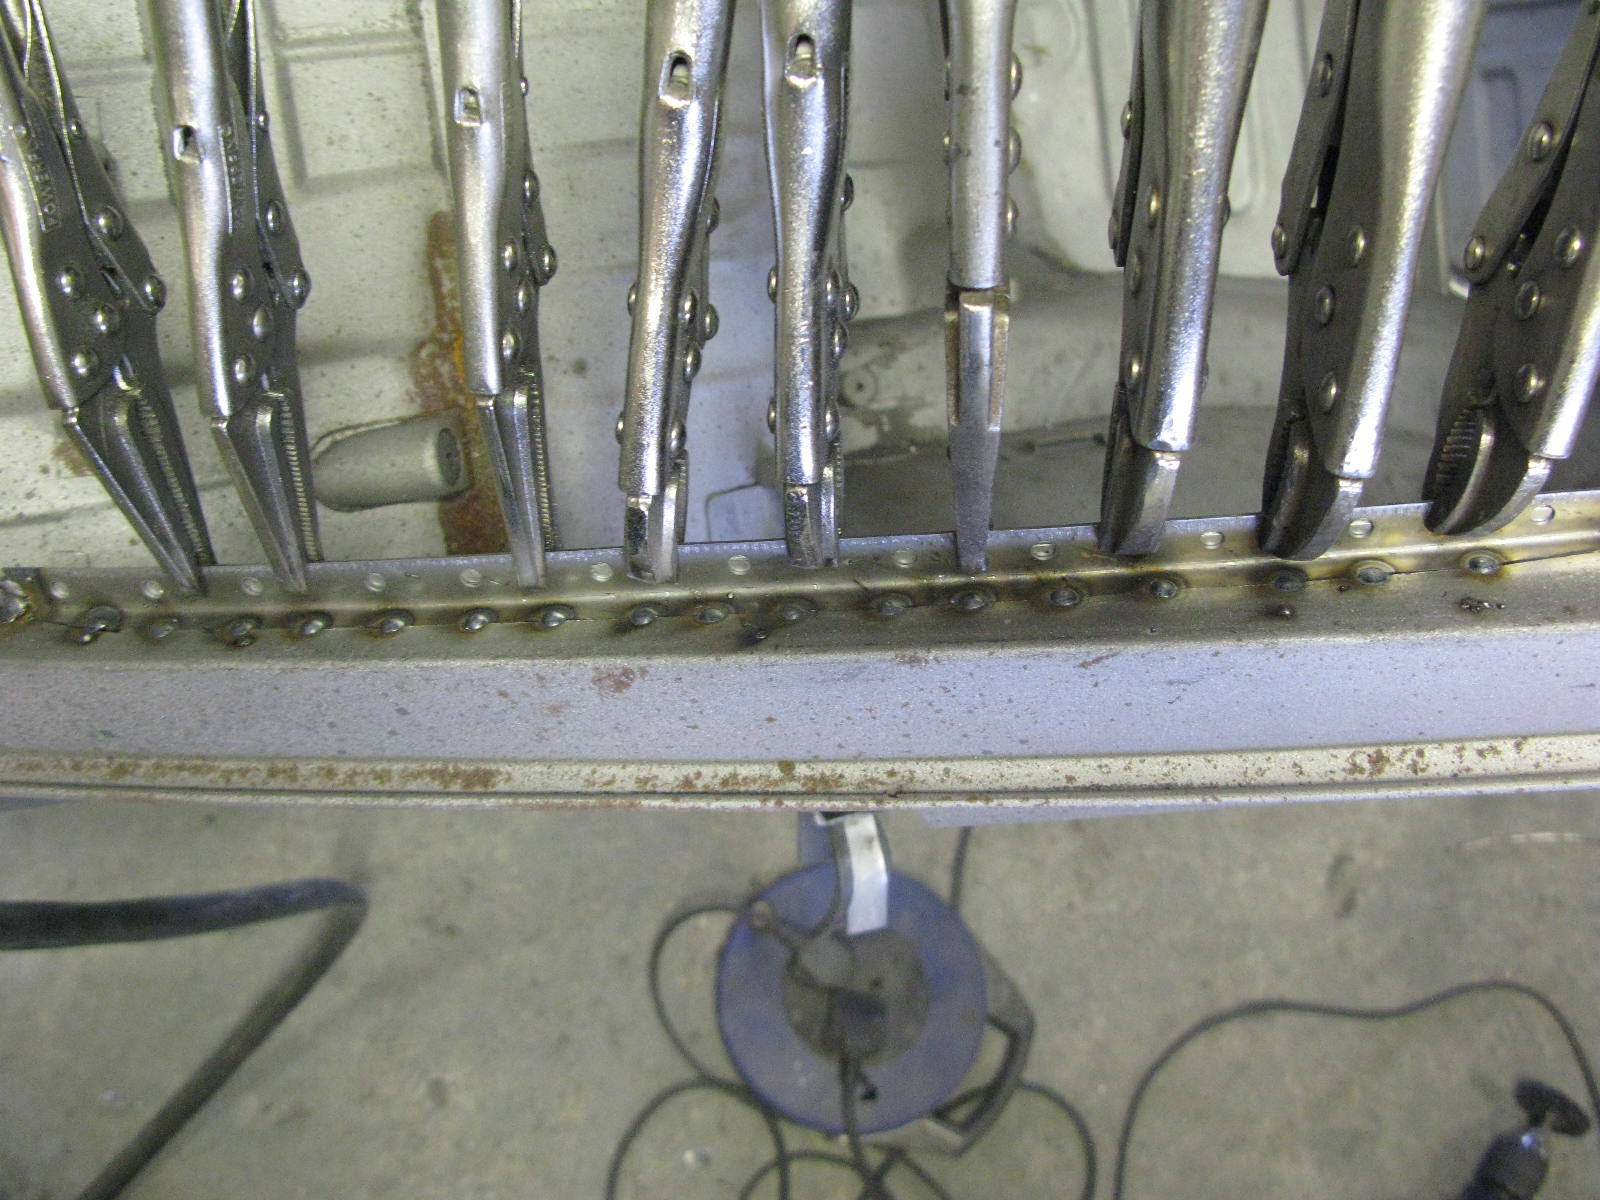
Literally two days work here, and as an example, you can see how many spot welds you have to drill out to 'harvest' the hinge mount, seat-belt plate and parcel-shelf bracket.

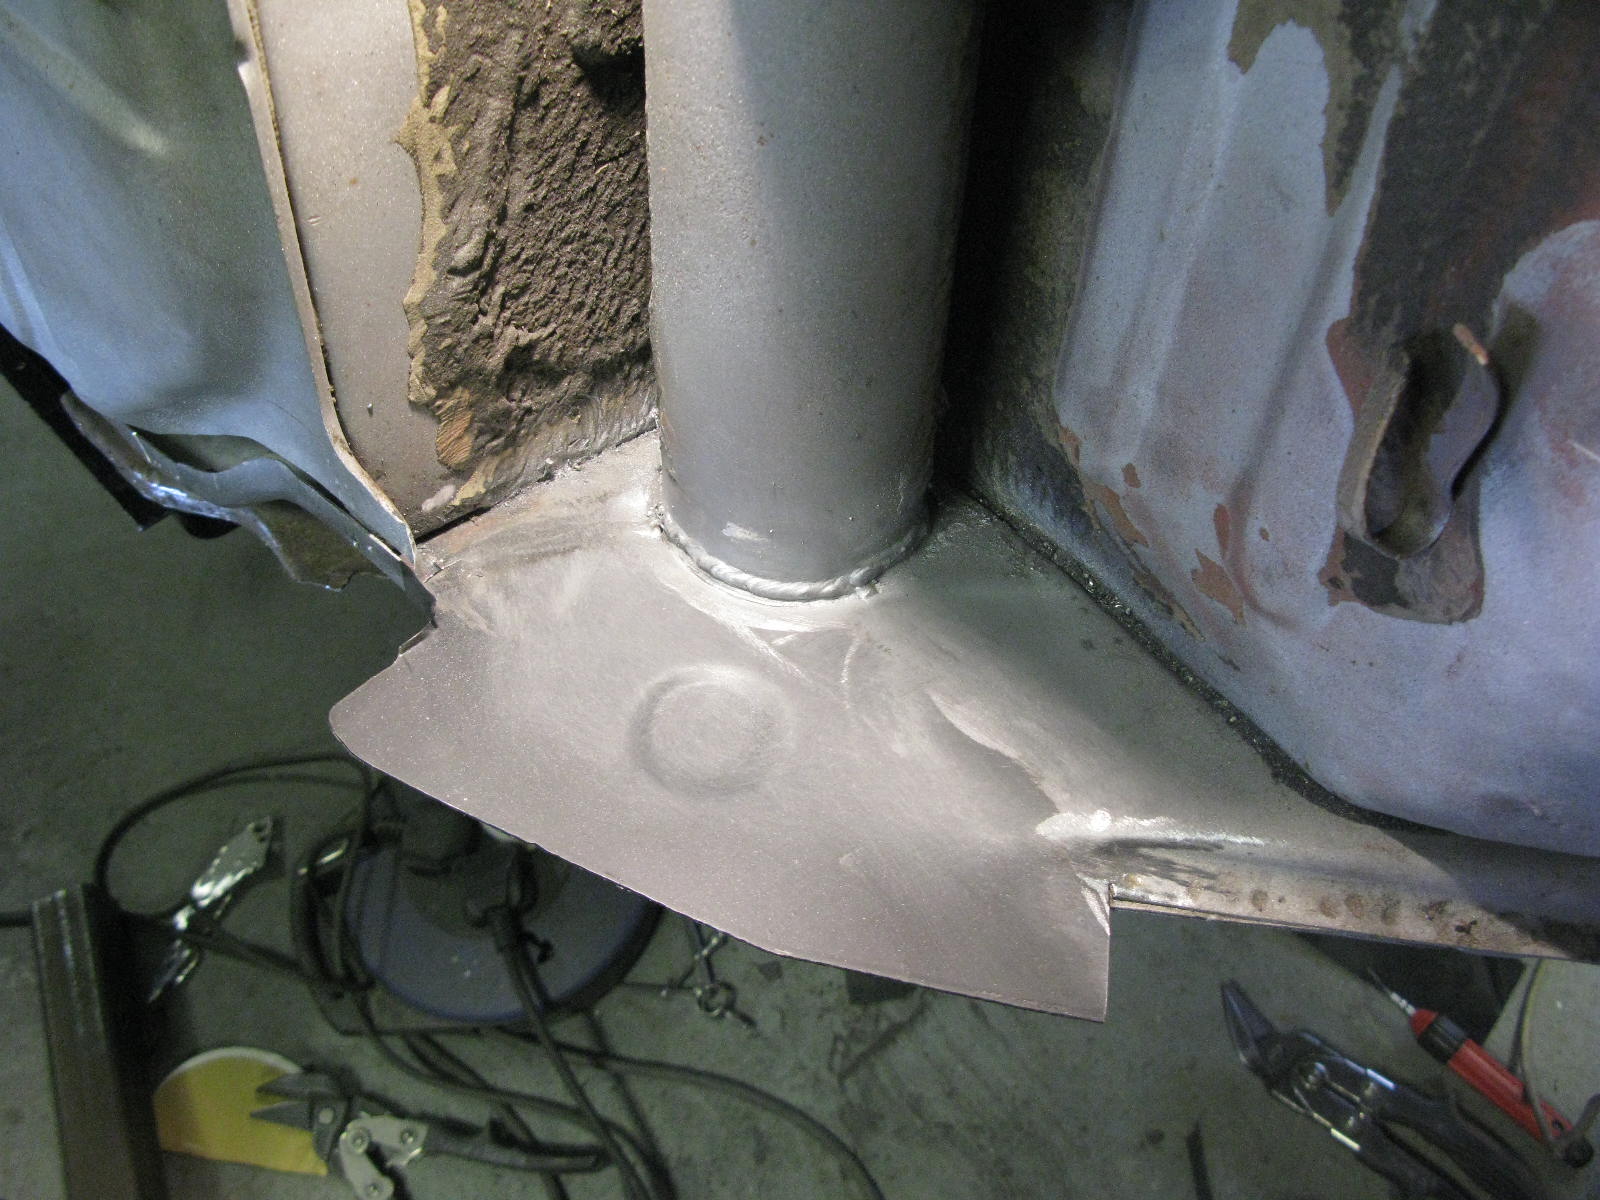
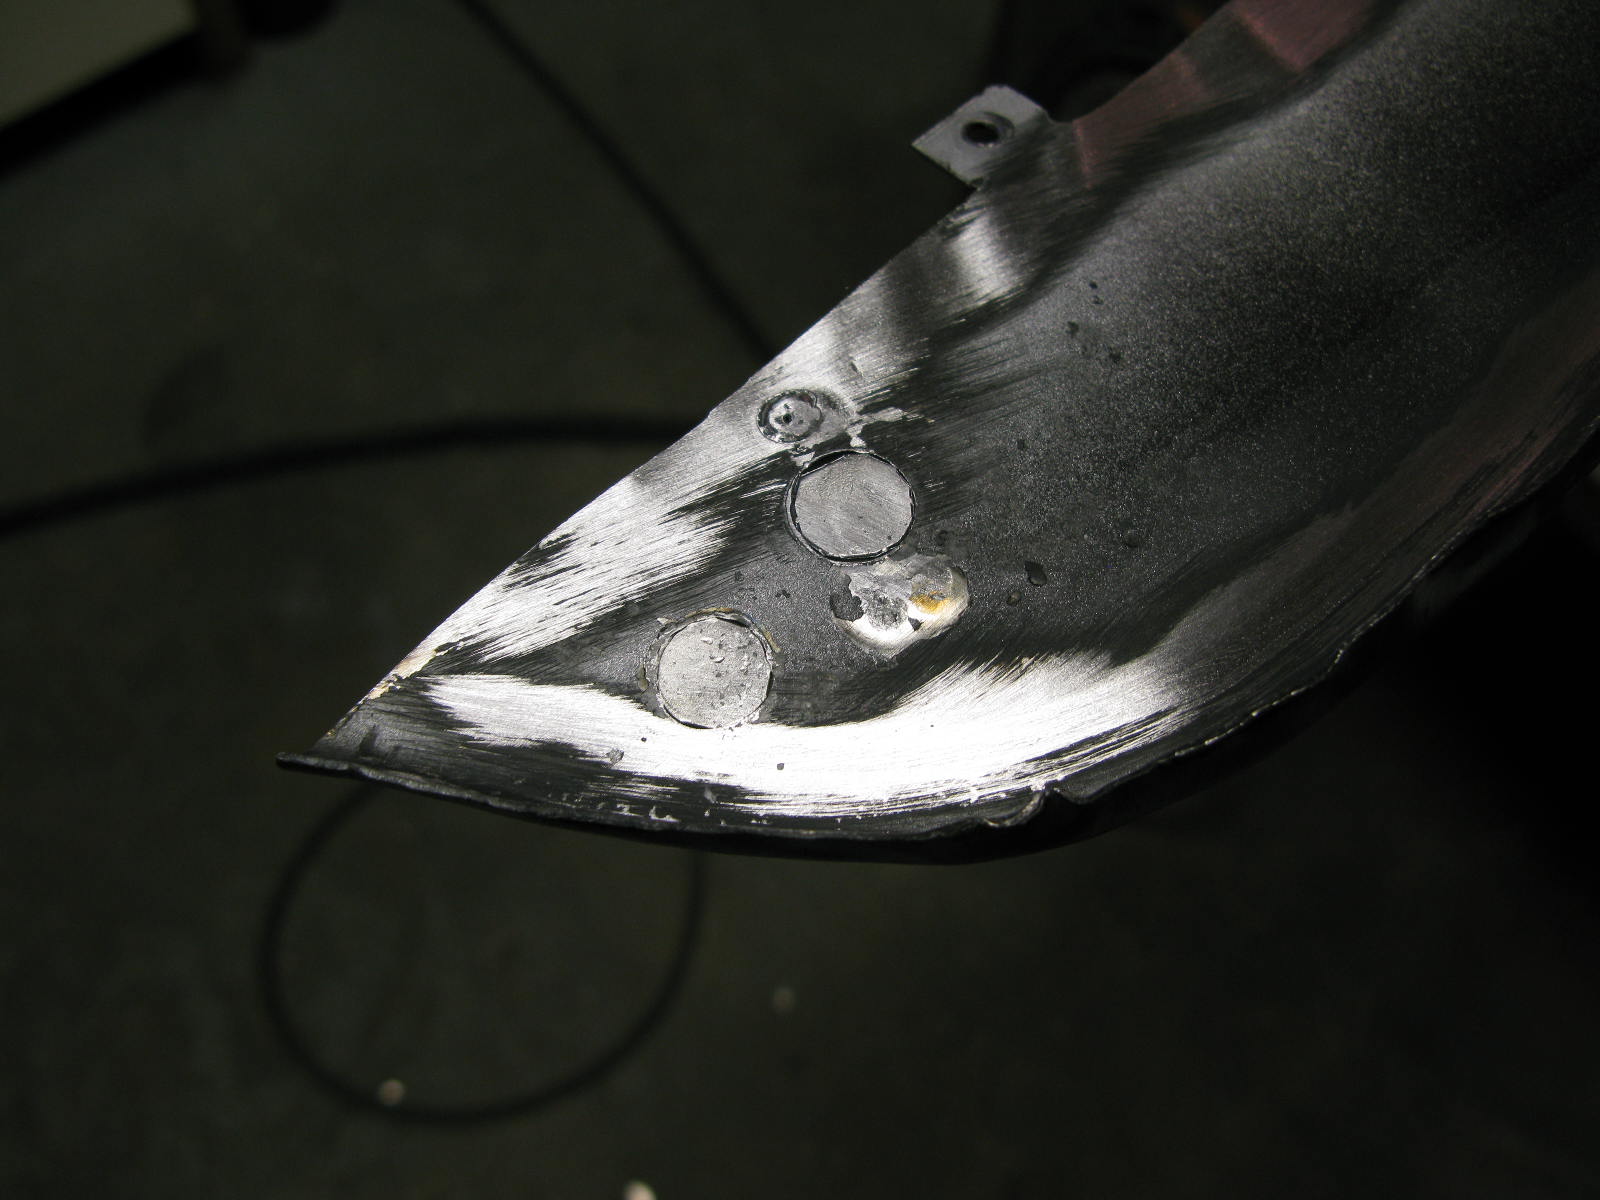
In the end I made up a section of bulkhead, as I needed to cut it back a bit anyway, but that would have left me letting a small bit in, right next to the welded-speaker hole. It would have meant old and new welds everywhere, so better to make a slightly larger bit, and have it tidier. These early parcel-shelves are the worst to deal with because of those horrible little ribs. They are so hard to fabricate neatly, and in line right across a long repair. The ones on the new parcel-shelf are nothing like the original, so I had to re-work the few that are used here.

Goodbye parcel-shelf area, and frankly good riddance! On other hand, it does make that whole area of the car look so much healthier.

2017 MetalworkRichard Fry
LH Rear Screen Flange and Corner

The other side of the rear screen, similarly pitted. This side also needed the lower corner replaced.

Barry made up a lovely little repair piece. His comments:

An interesting fabrication, as it isn't a right angle in cross section, and the angle changes all the way round. Also, the base flange is curved in two (varying) directions as well. Actually didn't take very long to make, and quite a nice job in the end.

2017 MetalworkRichard Fry
RH Rear Screen Flange

Barry's comments on this bit were slightly melancholy. Existential angst is an occupational hazard of these projects, it seems.

What a lot of work for a bit of pitting. When you start you wonder if it's worth it...

He cheered up, though

... by the end you're pleased you've done it. Lifted the whole area.

I can see what he means, on another part that won't be seen.

My spec to Barry was "concours". Occasionally I wonder whether that was such a wise idea. Glad I don't have to justify this to anyone!

2017 MetalworkRichard Fry
Oil Tank Area

A small repair to deal with the pitting we see in the first picture.

This little repair piece was hand-formed using a lump of round bar and then rounded off to blend in with the original.

2017 MetalworkRichard Fry
RH Quarterlight Flange

As on the other side, this area had suffered from have two or more wings previously welded to it.
Cleared out so we can start again.

2017 MetalworkRichard Fry
RH Torque Tube Area

Moving on with the RH Torque Tube, Barry said:

As per the other side, I removed the rather pitted end of the otherwise good torque tube, and used the last of my spare tube to add on a new section. This was then back-marked from the jig bracket using a stepped tool which gives the correct tube protrusion.

After that, the new inner wing base could be roughly trimmed down, and the shape (flanges especially) could be tweaked and tidied as best as possible before the numerous trial fits could begin. On this side it went on for ages. A combination of so-so pressing, previous welding and accident damage meant it took simply ages to get everything to work.

BTW, before the repair was fitted, it got keyed up, black etch primed in the centre, and Wurth Bright Zinc primed around the weld sites, just the same as the other repairs.

2017 MetalworkRichard Fry
RH Sill Cavity

The sill cavity got a final clean-out and paint, and the new heater tube was fitted, ready for the sill to be fitted:

2017 MetalworkRichard Fry
RH Torque Tube Area

Work begins on the Torque Tube area. First job is correction of a couple of previous repairs.

First the intermediate panel, which was left with a big chunk missing at the end of previous work. Lighter, I guess, but not ideal for structural integrity of this area....

Barry free-handed the repair panel in 18swg as usual. Will be welded in as part of the final assembly of the TT / inner sill area.

The other correction was to a repair below the torque tube, in the area of the ARB mount.
Doesn't look too bad:

But not so nice from the other side:

So out it comes, replaced by another hand-formed repair piece:

RH Floor Edge

The RH floor edge was scribed in and prepared:

And then, having sanded back and etch-primed the cavity, the floor edge went in for good:

Mmmmm, look at those lovely welds:

RH Floor Edge Small Repair

As I mentioned before, the original floor / tunnel is in good shape. We're only replacing the floor edges. Although I think this approach - keep as much original metal as possible - is right for me and this car, it does eat up time with small repairs.

For example in this small repair there's not much to see from the other side, but now the floor edge is off we can see it's another pitted and holed area that needs to be replaced: