Rear End

Making a start on the rear end.

It's a bit chilly in the workshop today. Barry tells me there's not much point heating it - the extractor works quite well at immediately sucking out the warm air.

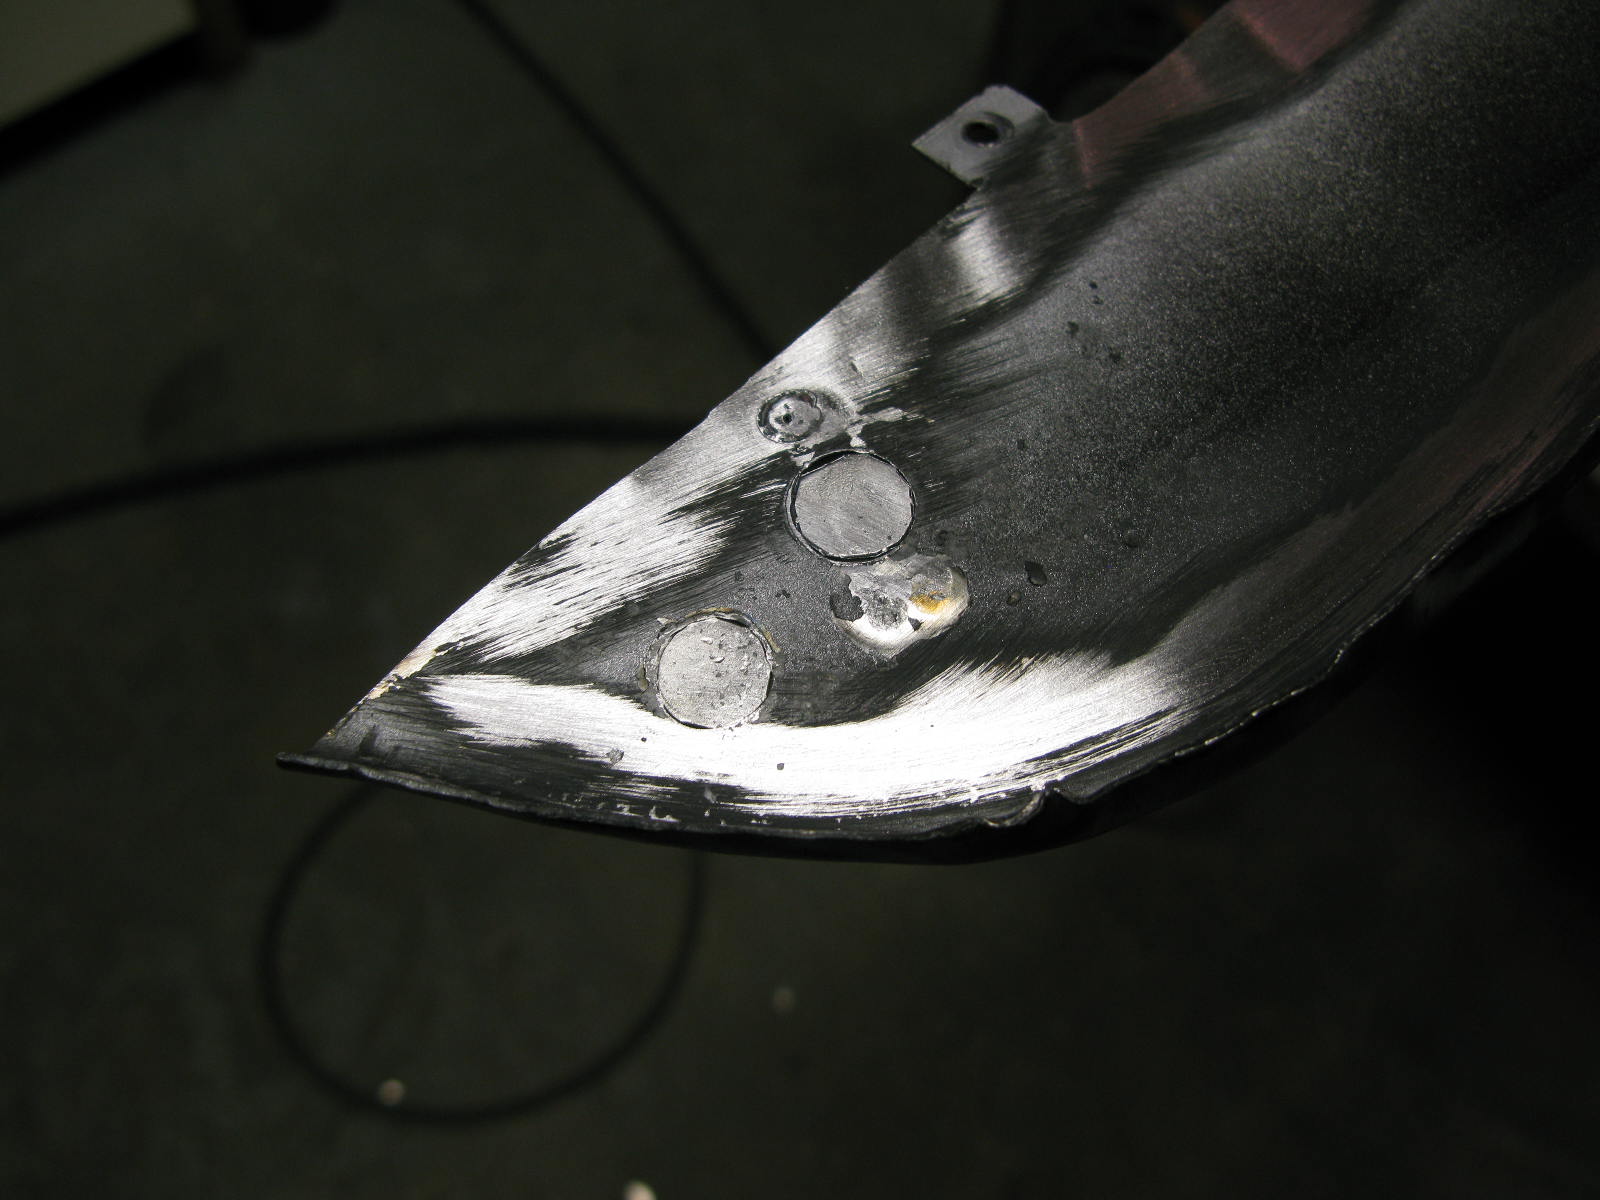
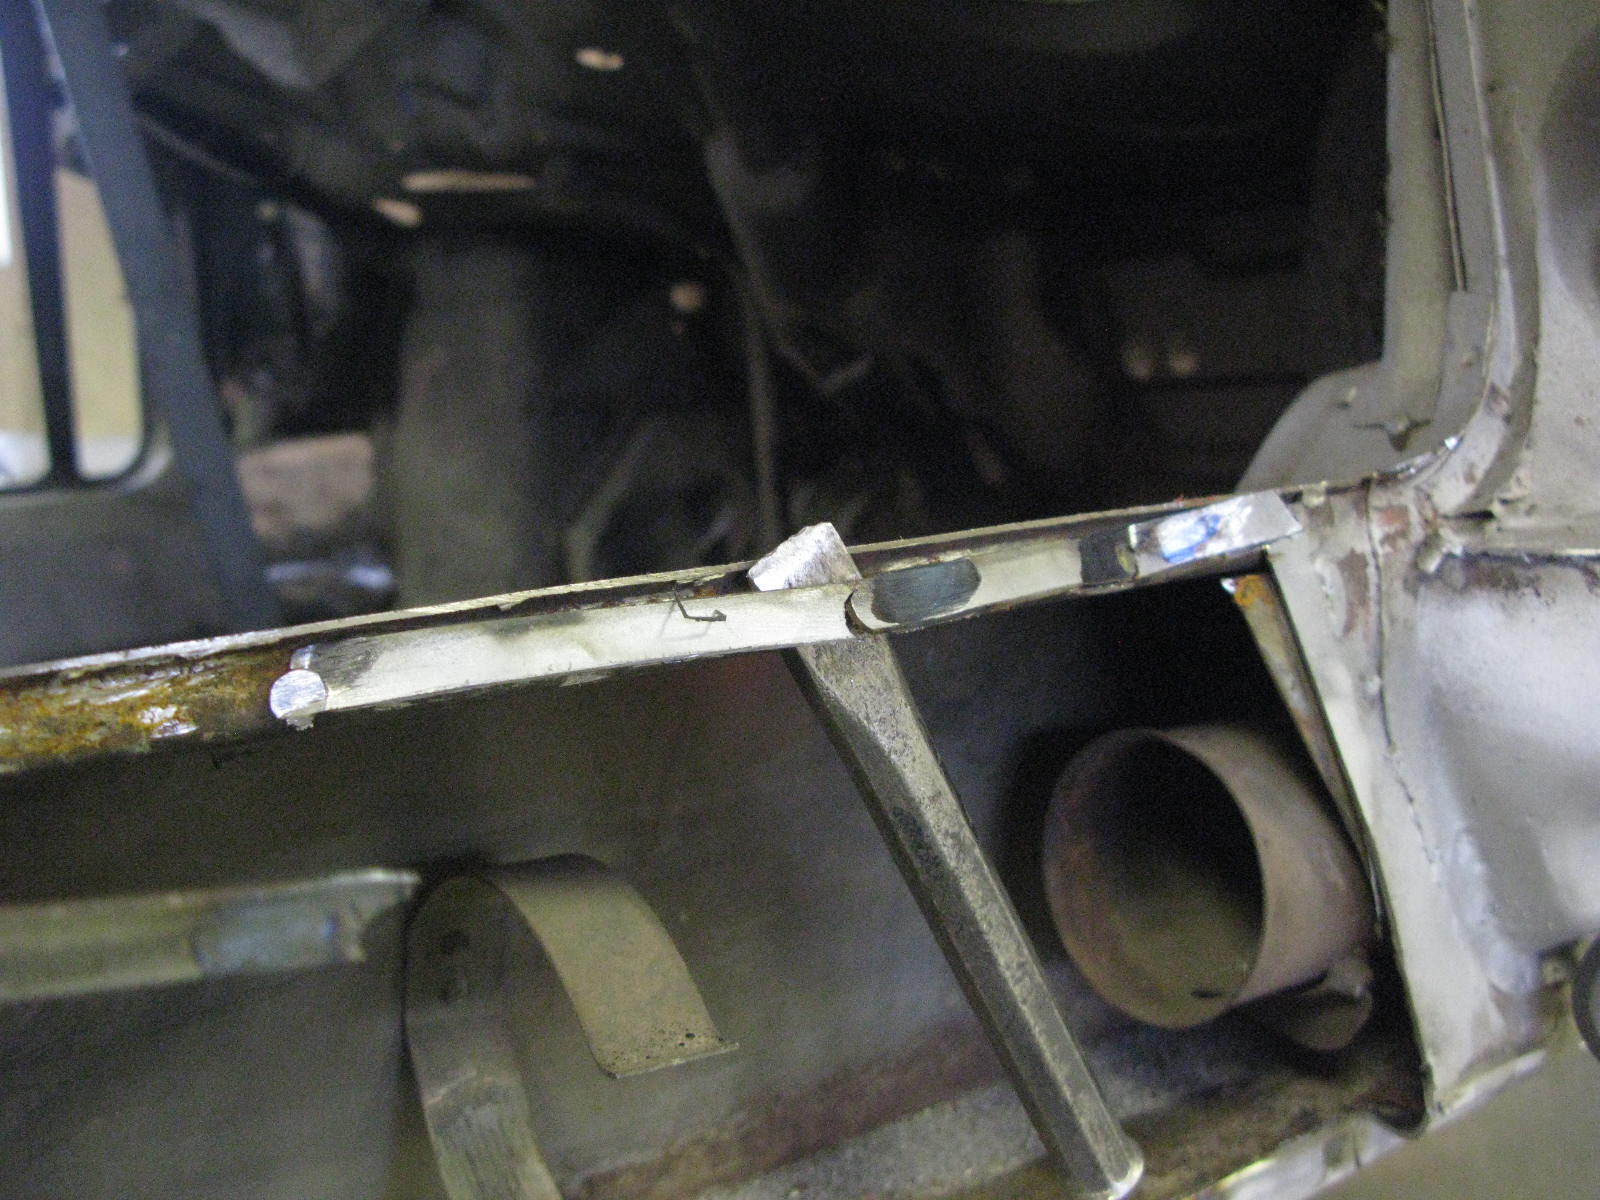
The rear end has suffered accident damage. The repairs at the time had seemingly got the car pretty straight (had not needed large corrections on the jig). But the bent areas had been pulled out fairly roughly by modern standards.

These areas don't look that bad in pictures until you either put a straight-edge across or get some lighting right down low across the surface:

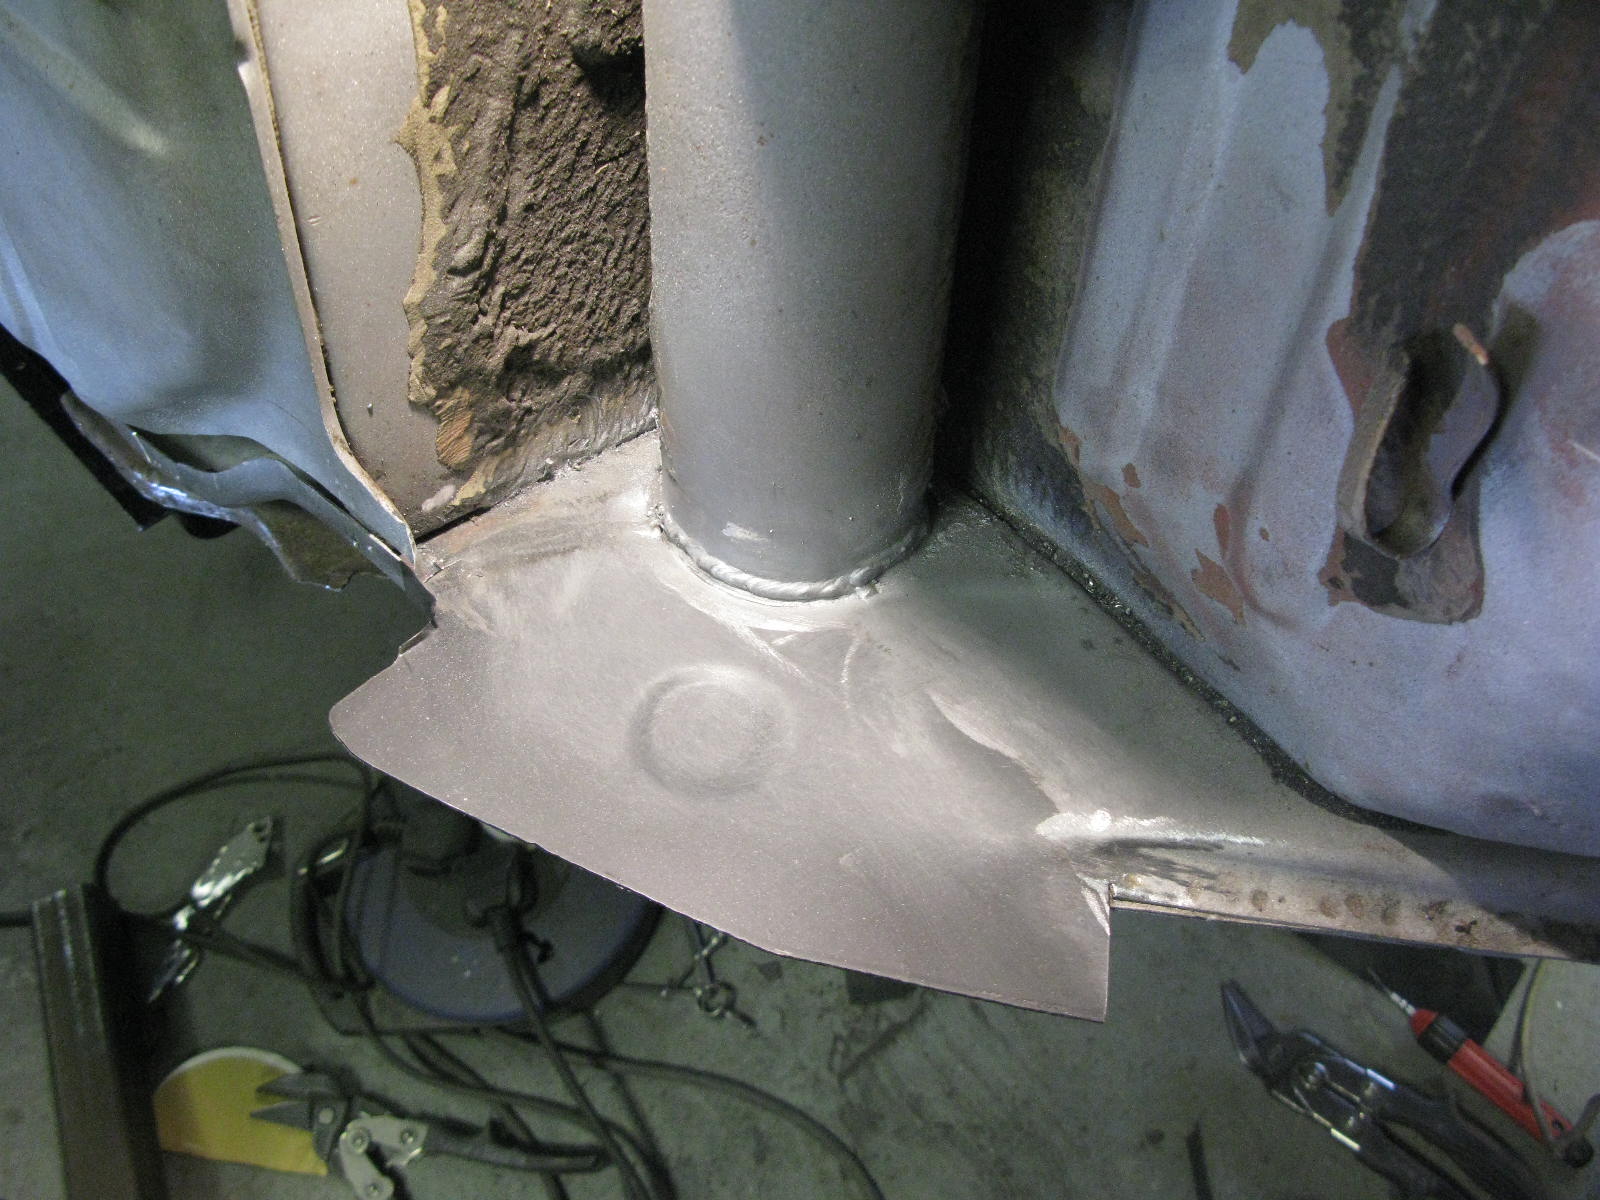
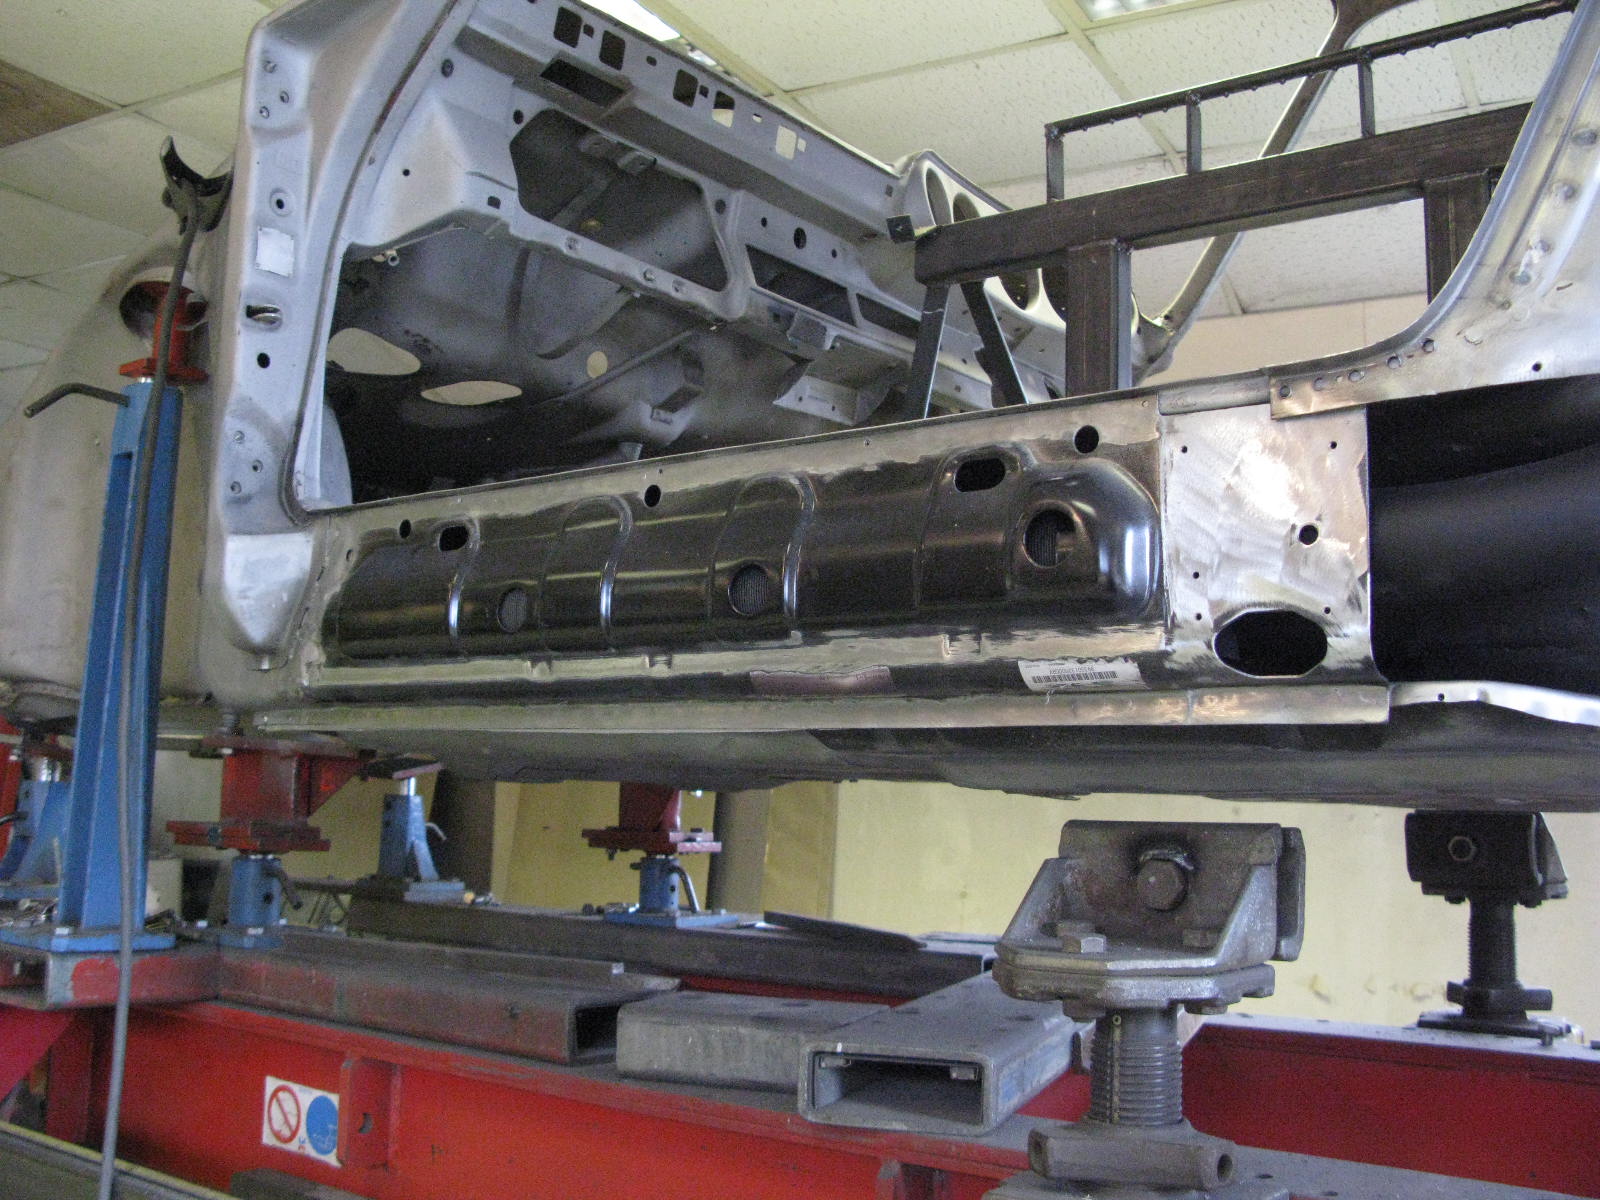
There were some nasty pulling gashes in the (original) rear slam panel. So unfortunately, apart from an end bit used to backdate the new part, the panel was beyond saving and was duly consigned to the bin.

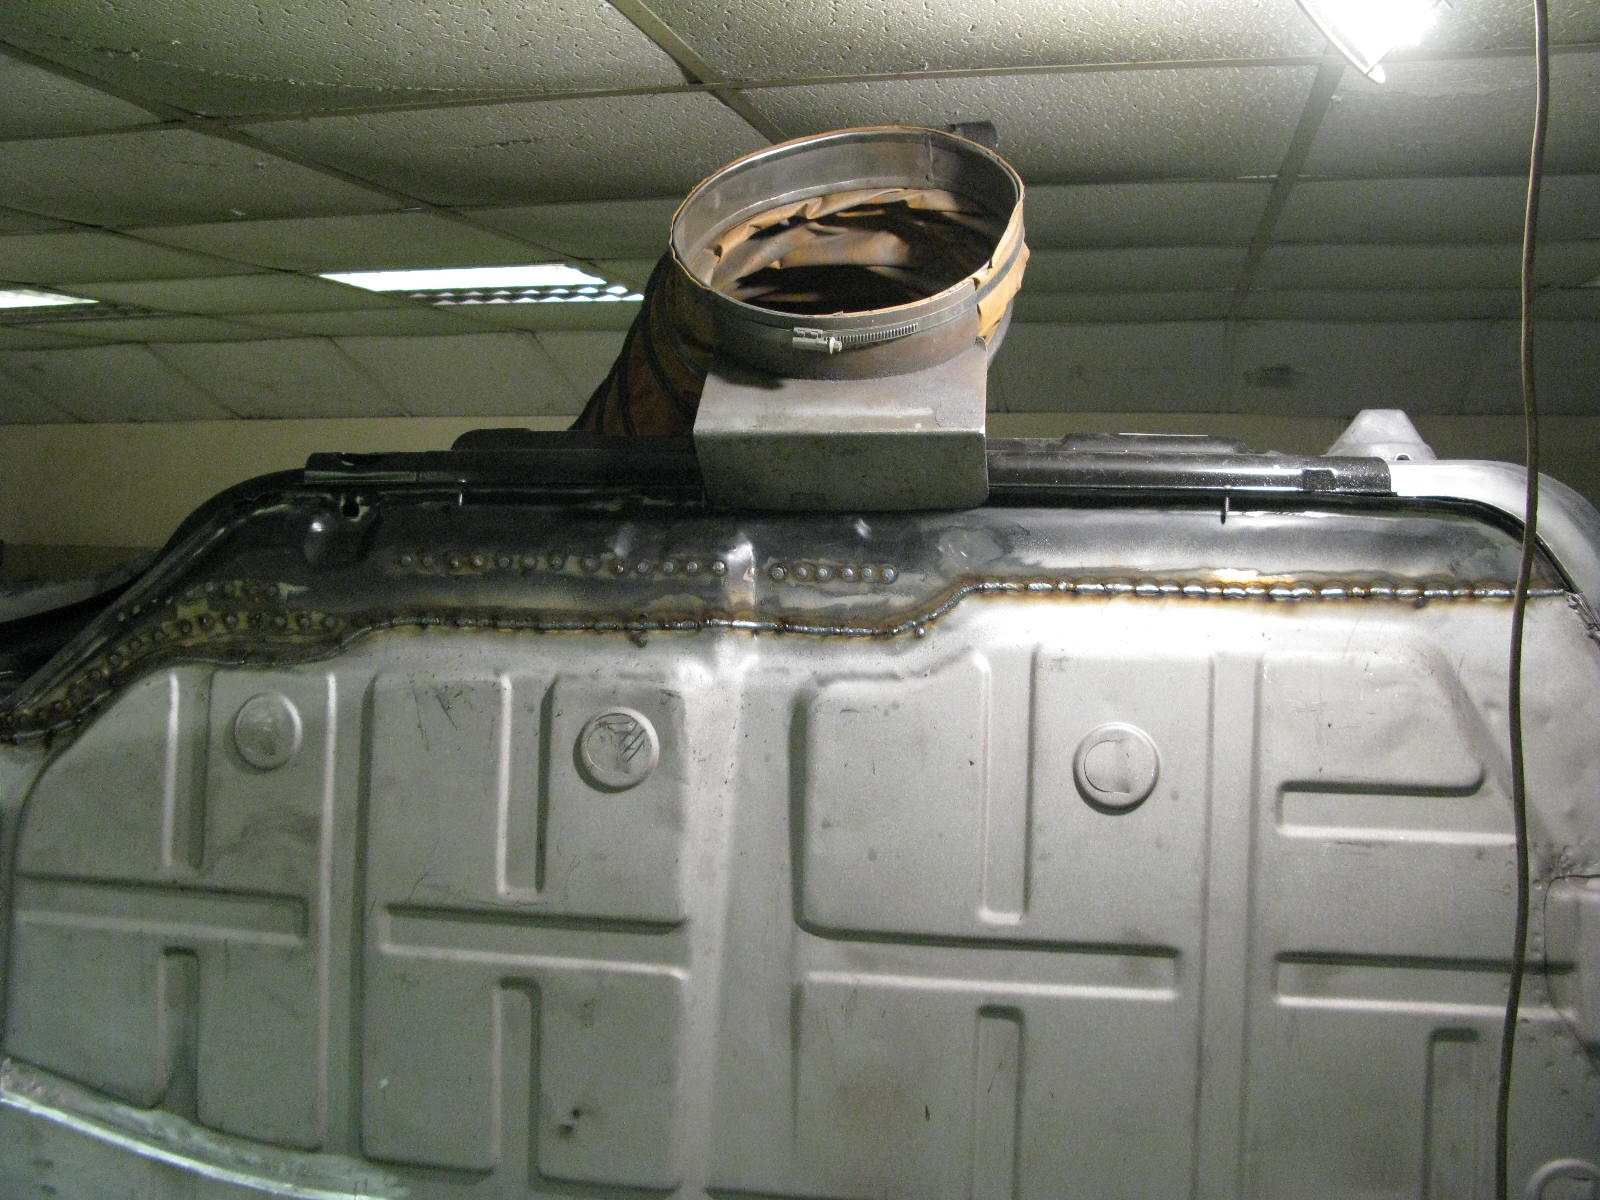
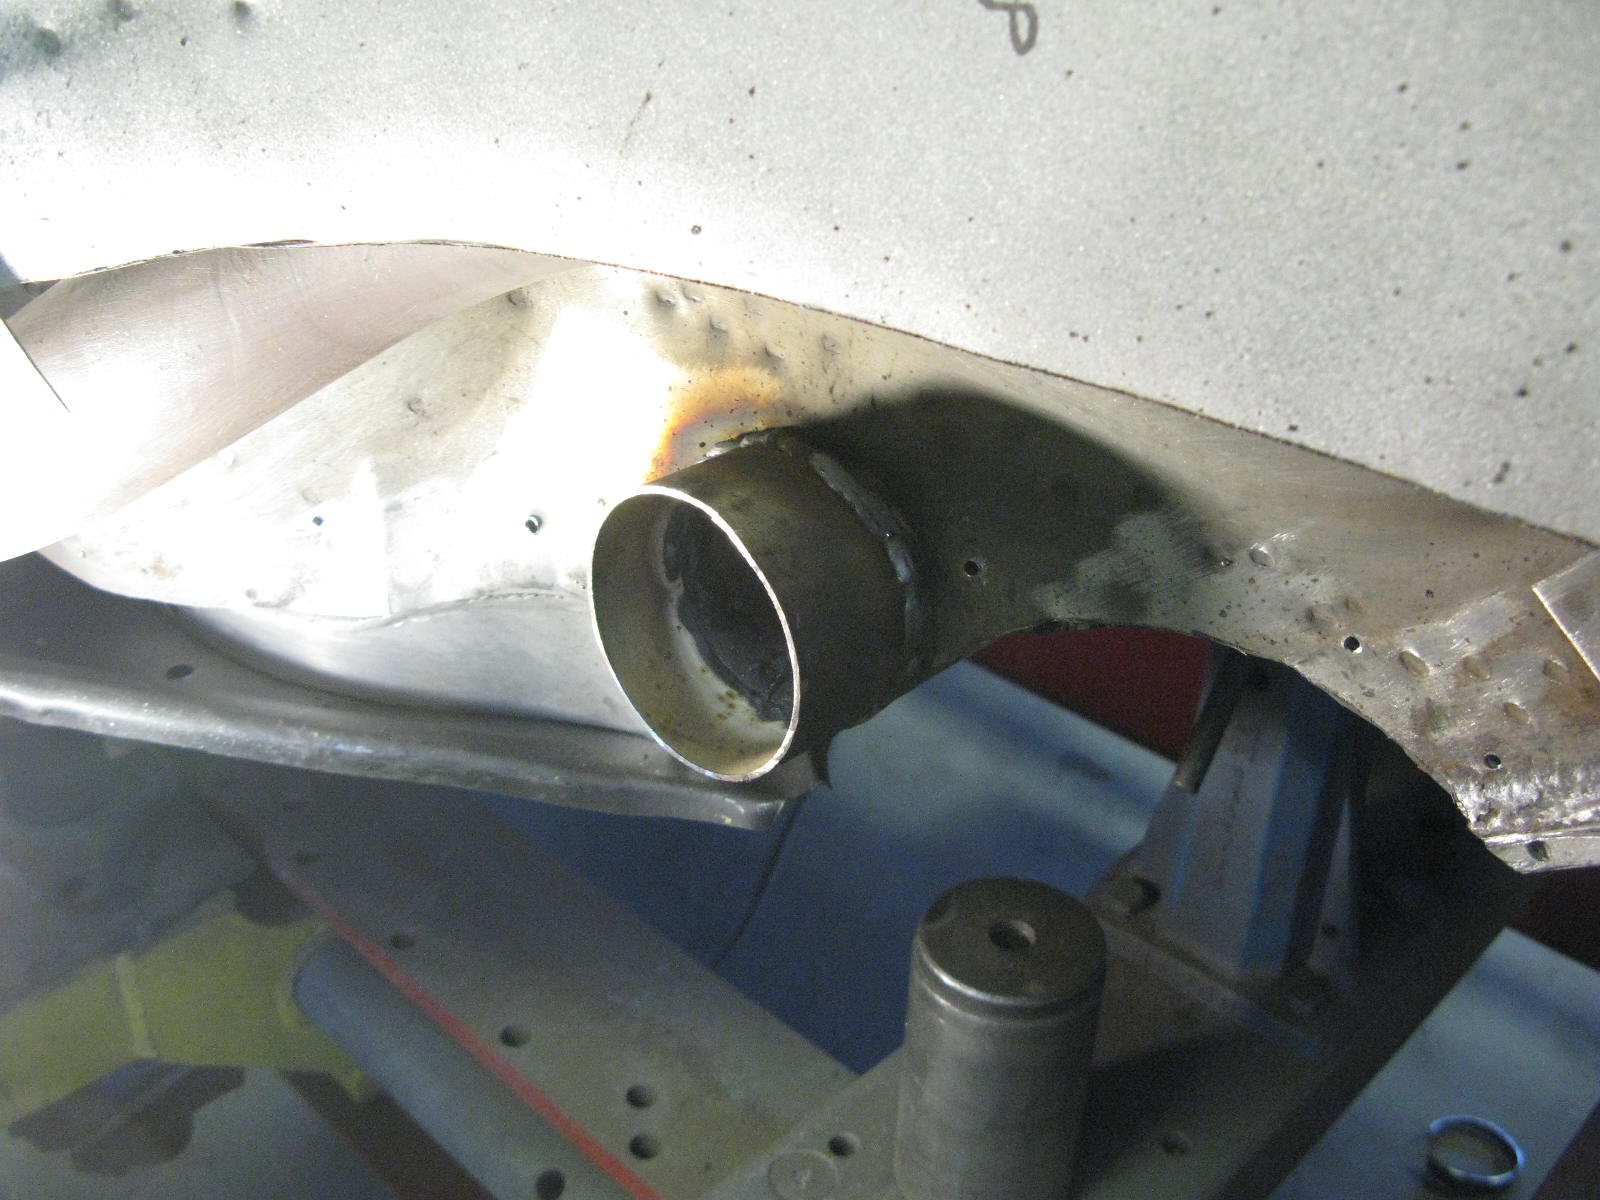
Removing the slam panel revealed further grottiness:

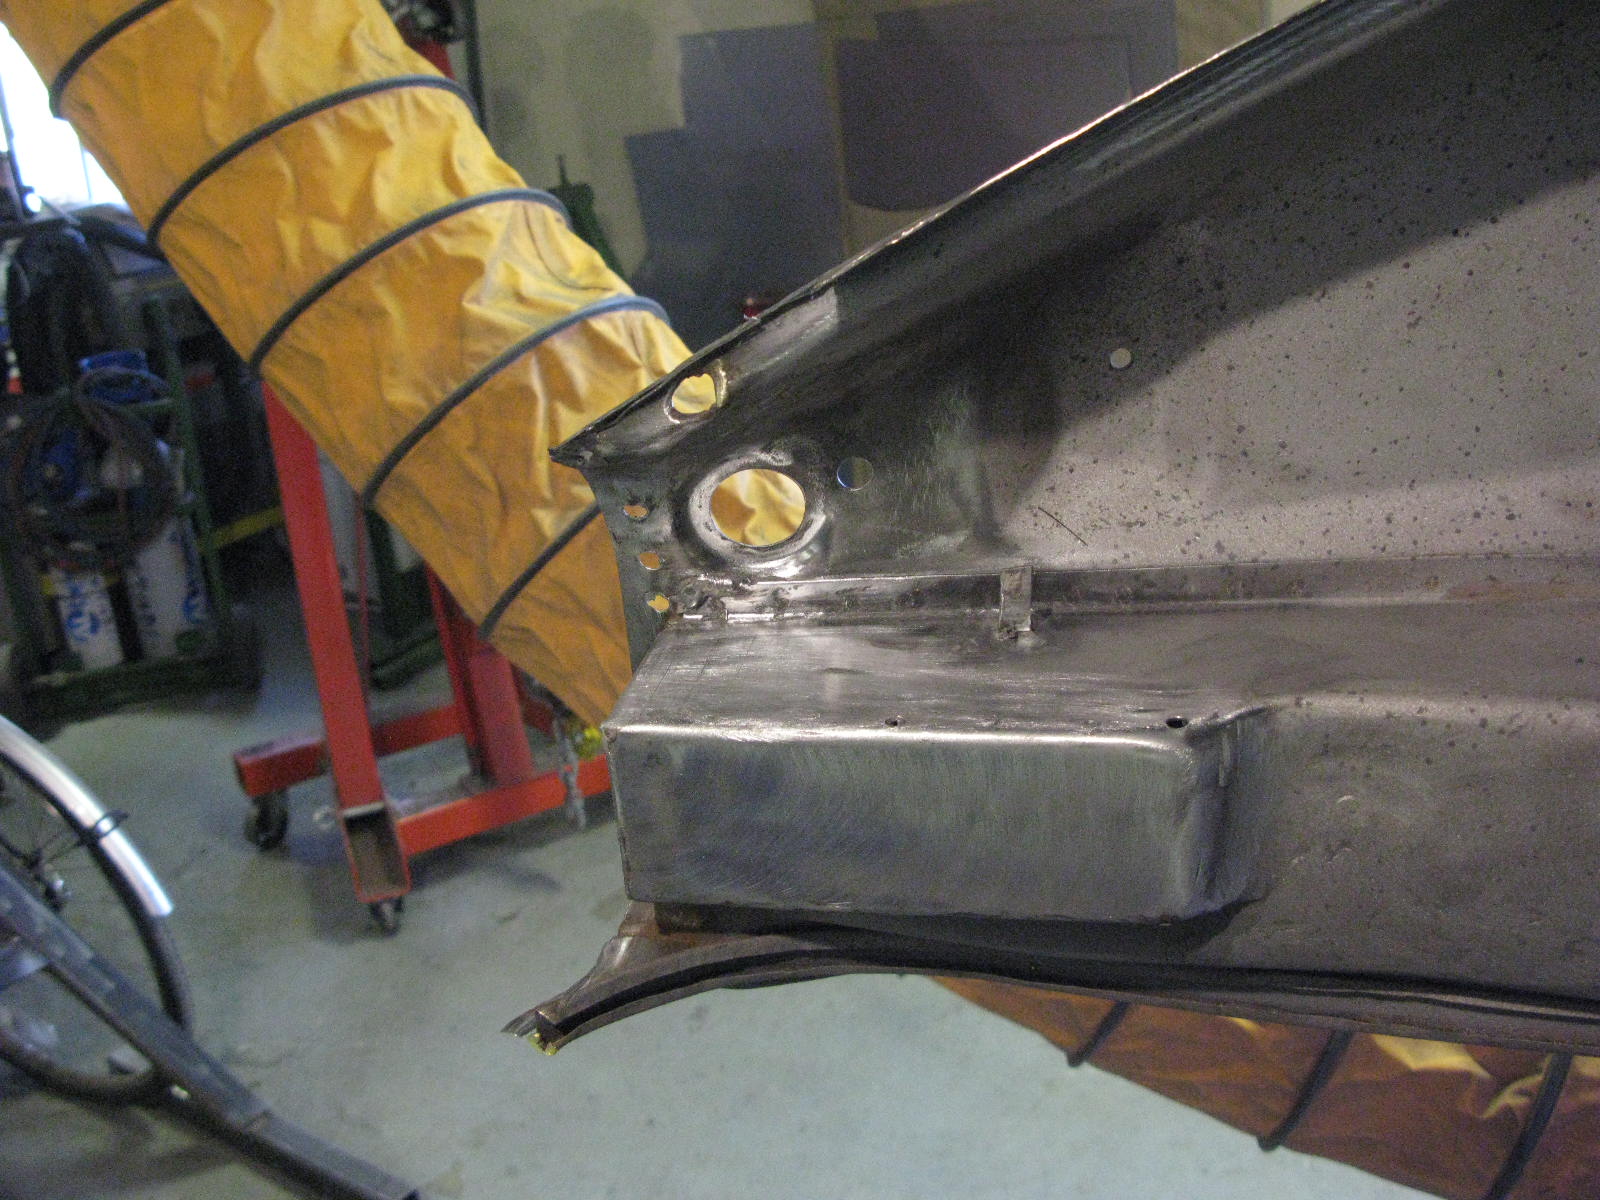
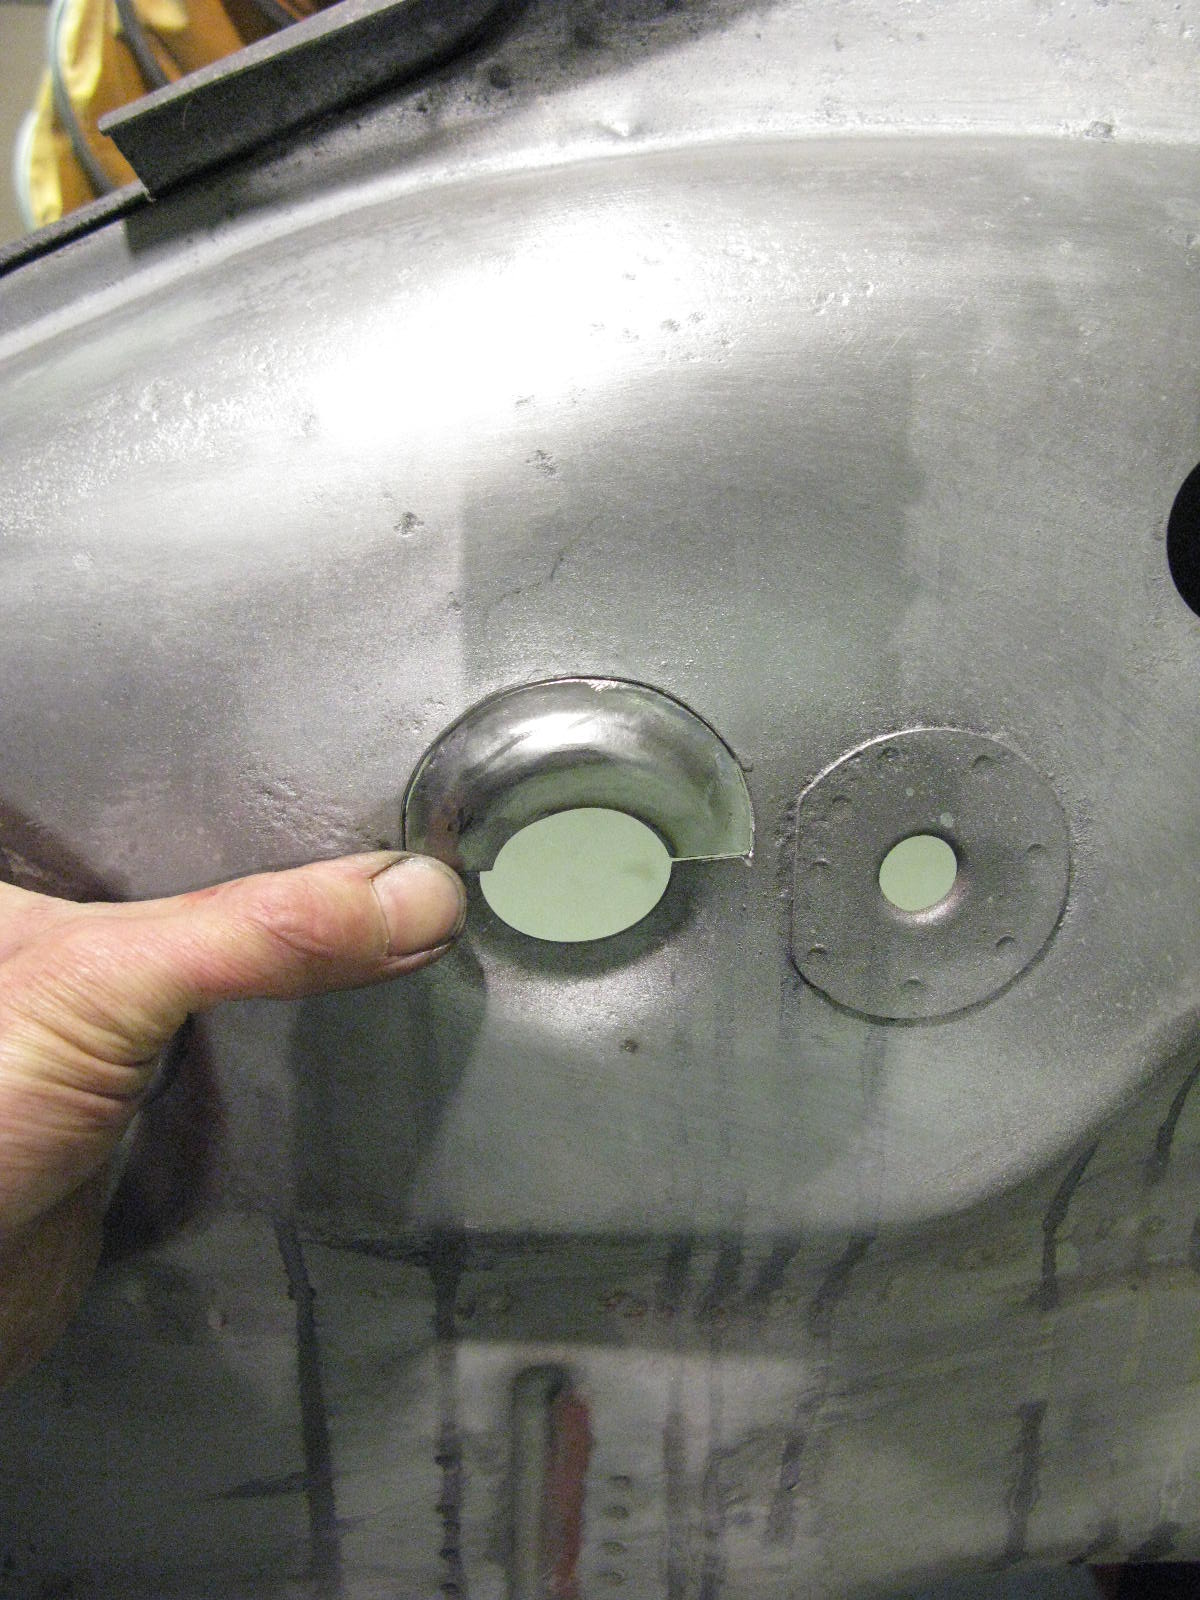
So the back end repairs will consist of backdating and fitting the new slam panel, plus various making good of the dodgy parts of the "chassis legs".
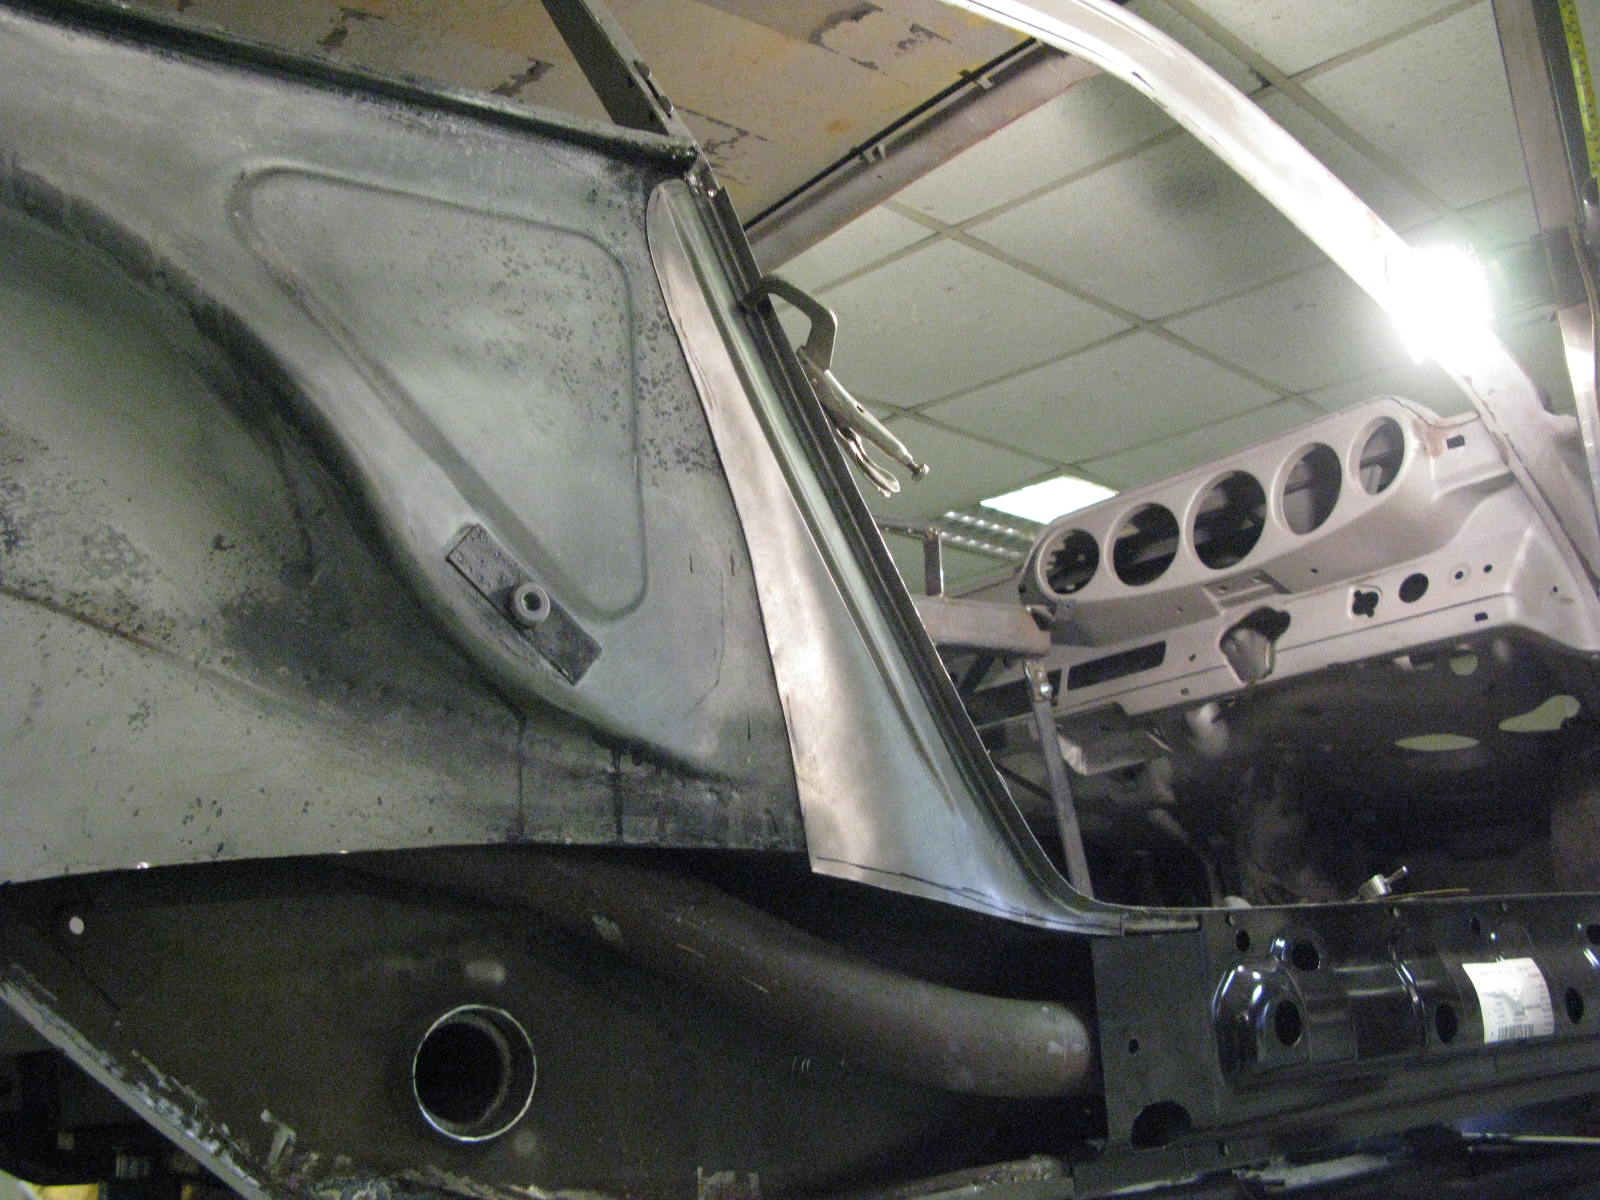
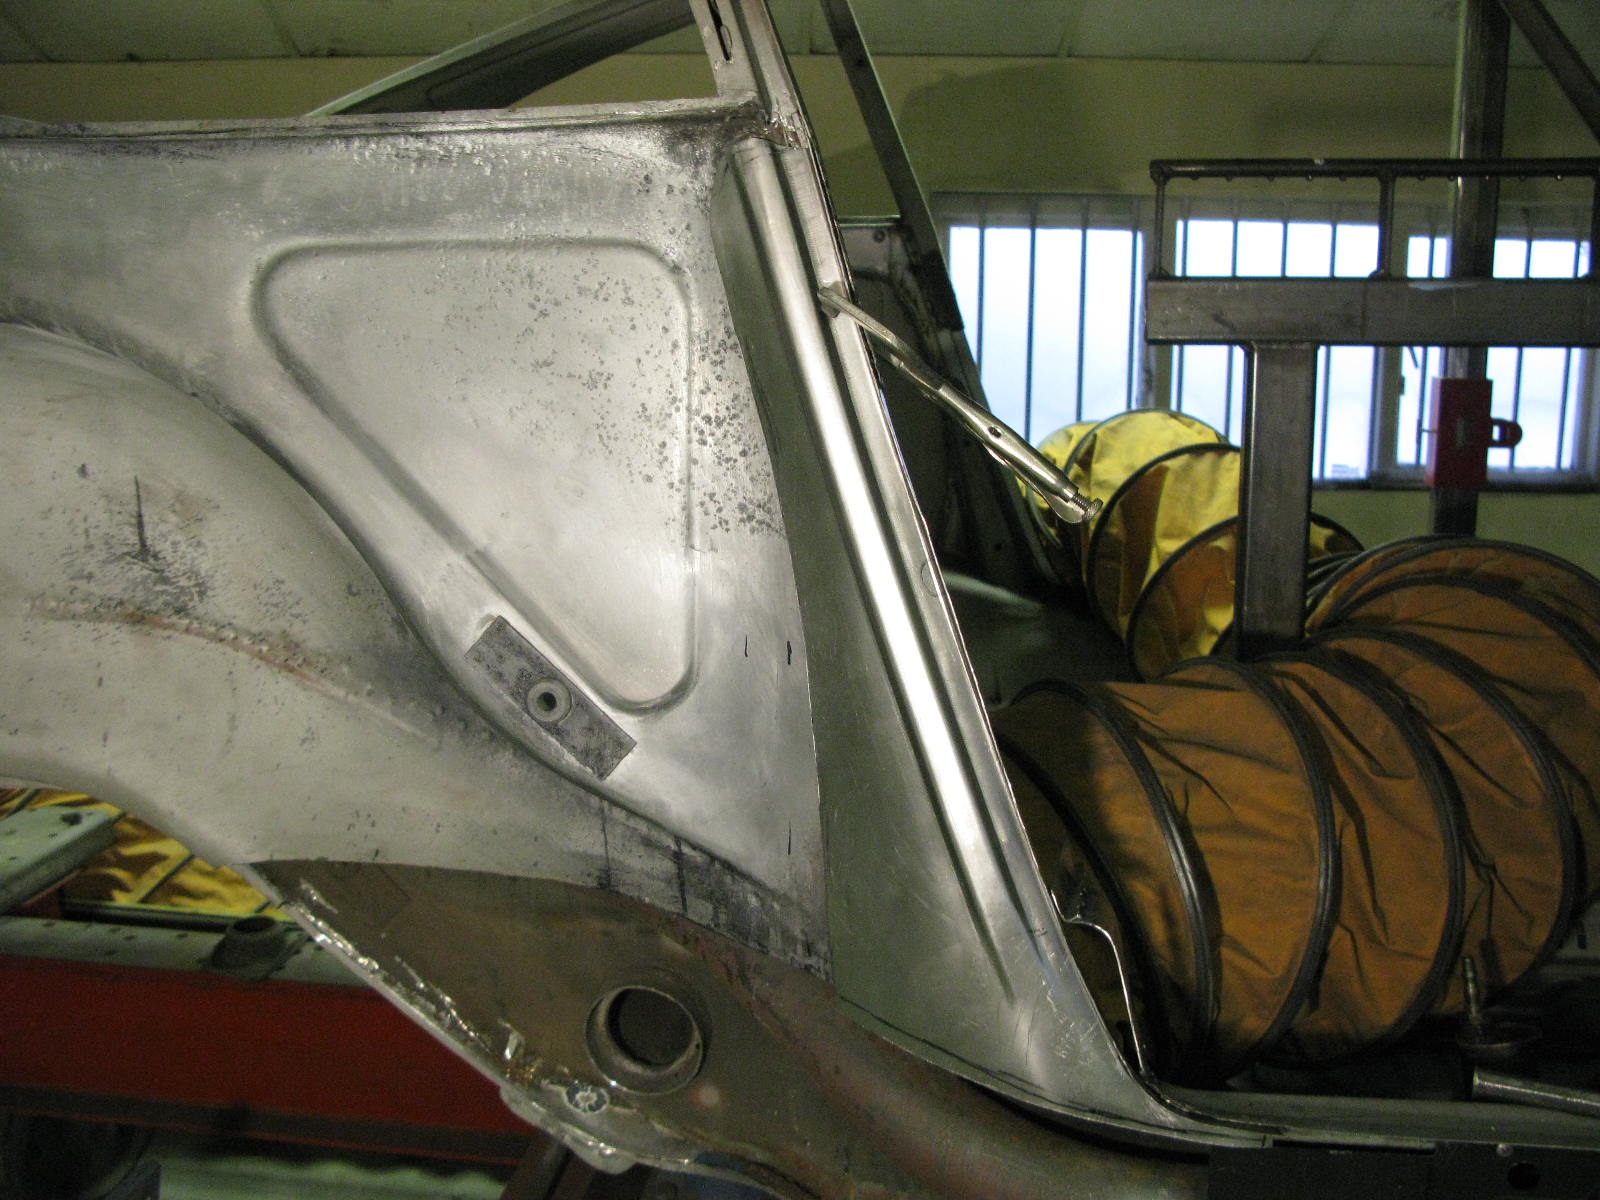
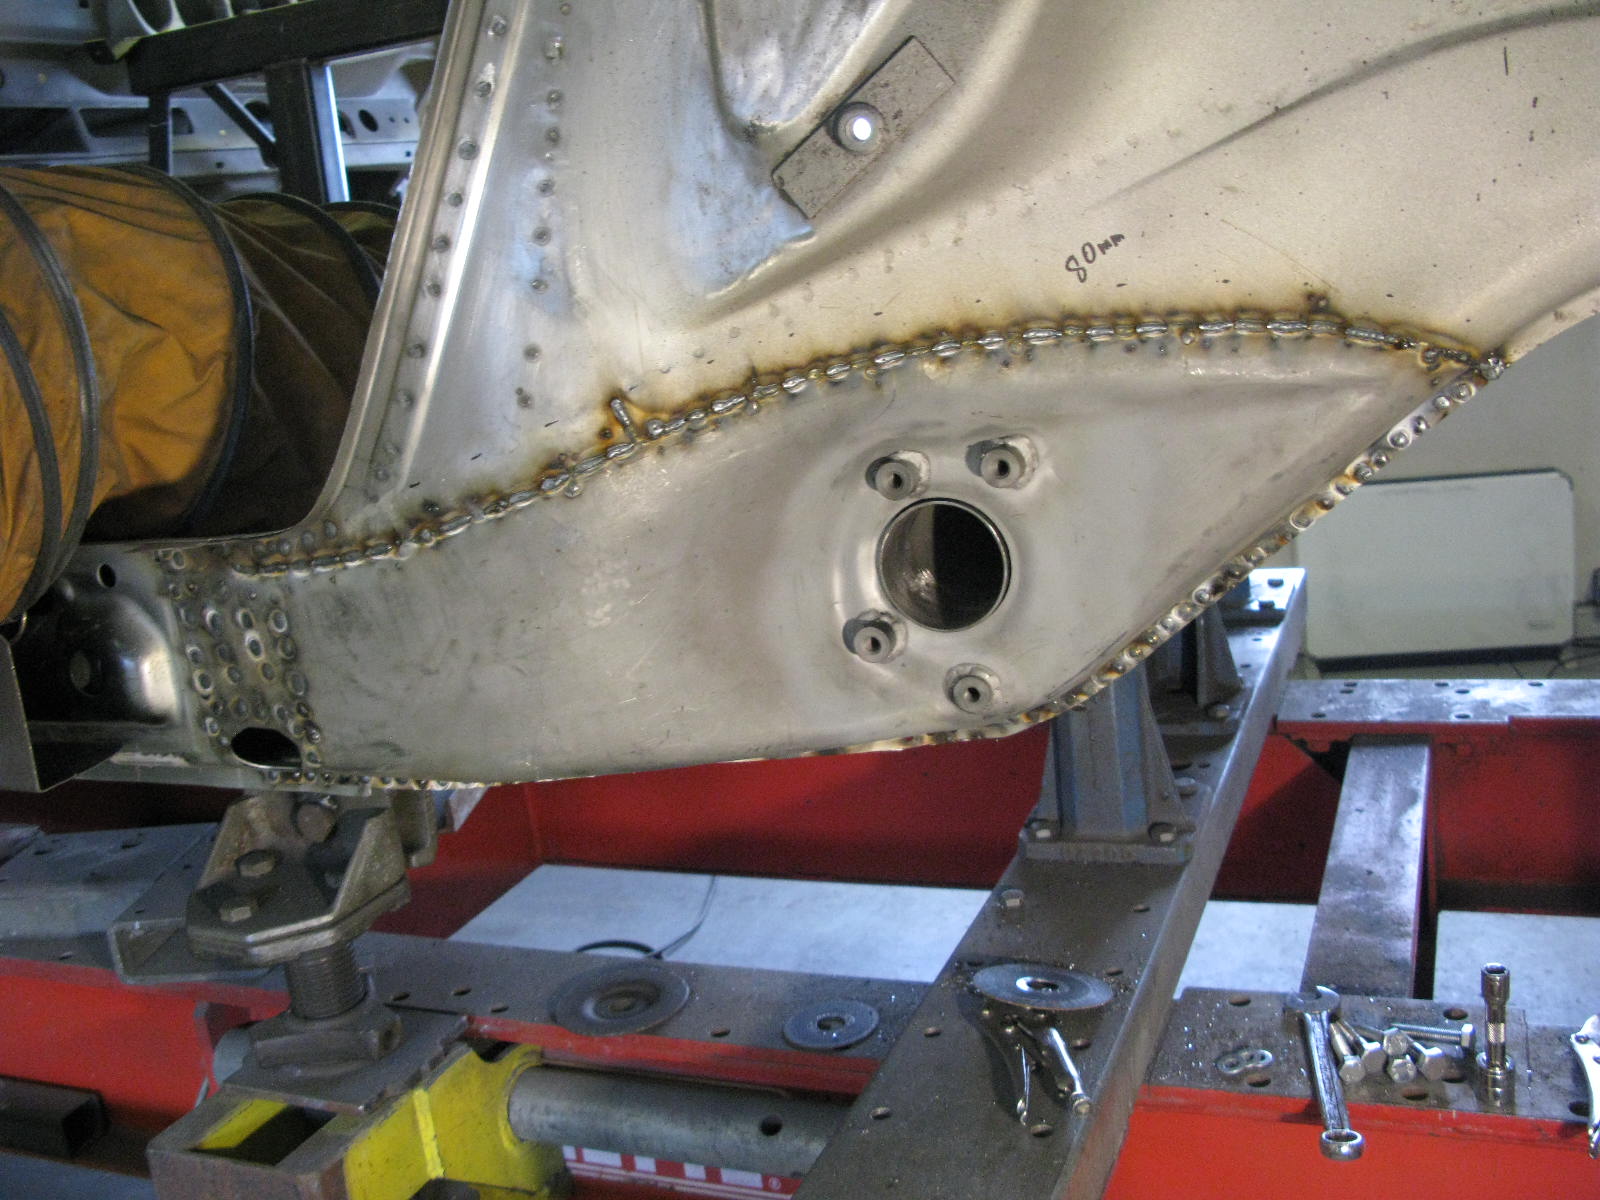
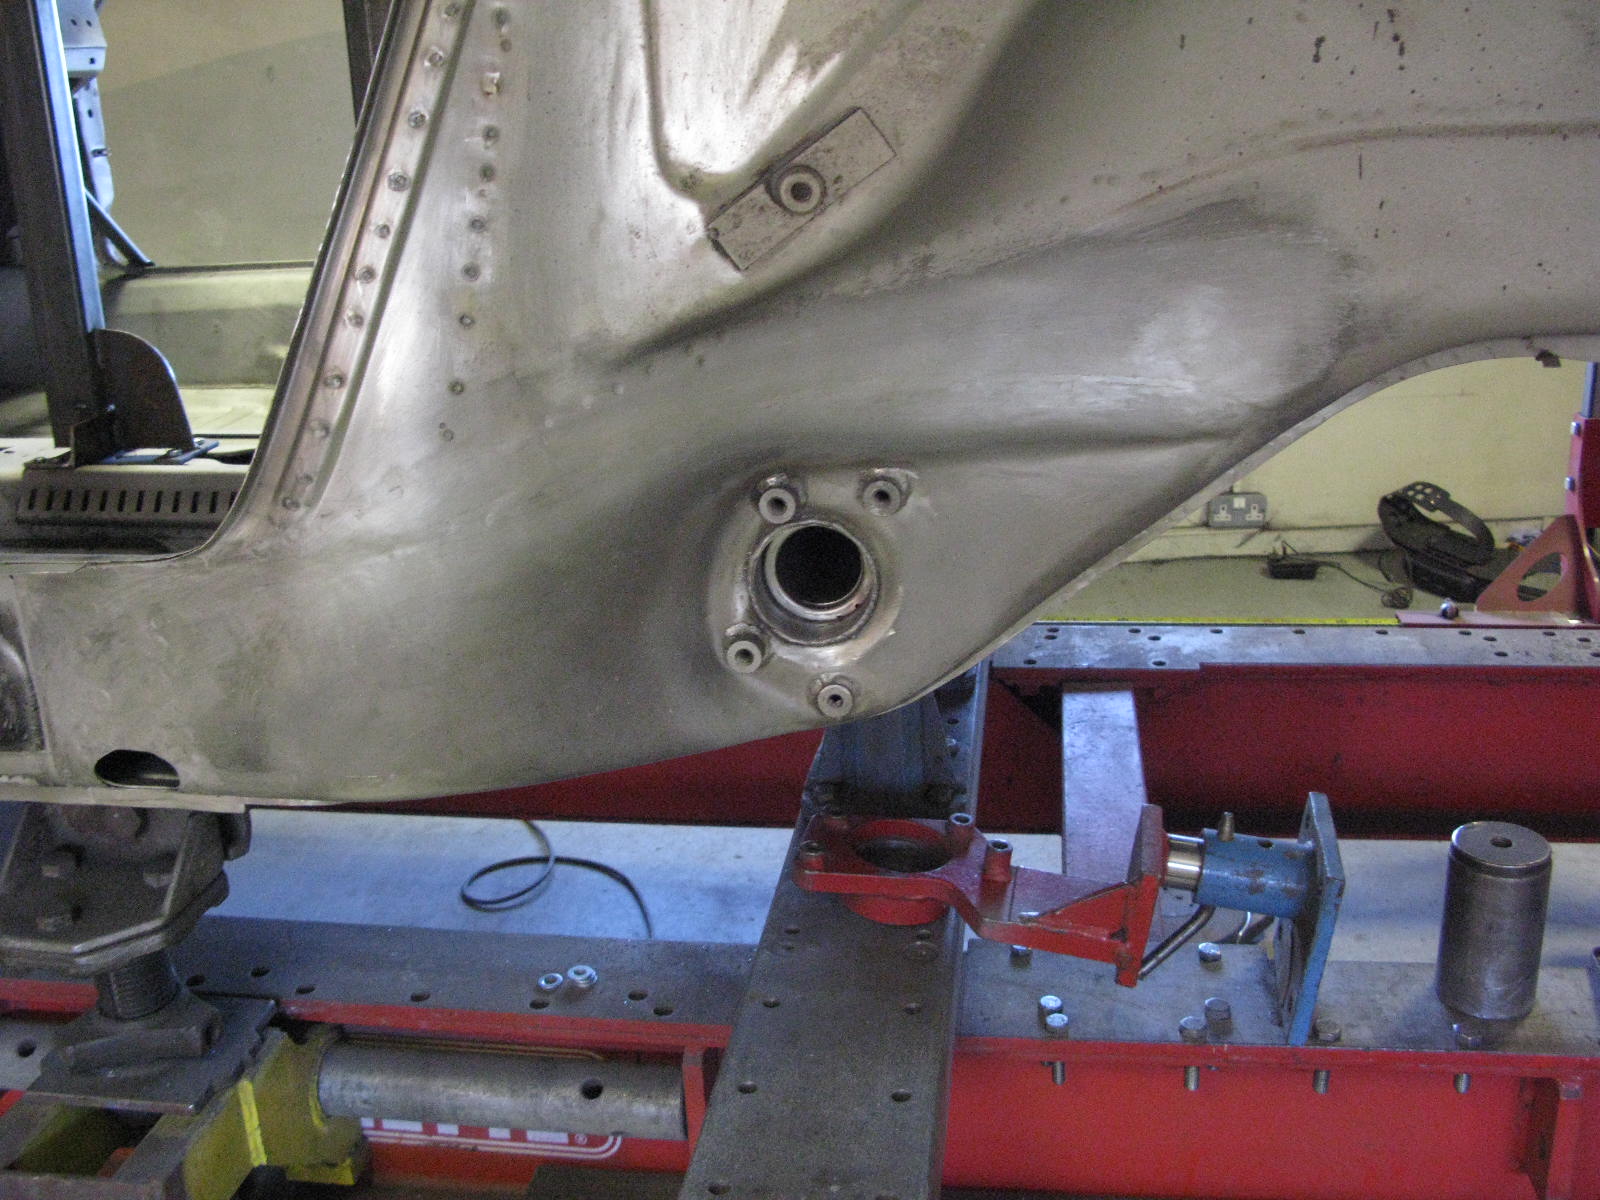
For example:

2017 MetalworkRichard Fry
Parcel Shelf

After a bit of discussion we decided to keep most of the parcel shelf, but the LH end was in need of replacement. A Restoration Design panel was used as the basis for the repairs, but needed work.

Best to let Barry do the talking here, I think:

This area is quite the nastiest to work on. It can be seen quite easily, and yet access is a bit of a pain. It's covered by the huge seat-belt mounting, and also has the engine lid hinge mounting (that has to be referenced perfectly), plus the wiring and parcel-shelf tabs / bracket. It also under-laps the rear bulkhead.

Literally two days work here, and as an example, you can see how many spot welds you have to drill out to 'harvest' the hinge mount, seat-belt plate and parcel-shelf bracket.

In the end I made up a section of bulkhead, as I needed to cut it back a bit anyway, but that would have left me letting a small bit in, right next to the welded-speaker hole. It would have meant old and new welds everywhere, so better to make a slightly larger bit, and have it tidier. These early parcel-shelves are the worst to deal with because of those horrible little ribs. They are so hard to fabricate neatly, and in line right across a long repair. The ones on the new parcel-shelf are nothing like the original, so I had to re-work the few that are used here.

Goodbye parcel-shelf area, and frankly good riddance! On other hand, it does make that whole area of the car look so much healthier.

2017 MetalworkRichard Fry
LH Rear Screen Flange and Corner

The other side of the rear screen, similarly pitted. This side also needed the lower corner replaced.

Barry made up a lovely little repair piece. His comments:

An interesting fabrication, as it isn't a right angle in cross section, and the angle changes all the way round. Also, the base flange is curved in two (varying) directions as well. Actually didn't take very long to make, and quite a nice job in the end.

2017 MetalworkRichard Fry
RH Rear Screen Flange

Barry's comments on this bit were slightly melancholy. Existential angst is an occupational hazard of these projects, it seems.

What a lot of work for a bit of pitting. When you start you wonder if it's worth it...

He cheered up, though

... by the end you're pleased you've done it. Lifted the whole area.

I can see what he means, on another part that won't be seen.

My spec to Barry was "concours". Occasionally I wonder whether that was such a wise idea. Glad I don't have to justify this to anyone!

2017 MetalworkRichard Fry
Oil Tank Area

A small repair to deal with the pitting we see in the first picture.

This little repair piece was hand-formed using a lump of round bar and then rounded off to blend in with the original.

2017 MetalworkRichard Fry
RH Quarterlight Flange

As on the other side, this area had suffered from have two or more wings previously welded to it.
Cleared out so we can start again.

2017 MetalworkRichard Fry
RH Torque Tube Area

Moving on with the RH Torque Tube, Barry said:

As per the other side, I removed the rather pitted end of the otherwise good torque tube, and used the last of my spare tube to add on a new section. This was then back-marked from the jig bracket using a stepped tool which gives the correct tube protrusion.

After that, the new inner wing base could be roughly trimmed down, and the shape (flanges especially) could be tweaked and tidied as best as possible before the numerous trial fits could begin. On this side it went on for ages. A combination of so-so pressing, previous welding and accident damage meant it took simply ages to get everything to work.

BTW, before the repair was fitted, it got keyed up, black etch primed in the centre, and Wurth Bright Zinc primed around the weld sites, just the same as the other repairs.

2017 MetalworkRichard Fry
RH Sill Cavity

The sill cavity got a final clean-out and paint, and the new heater tube was fitted, ready for the sill to be fitted:

2017 MetalworkRichard Fry
RH Torque Tube Area

Work begins on the Torque Tube area. First job is correction of a couple of previous repairs.

First the intermediate panel, which was left with a big chunk missing at the end of previous work. Lighter, I guess, but not ideal for structural integrity of this area....

Barry free-handed the repair panel in 18swg as usual. Will be welded in as part of the final assembly of the TT / inner sill area.

The other correction was to a repair below the torque tube, in the area of the ARB mount.
Doesn't look too bad:

But not so nice from the other side:

So out it comes, replaced by another hand-formed repair piece:

RH Floor Edge

The RH floor edge was scribed in and prepared:

And then, having sanded back and etch-primed the cavity, the floor edge went in for good:

Mmmmm, look at those lovely welds:

RH Floor Edge Small Repair

As I mentioned before, the original floor / tunnel is in good shape. We're only replacing the floor edges. Although I think this approach - keep as much original metal as possible - is right for me and this car, it does eat up time with small repairs.

For example in this small repair there's not much to see from the other side, but now the floor edge is off we can see it's another pitted and holed area that needs to be replaced:

RH Rear Inner Wing: Front Edge

Similar to the other side.

Grotty:

Pullmax wizardry etc, and a fair amount of fettling (it's a tricky shape):

Not Grotty:

RH Seatbelt Mount

The seatbelt mount area on this side had some nasty pitting / small holes:

So the mount came out for blasting and priming, and Barry hammer-formed the replacement section of panel:

You may be thinking - but where does the mount go?
If you put it back in the wrong place, the interior trim will need to be hacked about.

Luckily Barry has thought of this. Did you notice the two small holes in the remaining section of good metal? Here's what they are for:

RH Sill

Making a start on the RH side now, beginning with the sill.

These photos show another example of the previous restoration work - a weld approx every 100mm. Barry tells me one every 20mm is about right. They had also left the freshly-opened seam as bare metal. At least it came off easily!

Barry fabricated a new sill flange to replace the battered old one. Same as the other side.

RH A-Post Base and Nearby

With the A-post base out of the way, the true condition of the inner wing was revealed. Also, some welded holes could be seen a bit further forward, so we elected to replace the whole area.

As Barry says: You can buy this panel, but I have the tooling here, so can make it out of full 18swg, which gives plenty of meat. Frankly most of the time is tweaking the fit to suit a particular car, and this would be the case with either my panel or a bought-in one. This way, I can tweak it as I make it.

End fit has ended up fine, and you can see what those MIG welded pin holes look like from inside. Definitely better off in the bin.

LH Torque Tube Area. Surely it must be finished this time?

Barry rectified the manufacturing error in the Torque Tube repair panel. The jig bracket now fits.

Last job here was the backstop:
If a new end to the torque tube is welded in (as I have done) I usually replace the backstop as well. This means I can tuck the TT join almost out of sight, plus both backstops were poor anyway. I press my own versions, that look stock once installed, but allow them to be welded from inside the tube with a MIG welder.

I'm quite glad to have reached the end of the LH Torque Tube area.

2016 MetalworkRichard Fry
LH Inner Sill

The end of work on the nearside, for now. Inner sill prepped, (new) heater tube in place, welded up and goodnight.

2016 MetalworkRichard Fry
LH Torque Tube Area - Problems

As the previous posts show, the big hole in the middle is perfectly aligned with the jig, and lines up fine with the rear arm retainer (into which the spring plate rubber bush will eventually locate).

But there is a problem. The 4 threaded holes for the spring plate retainer bolts are in the wrong place (per the jig). About 4mm out in rotation.

It's a manufacturing error in the resto panel. Barry says:

the Restoration Design panel for this area (sadly) comes pre-welded. The 'studs' fit a torque tube cover just fine, and with a cover bolted on, the cover and tube look pretty well aligned. As you can see though, the studs are off relative to the jig by about 4mm rotation. I can rectify this by grinding out all of the factory welds, filing out the mounting holes, and then re-welding everything together. Frankly it's a PITA job which will take about 2-3 hours per side.

I'm happy to rework these, or we can choose to say the cover and tube align O.K., they are rubber bushes with a bit of give, let's live with it.

I think my advice would be that if you are retaining rubber bushes, we leave alone (the current position won't affect suspension travel). If, on the other hand, you are going for any solid type bushing / bearing, then I think we'd better bite the bullet and re-work the area. BTW, there's no way that this is down to the position of the actual panel on the car, everything else fits just so, including where it meets the actual tube.

I decided to re-do them. A PITA job that takes 2-3 hours per side. Sorry Barry. Buyer beware on the Restoration Design panels... Although in fairness the Porsche ones are far from perfect. Both are ambitiously priced, and I'm not especially impressed by the quality:value ratio.

2016 MetalworkRichard Fry
LH Torque Tube Area

There are various ways to repair the torque tube itself. Barry felt that, in this particular case, the best approach was pretty clear:

With access as good as it'll ever be, the end of the old torque tube was removed, and a replacement piece welded on. As mentioned before, as the rest of the tube is perfect, as it the surrounding metal, a butt weld is perfectly fine here (not to mention pragmatic). The sleeved type repairs definitely have their place, but not needed this time. Later on I'll make you a new torque tube backstop and weld that in. As can be seen, the jig bracket moves very freely.

So far so good...

2016 MetalworkRichard Fry
LH Torque Tube Area

Over to Barry:

Various puzzles are now solved as folows: We need the floor in to give the point at which to aim the new inner member base around the new RD inner wing repair. We need to mount the inner sill and use the floor jig to establish the floor position. Once the inner wing repair is screwed into place, the inner member base by the anti-roll bar mounting can be scribed in and tacked. With that in place, that central web can be positioned. With the floor, inner wing repair, central web and ARB mount area all in place, I can make sure that all of the various flanges meet without gaps or stress. I.e., they all lie naturally together with no undue gaps.

It's a classic case of a lot of time going back and forth getting everything re-worked until it all fits and is screwed into place. Then all but the final layer be be removed, the final layer becomes the first layer to be welded in, and the whole area welded layer by layer outwards. The welding itself is probably 10% of the time, if that.

BTW, you'll see the various flanges at the bottom of the featured area hanging well down. These will get trimmed much later on, as will the floor / sill flanges etc. In the meantime it's much better to leave everything ragged, rather than trying to second guess the very final position of everything. Once all finally welded up, it's a simple matter to go round and trim / file everything to the correct dimensions.

2016 MetalworkRichard Fry