Rear Number Plate Panel
The 1970 S had an aluminium deck lid and number plate panel. Deck lid already sorted, but the number plate panel needed some work. I bought a cheapie Restoration Design aluminium version to use as a starting point, and Barry set to work with the TIG welder.
Barry's comments on his work on this part:
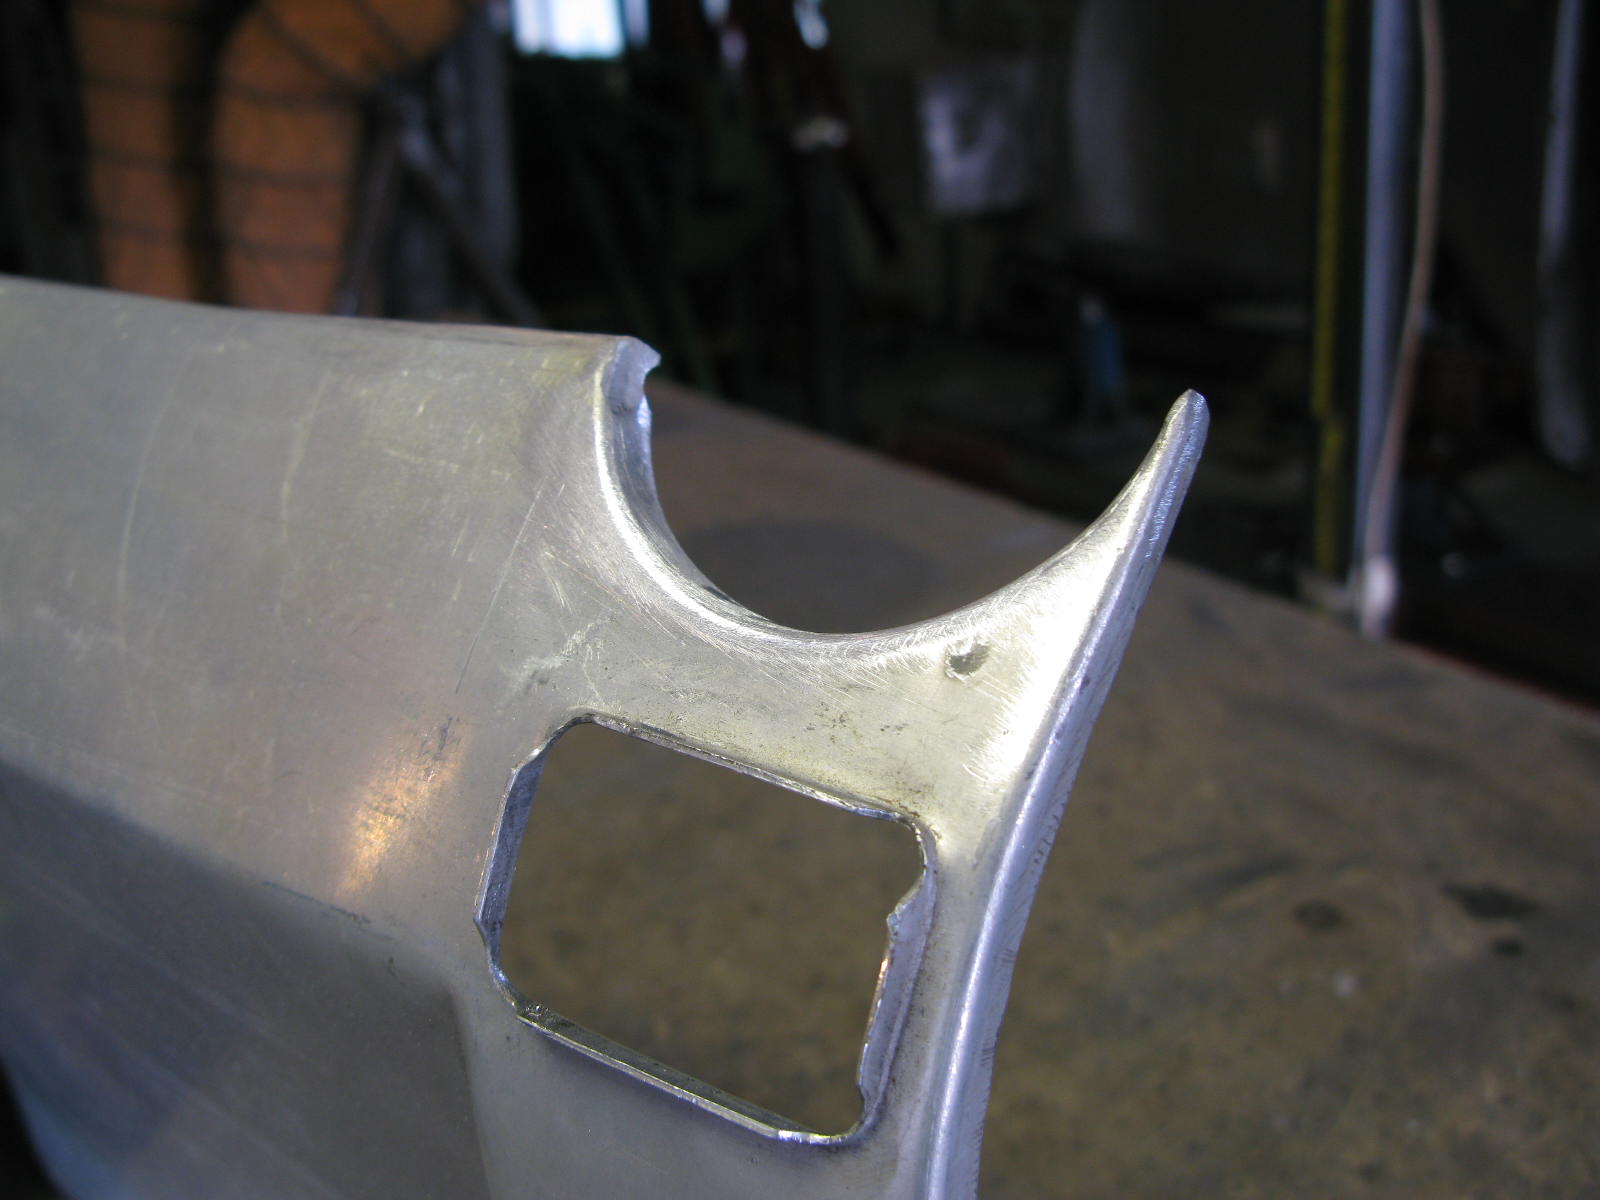
Following the supplied template, I set about making the twin exhaust cut-outs.
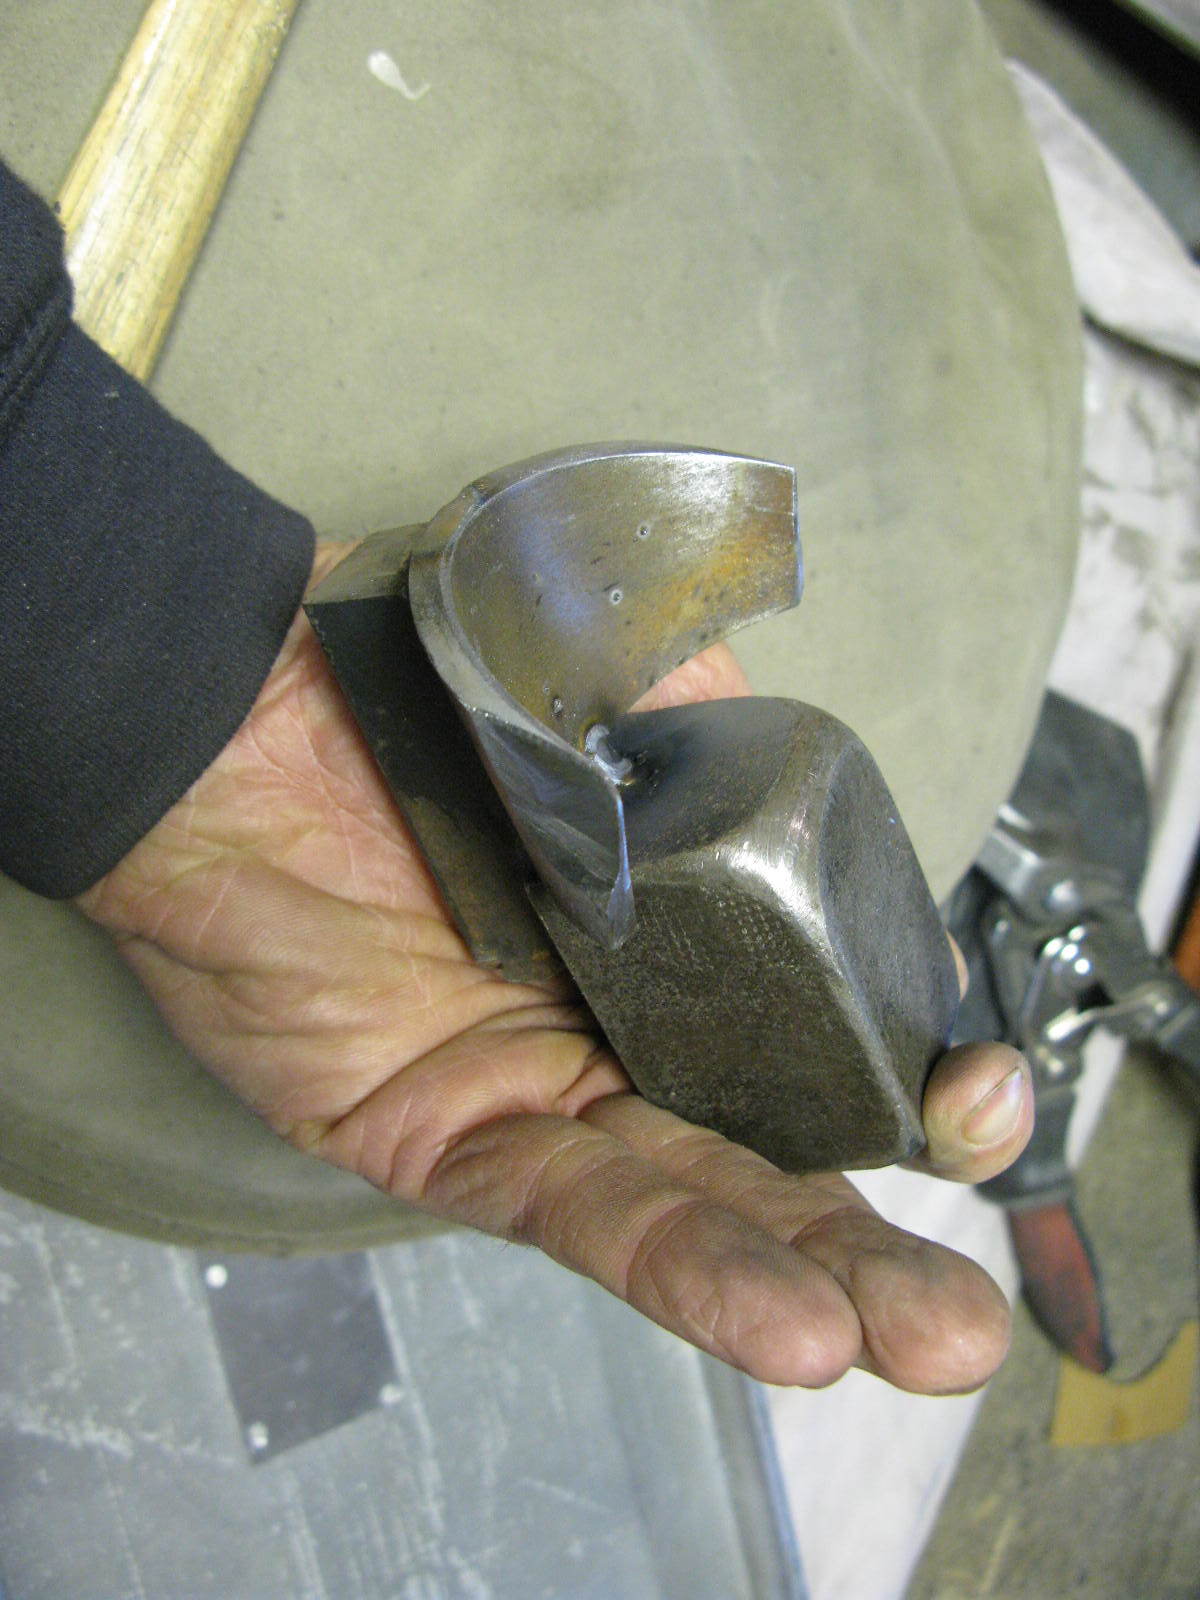
There was no way I'd be able to free-hand these on an already made panel with the cut-outs right on the outer edge. After a bit of thought, I came up with a one-off tool that would do the job. In fact I did end up augmenting the tool with an additional dead-weight just to give a bit of stability.
I then used the tool to mark the fold and cut lines, and removed the metal not needed. The flanges were then formed. These terminated right on the vertical flange and would have been a weak-point, so these terminations were TIG-welded solid before sanding back out to blend in everywhere. I also TIG'ed the top seal holder on where the factory welds had already failed, as well as reinforcing various slip areas. The panel in places was paper-thin, so this was not a straightforward process!
With the main panel modified, I then pondered how to fix it to the two bumperettes. As specified, the exhausts run right through the existing brackets (which by now had been removed). I elected to use some thicker aluminium and fabricated a couple of brackets which were TIG welded into place. These have worked out very well, and have obviously now been drilled as appropriate.
The panel itself also needed quite a lot of basic fettling. They are pretty awful, but cheap and can be salvaged.


