Colour!

But only on the inside, for now. It's going to be quite orange.

The paint is a custom mix. We found that the manufacturer's spec for my car's colour code (Signal Orange) was a really good match to my luckily-preserved original paint area (on the LH A-post, was preserved under the paint code tag in fact). But we needed to darken it very slightly to get it spot-on.

The photos are a bit deceptive - the colour is more orange, less yellow in real life and in daylight. Also it's not quite as glossy as it looks under the lights.

PaintRichard Fry
Stonechip

Again, based on reference photos of several original-paint cars, I asked Steve to replicate the factory stonechip finish. I'm very pleased with the way it's turning out.

PaintRichard Fry
Seam Seal

The factory finish for seam seal was somewhat erratic and usually quite messy-looking.

For the areas that would have had factory sealant, I asked Steve to replicate the finish achieved by a production worker eager to knock off for a hearty lunch with free company beer. Other seams were also sealed, but more neatly.

PaintRichard Fry
Exotica

I popped in at the weekend to discuss and agree textures of stonechip and seam sealer.
After my car, next in the queue for the DC magic is something properly exotic (Ferrari 275 GTB):

PaintRichard Fry
Oops. Good save, thanks DDK

The main place I'm posting info about this restoration is the UK forum, DDK. http://www.ddk-online.com/phpBB2/viewtopic.php?f=28&t=48740

One very kind and knowledgeable DDK-er pointed out a bit of a cock-up. My fault, I did know about this detail, but had forgotten somewhere along the line.

To elaborate, what's wrong with this picture? (my car):

23749402008_f24082848b_c-2.jpg

Clues from some relevant reference photos of 70/71 cars. With thanks to Giovanni Favelli and David Conklin.

37610609532_154e44651a_z.jpg
37643611231_f7f65a404e_z.jpg

Yep, the cock-up is...
.... the highlighted drain holes are not correct for a 1970 car. I'm told they were introduced during the '73 model year.

You all knew that, right?

23789894498_d683a46c31_c.jpg

Now fixed:

PaintRichard Fry
Paint - Early Prep

Everything (including the new Porsche panels) has gone back to bare metal as the first stage of paint prep.

A skim of filler in places, but not tons of the stuff.

And some epoxy primer. Lovely and tough, offering much better protection against corrosion than was usual in 1969.

PaintRichard Fry
Rear Panels - Fitting / Gapping to Shell

Barry took a little drive over to DC, to fit the modified rear bumpers and number plate panel. Fit was good, only minor tweaking required, and the end result is rather nice I think.

Here are a few pics of the shell in its current state.

PaintRichard Fry Comment
Rear Number Plate Panel

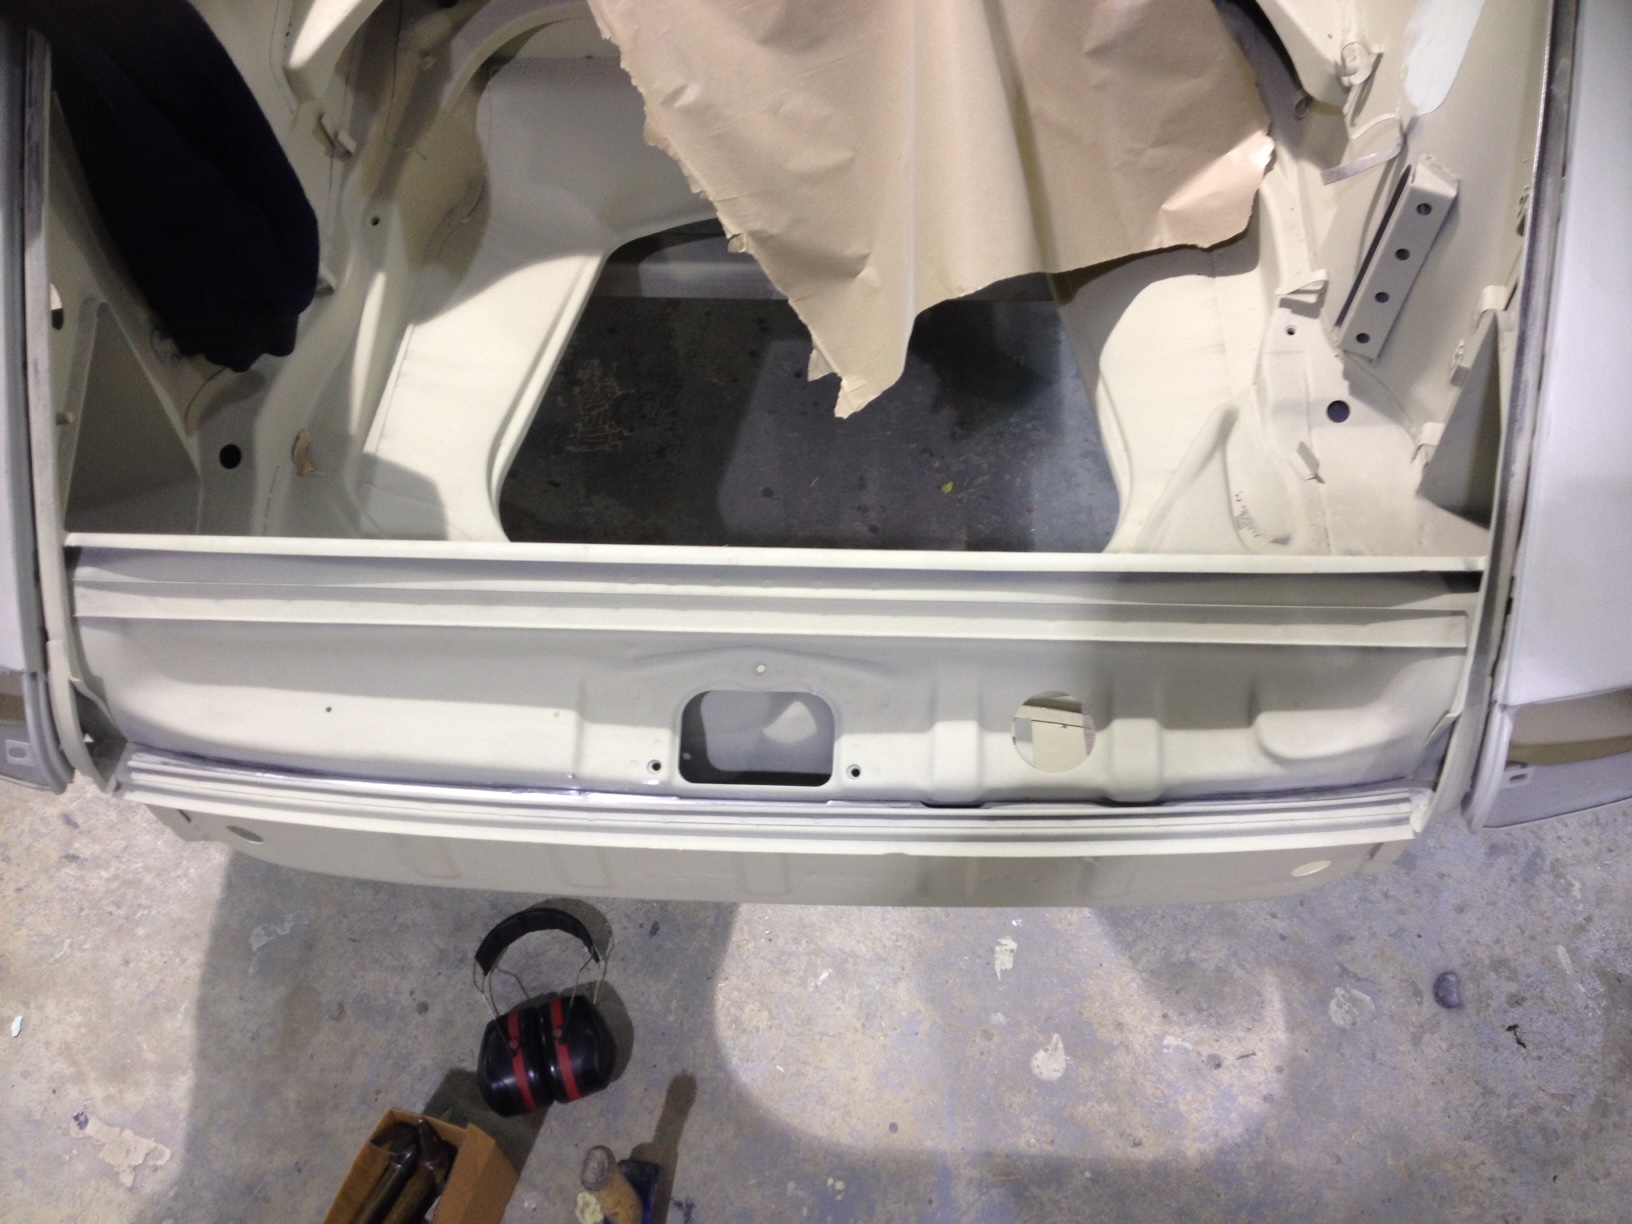
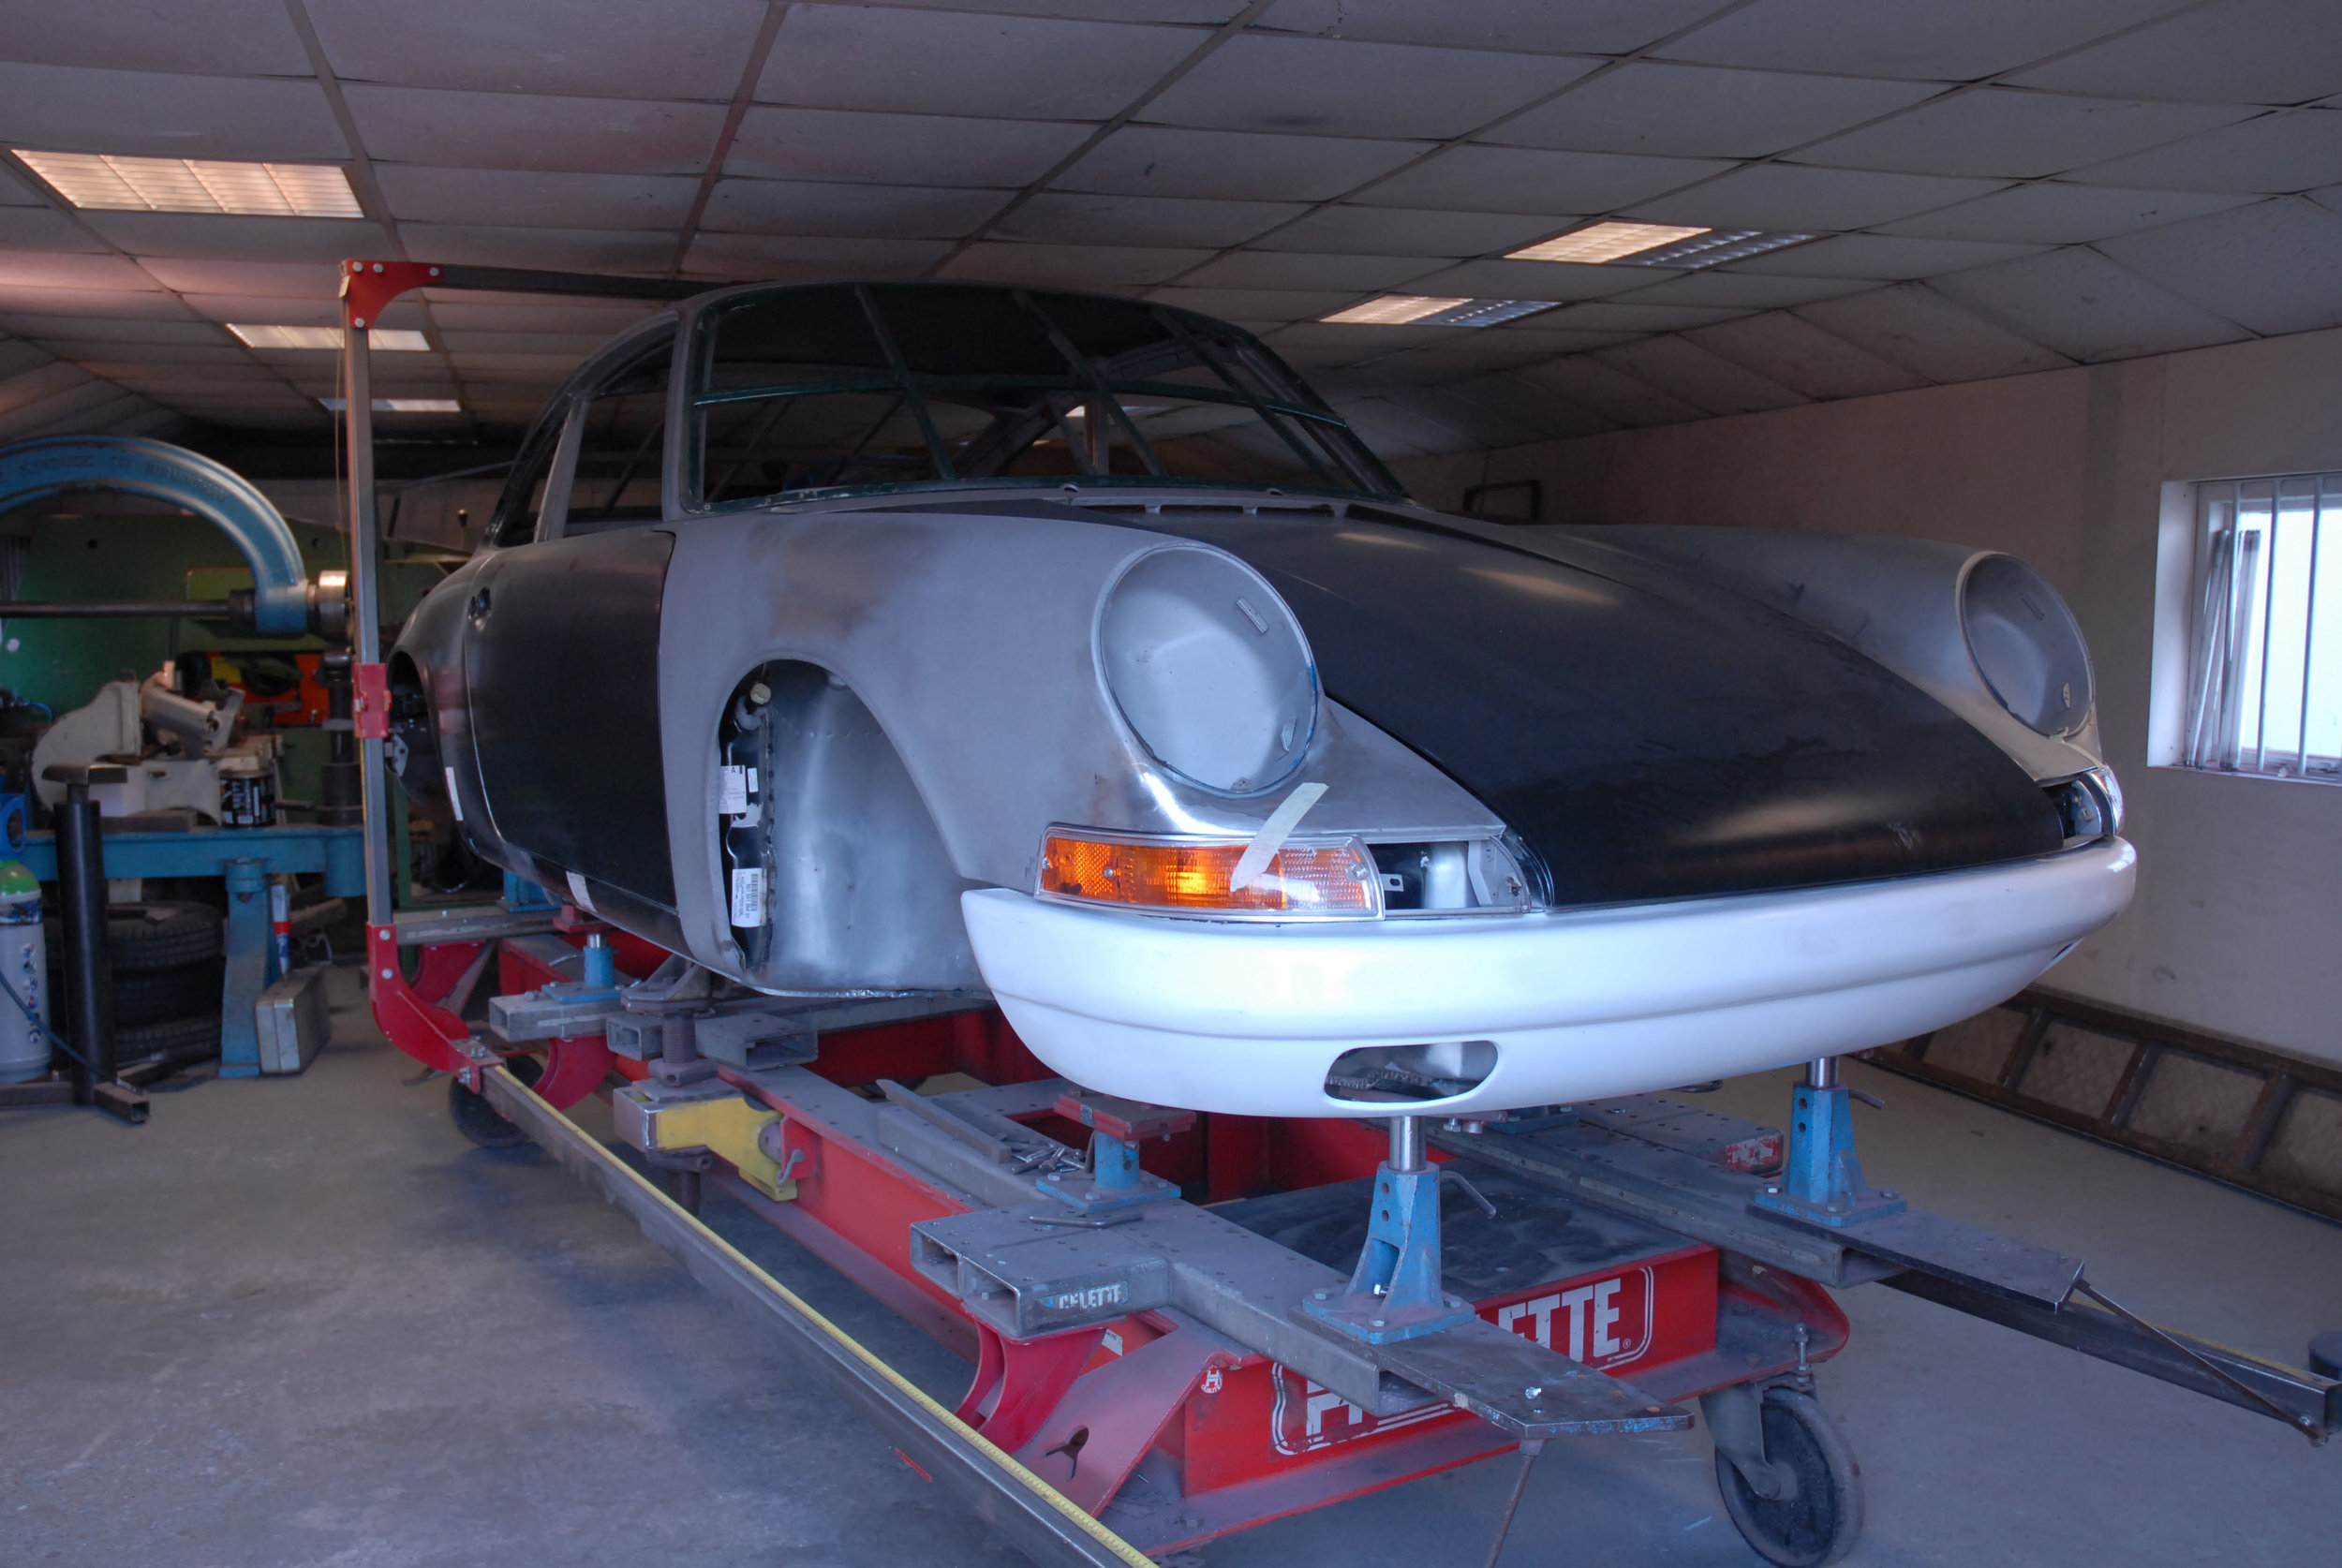
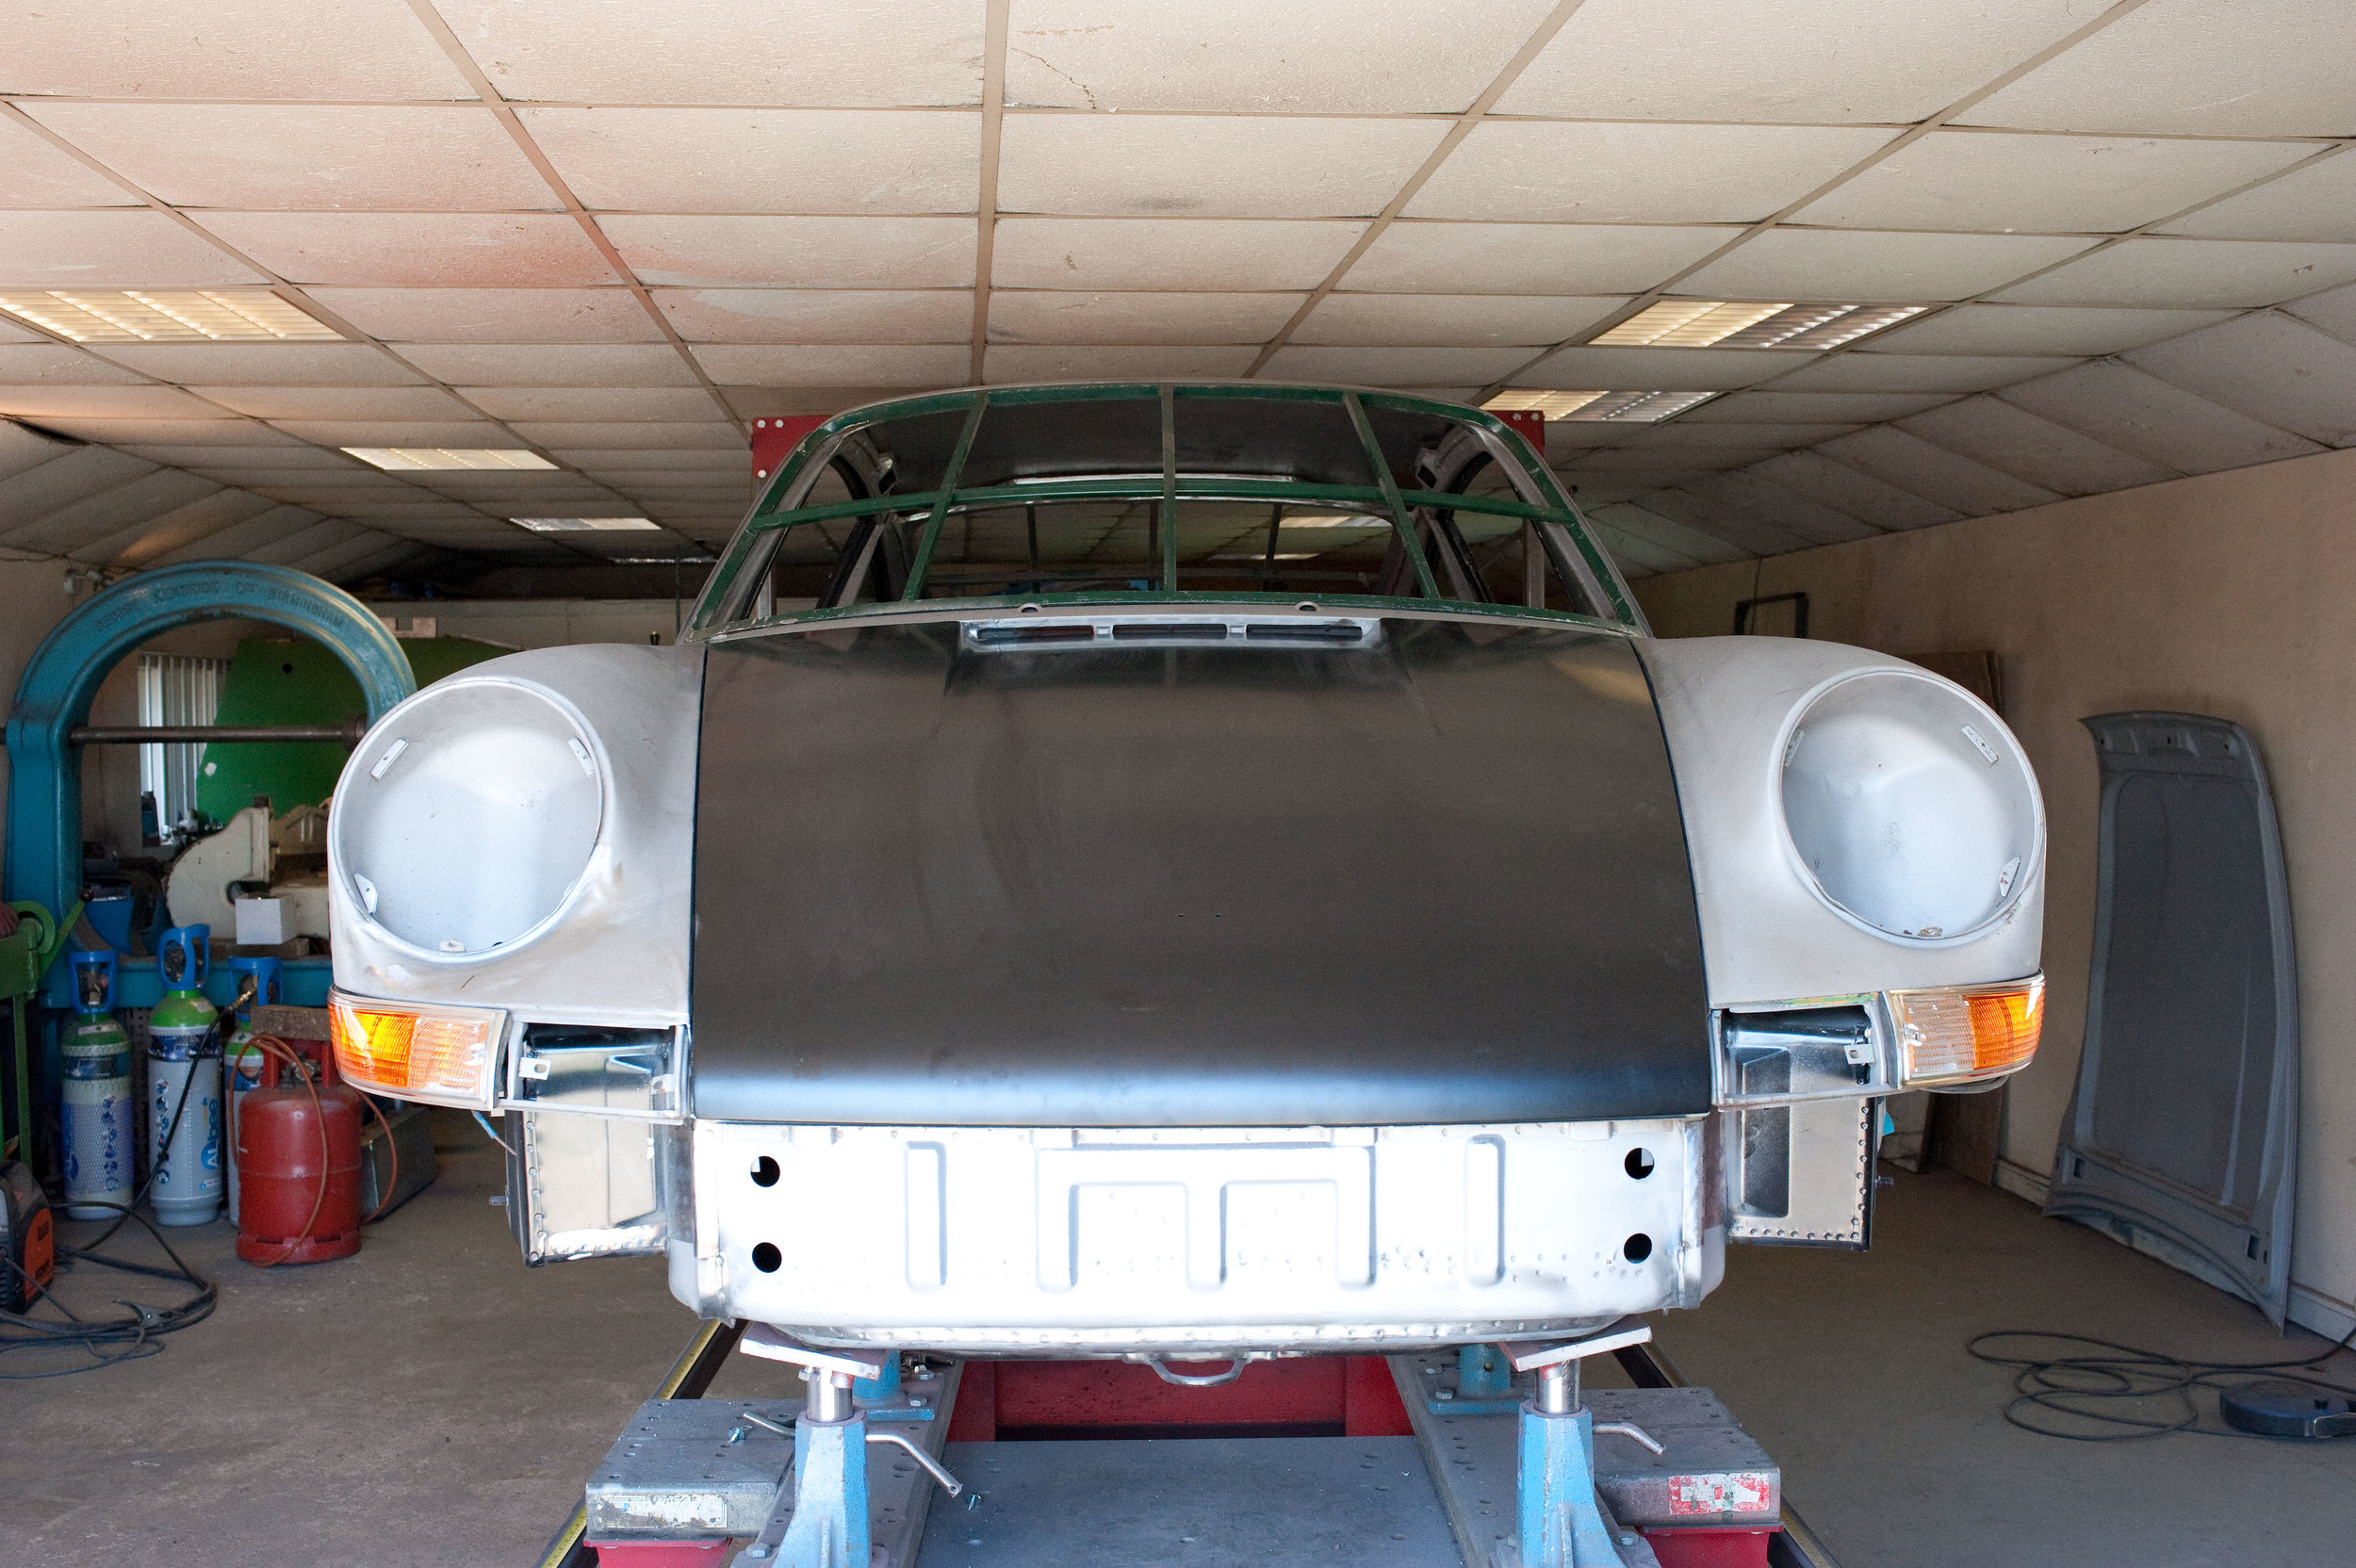
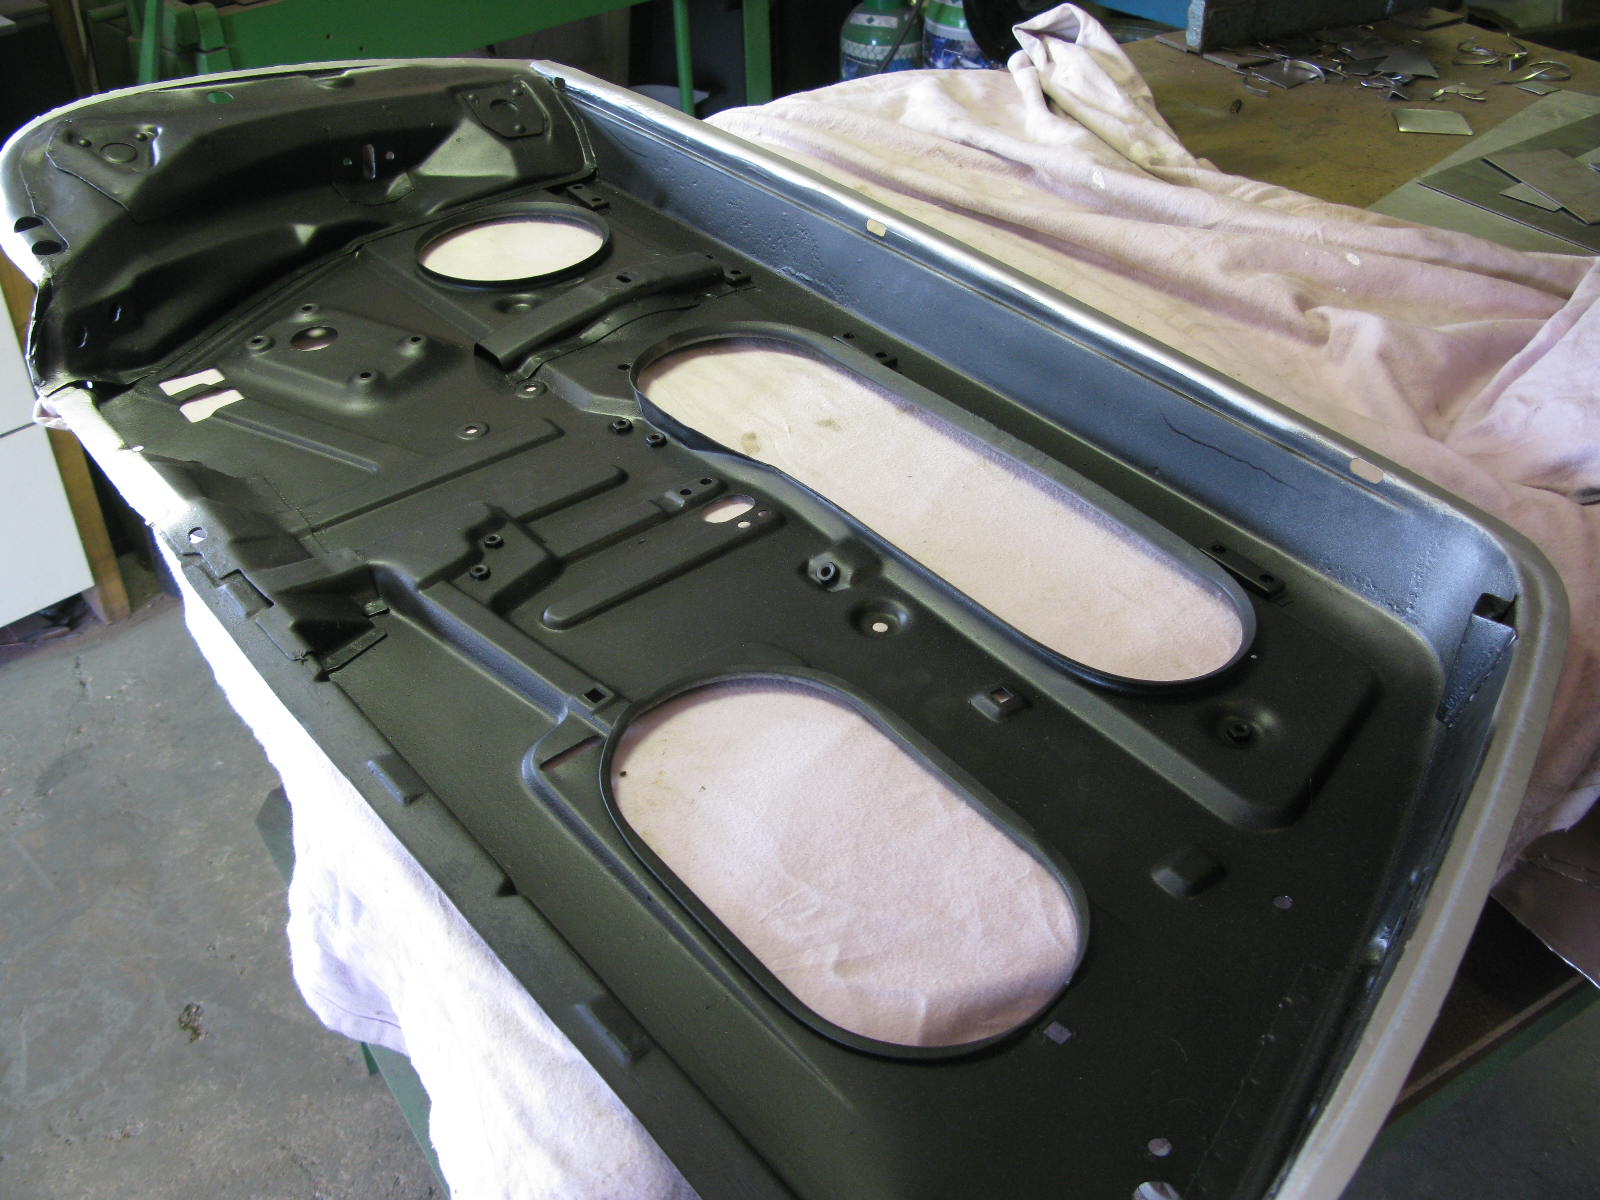
The 1970 S had an aluminium deck lid and number plate panel. Deck lid already sorted, but the number plate panel needed some work. I bought a cheapie Restoration Design aluminium version to use as a starting point, and Barry set to work with the TIG welder.

Barry's comments on his work on this part:

Following the supplied template, I set about making the twin exhaust cut-outs.

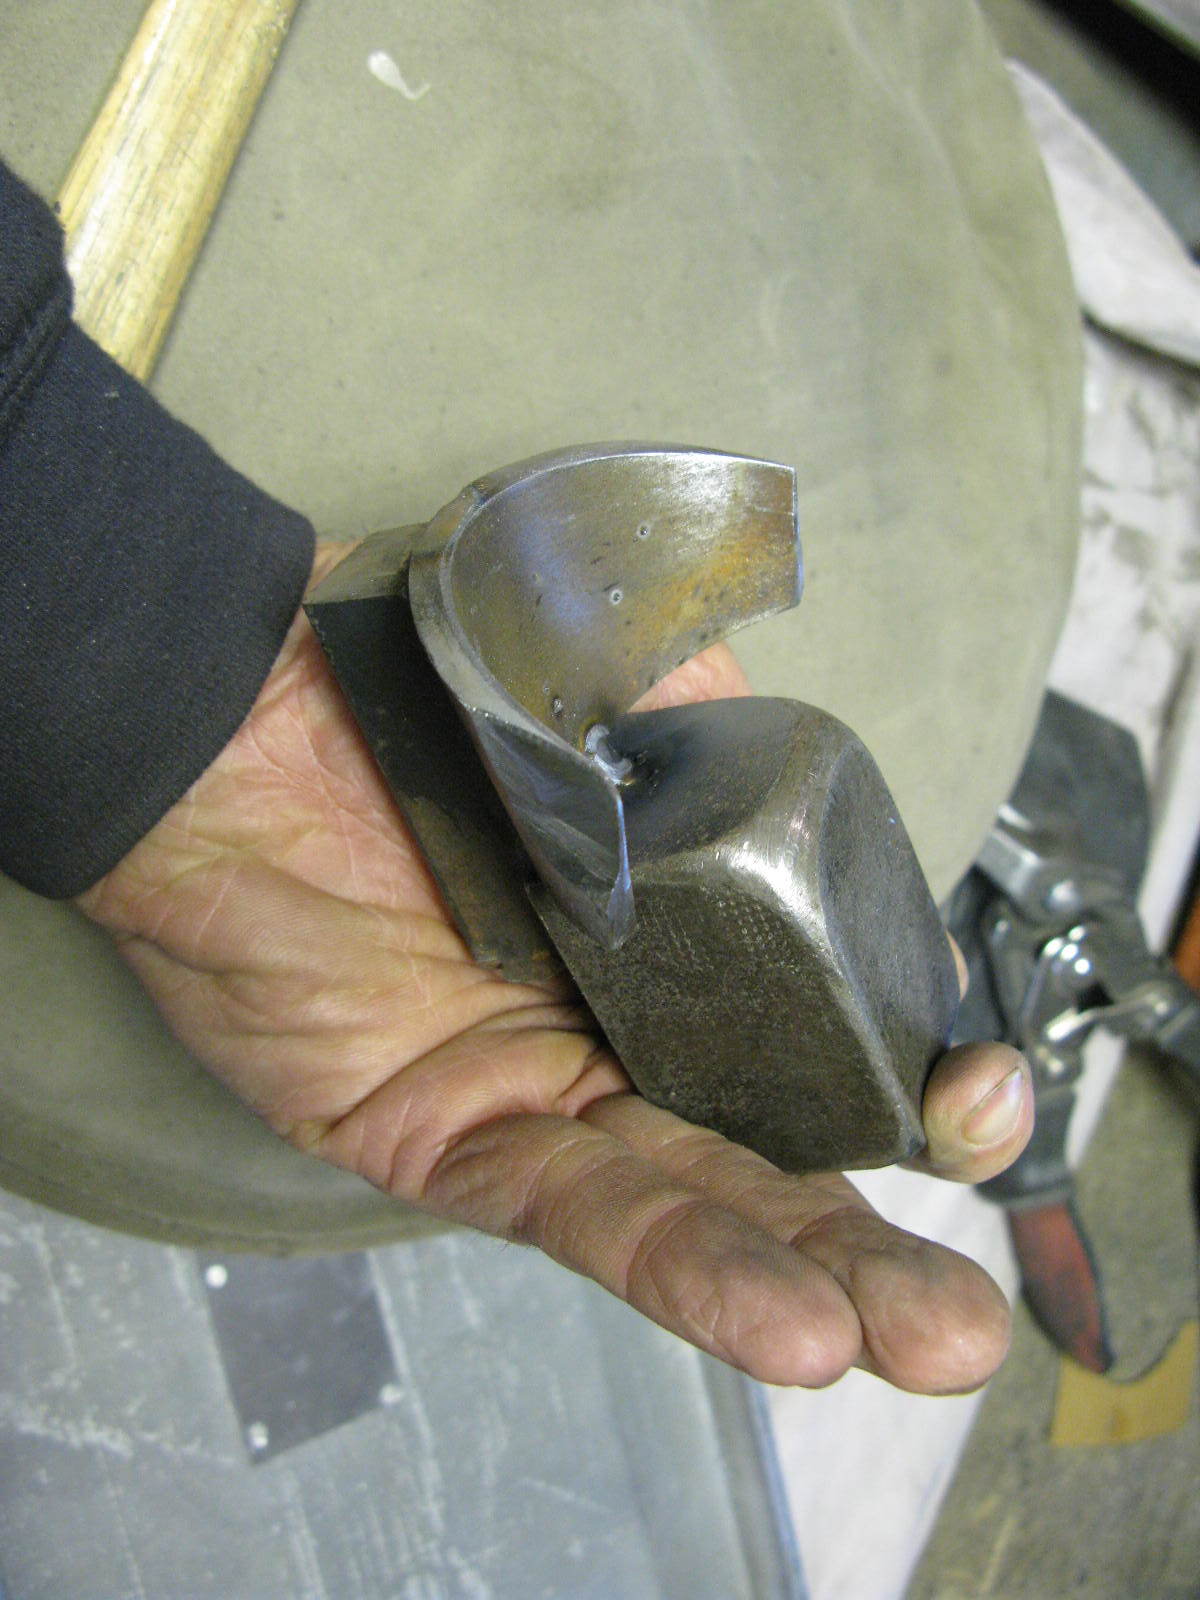
There was no way I'd be able to free-hand these on an already made panel with the cut-outs right on the outer edge. After a bit of thought, I came up with a one-off tool that would do the job. In fact I did end up augmenting the tool with an additional dead-weight just to give a bit of stability.

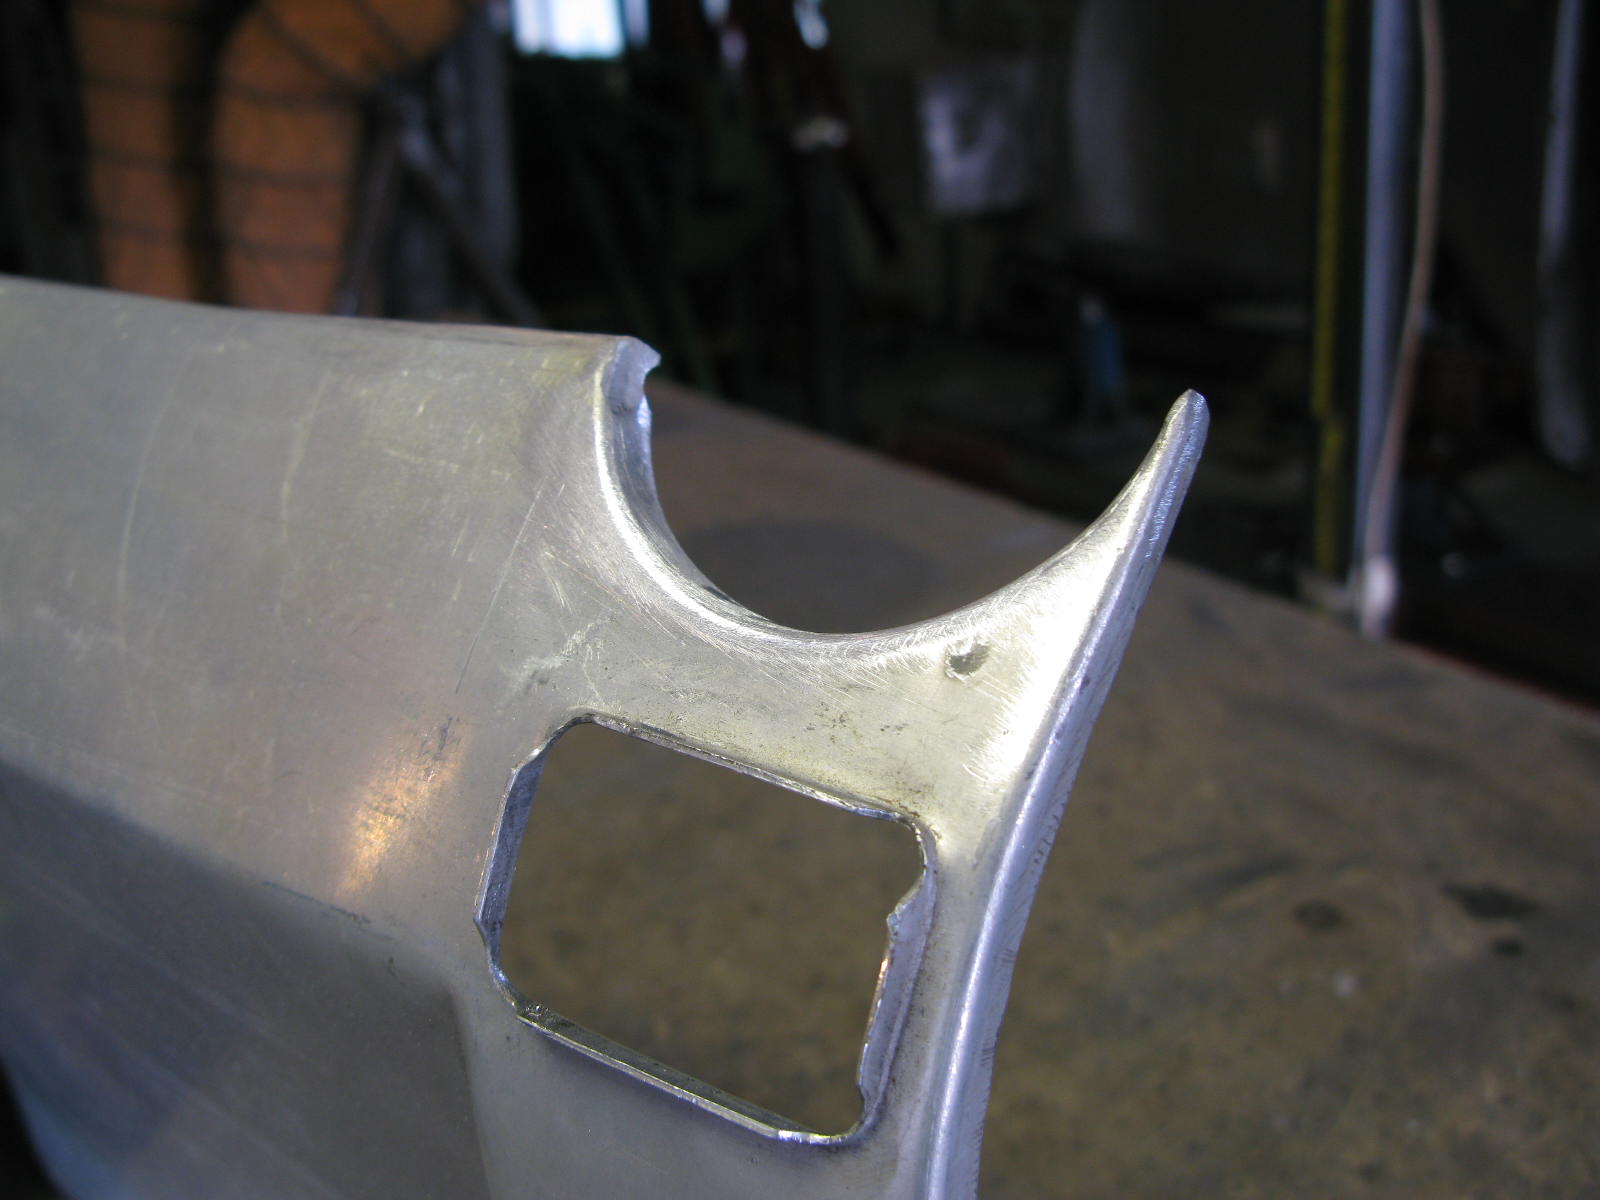
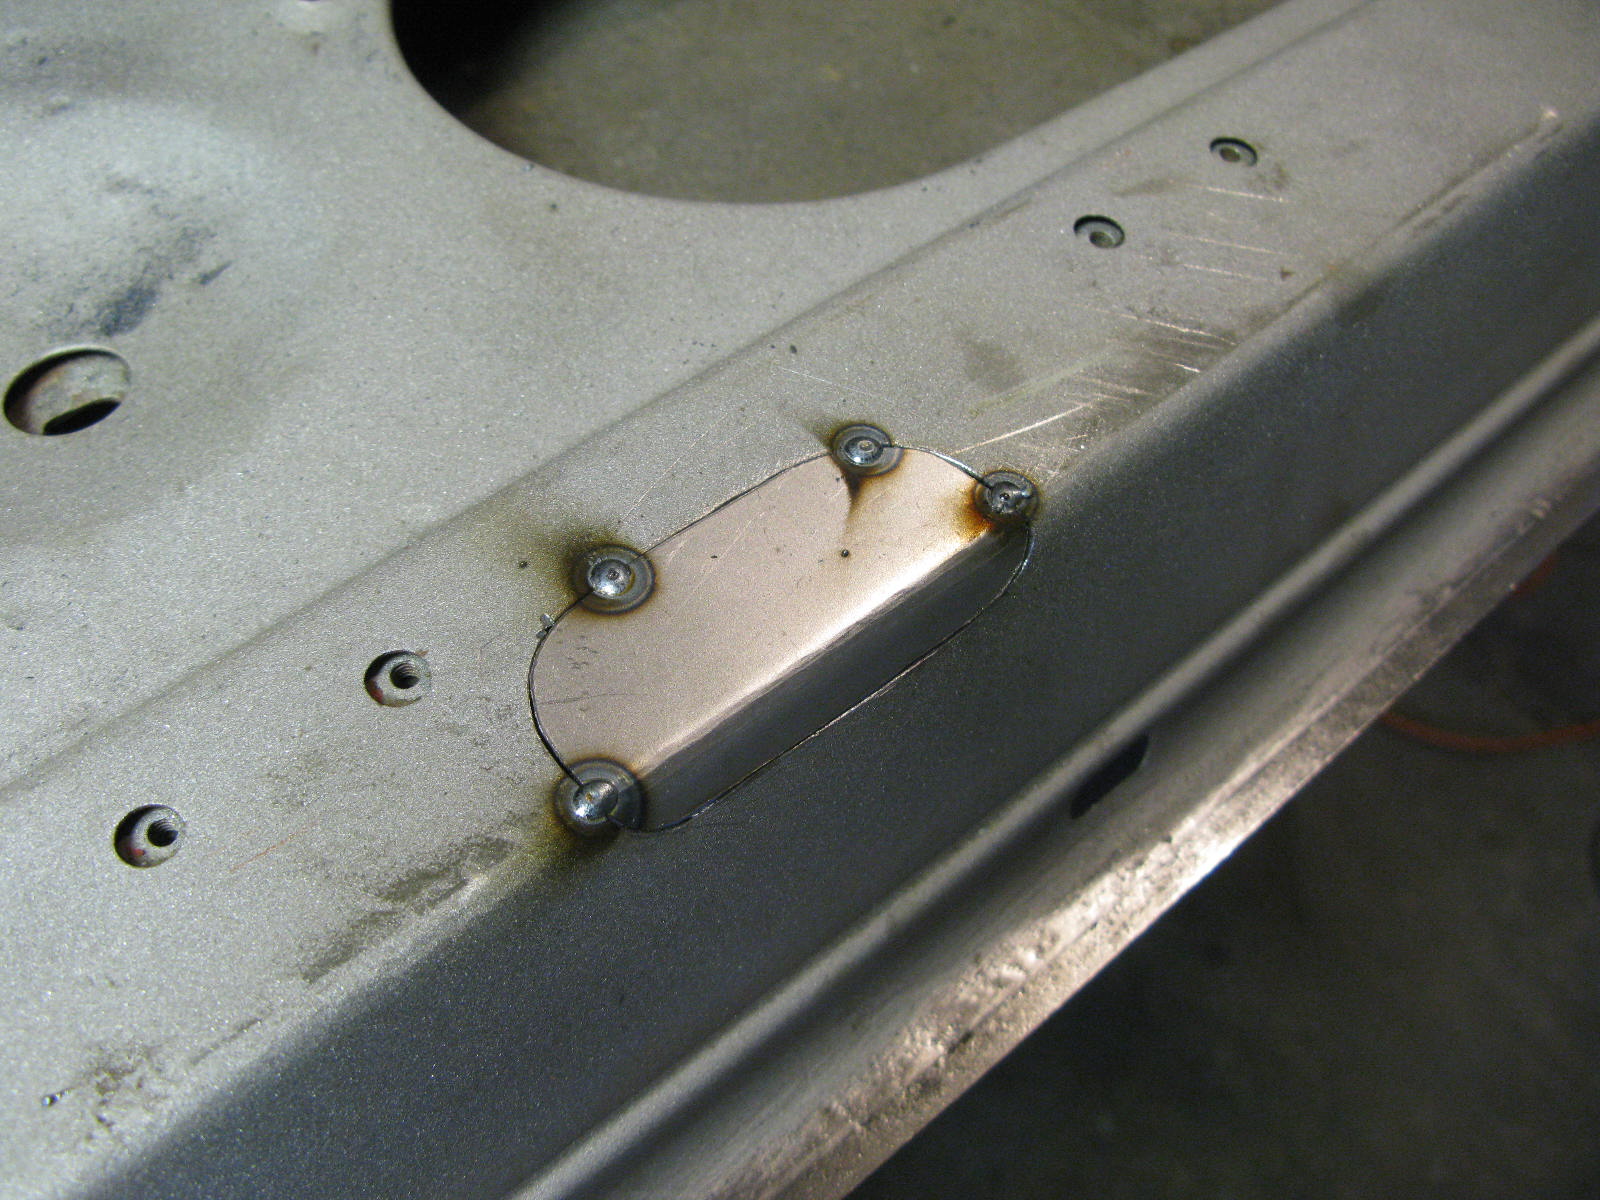
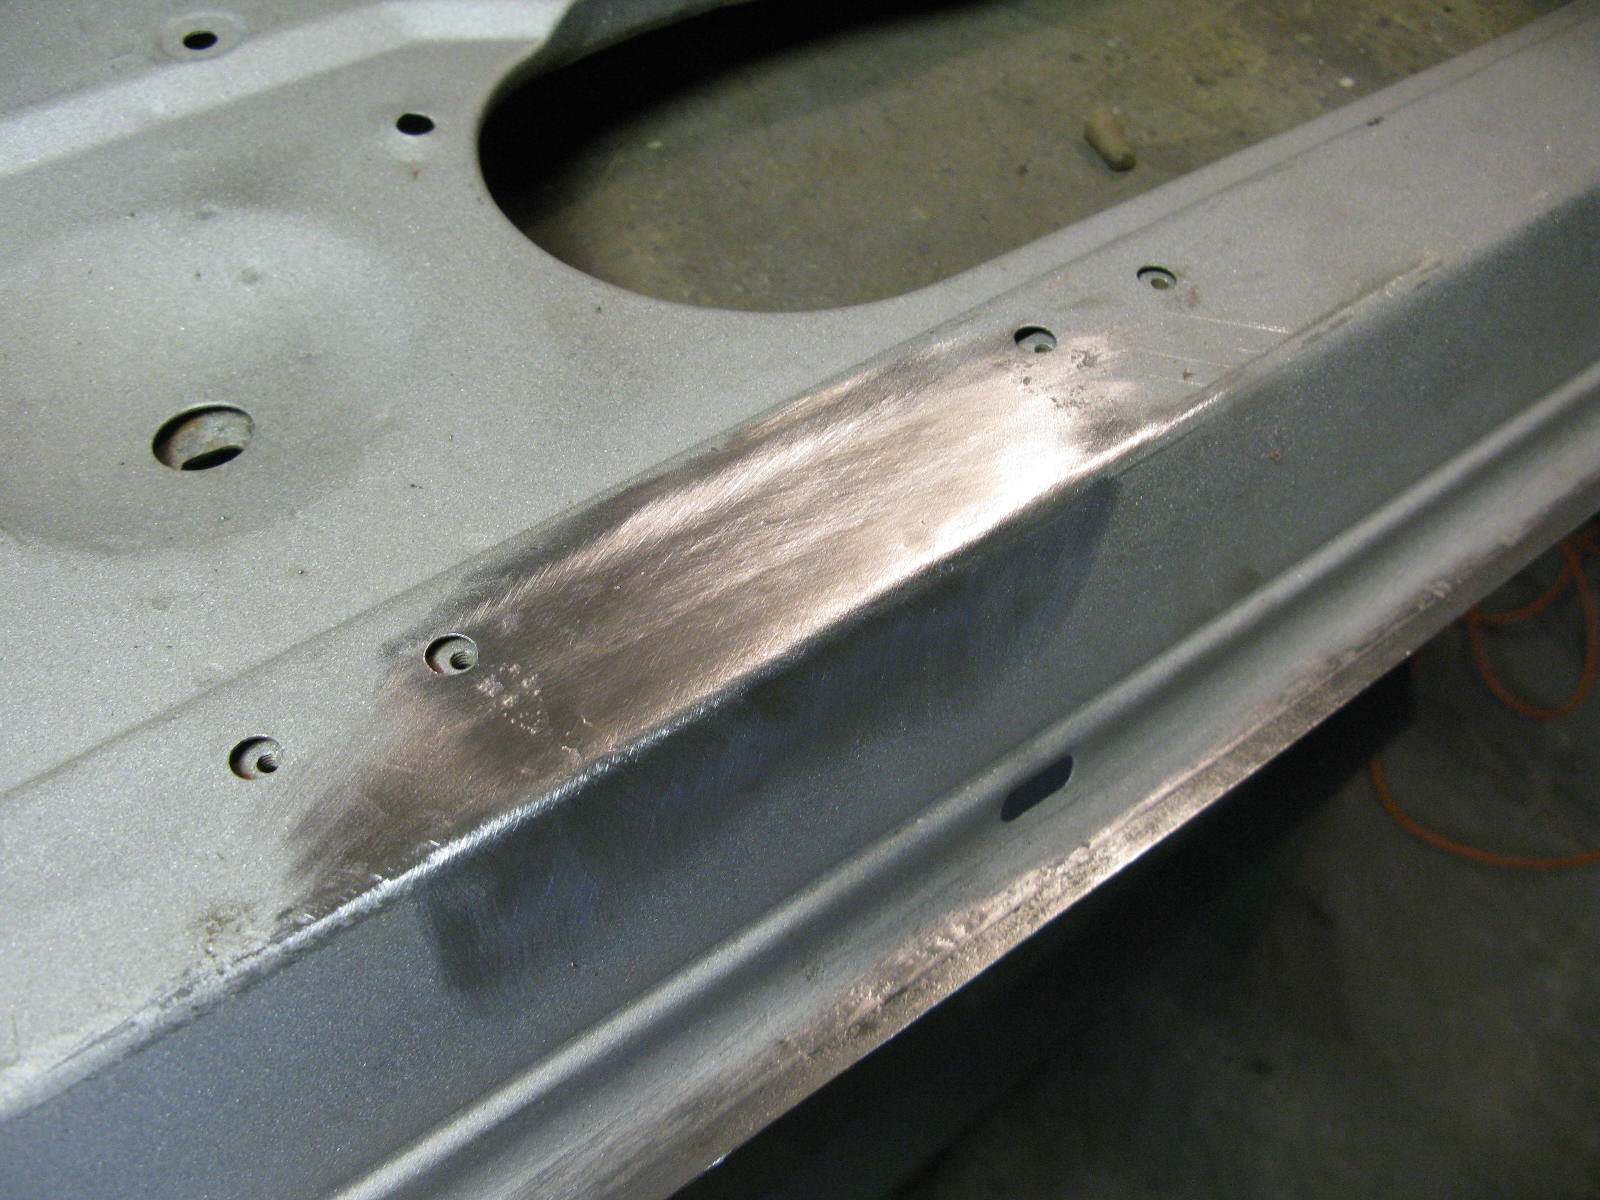
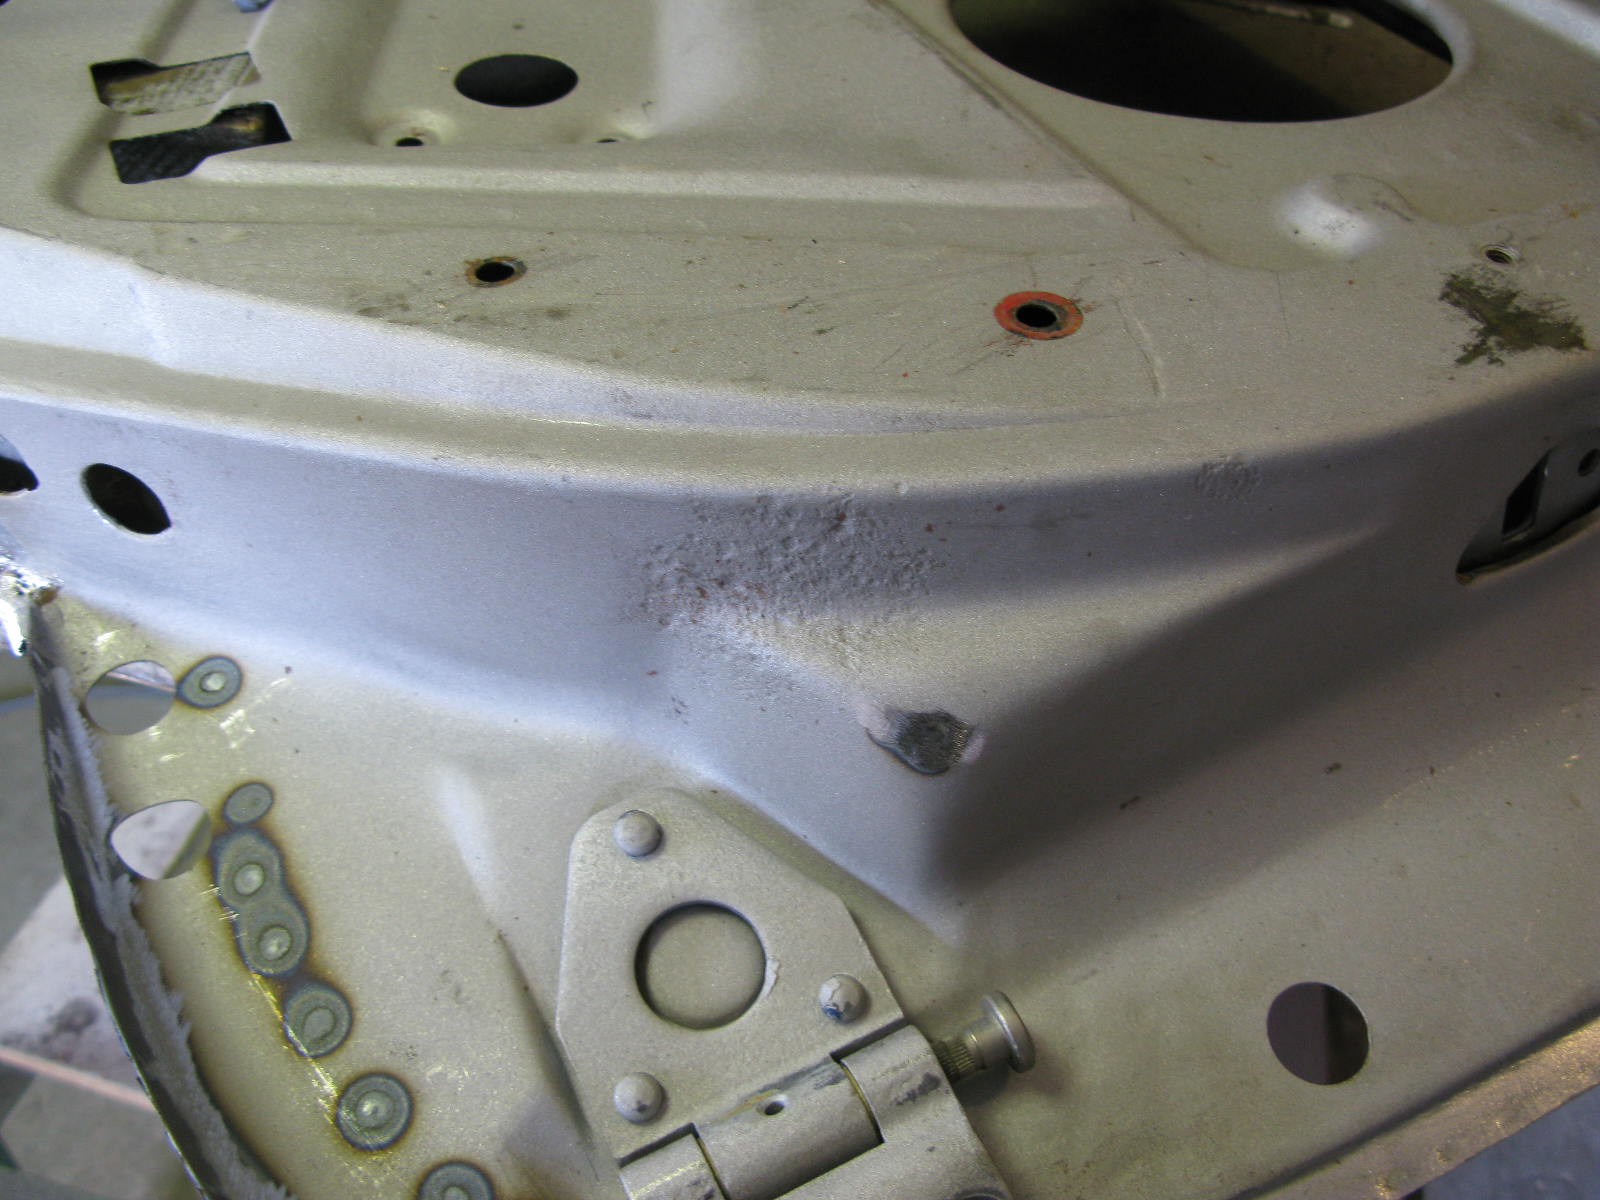
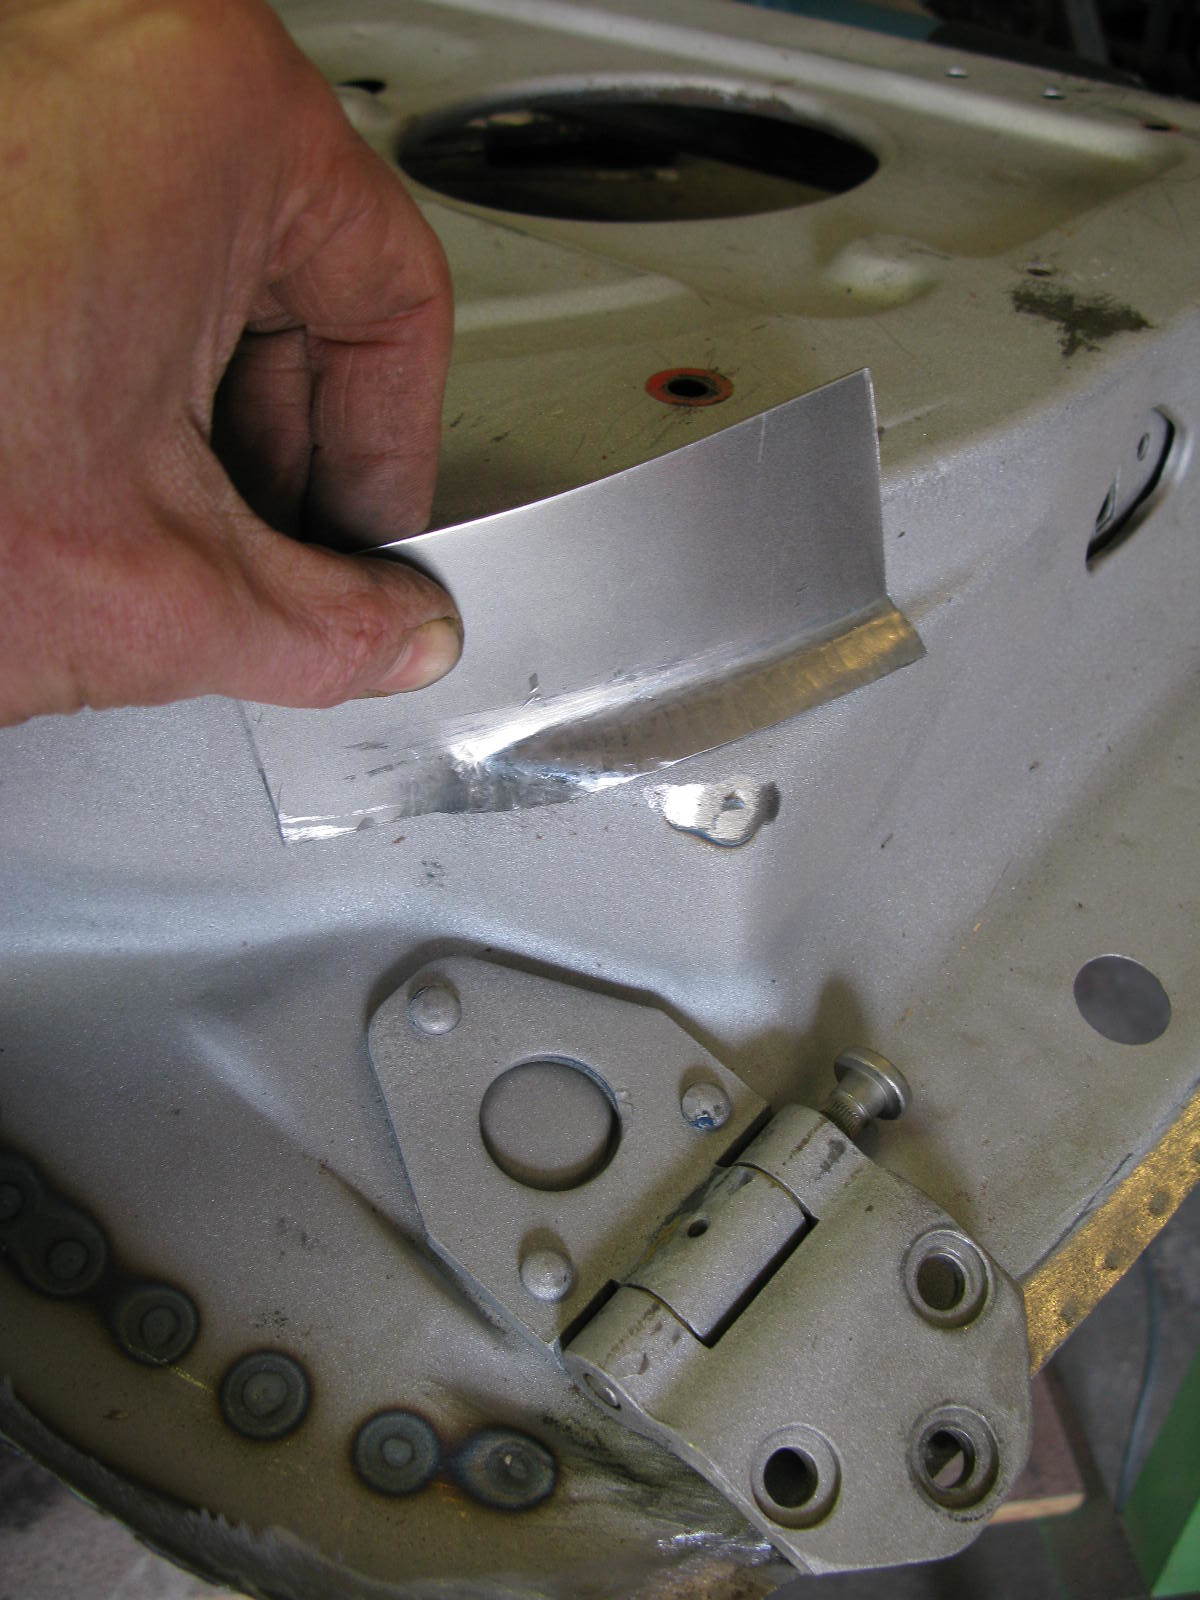
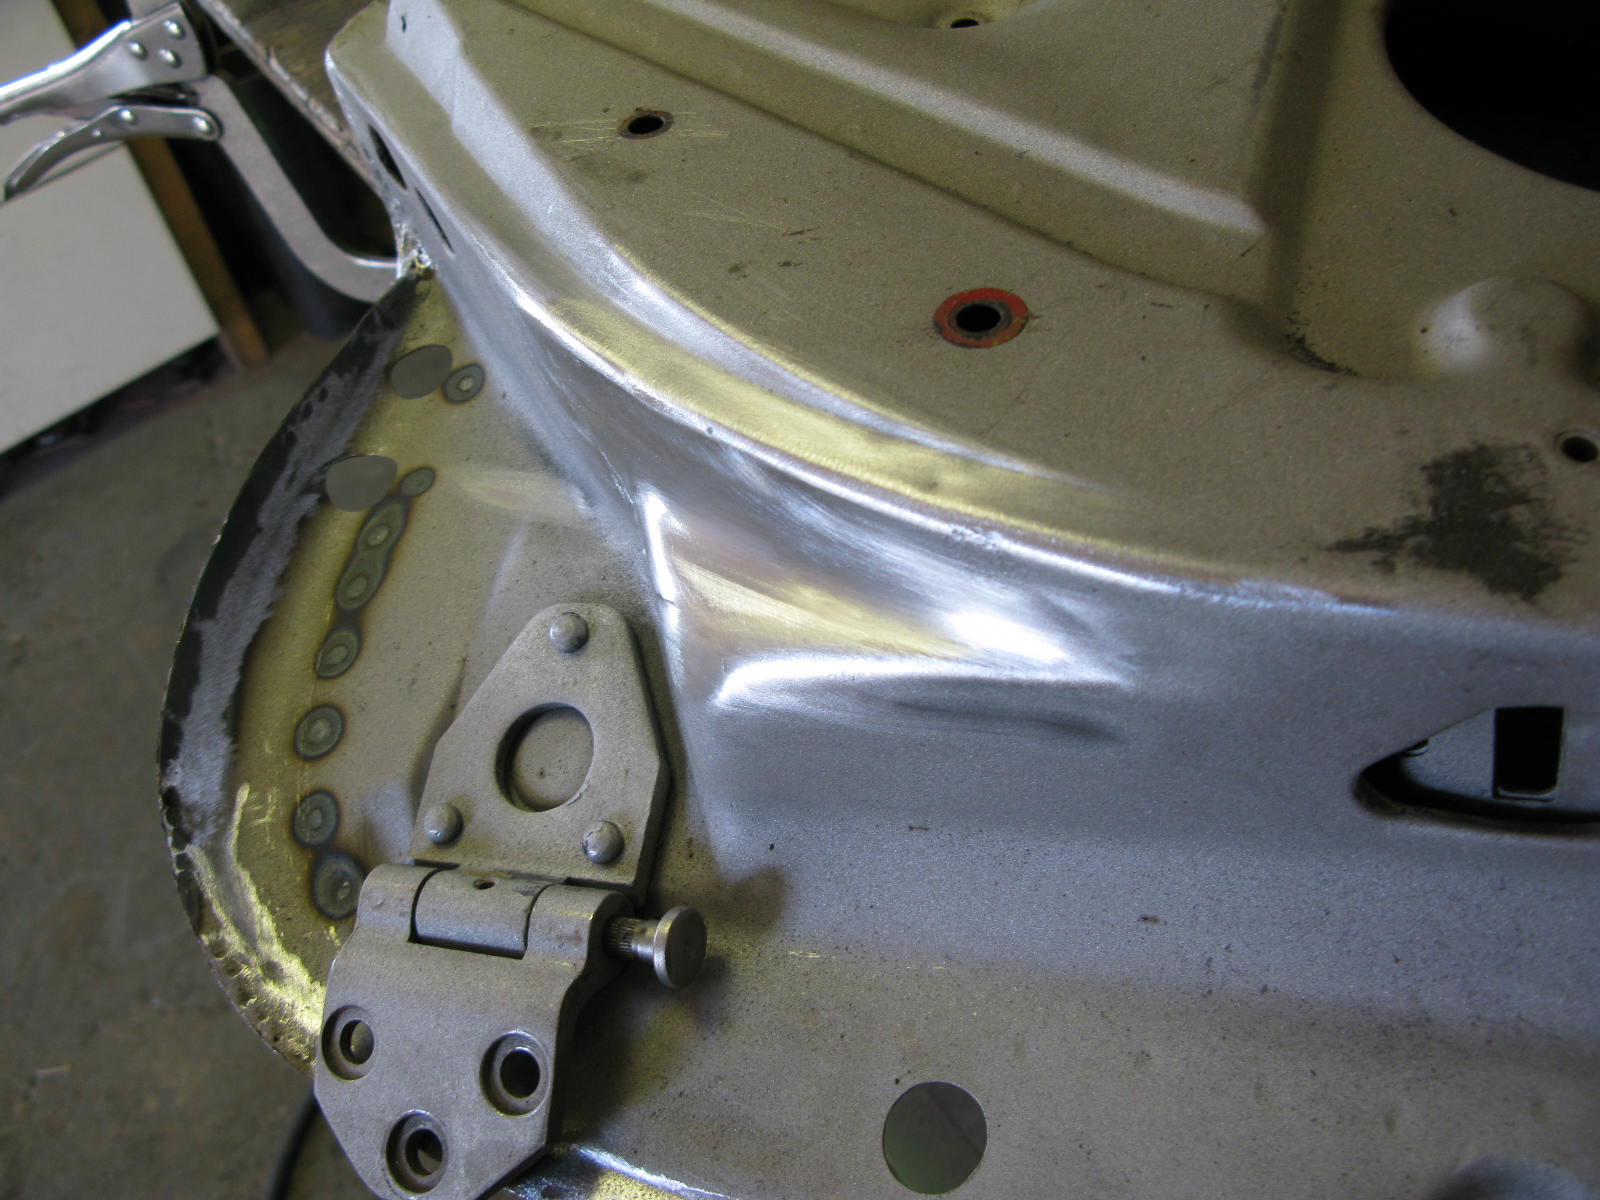
I then used the tool to mark the fold and cut lines, and removed the metal not needed. The flanges were then formed. These terminated right on the vertical flange and would have been a weak-point, so these terminations were TIG-welded solid before sanding back out to blend in everywhere. I also TIG'ed the top seal holder on where the factory welds had already failed, as well as reinforcing various slip areas. The panel in places was paper-thin, so this was not a straightforward process!

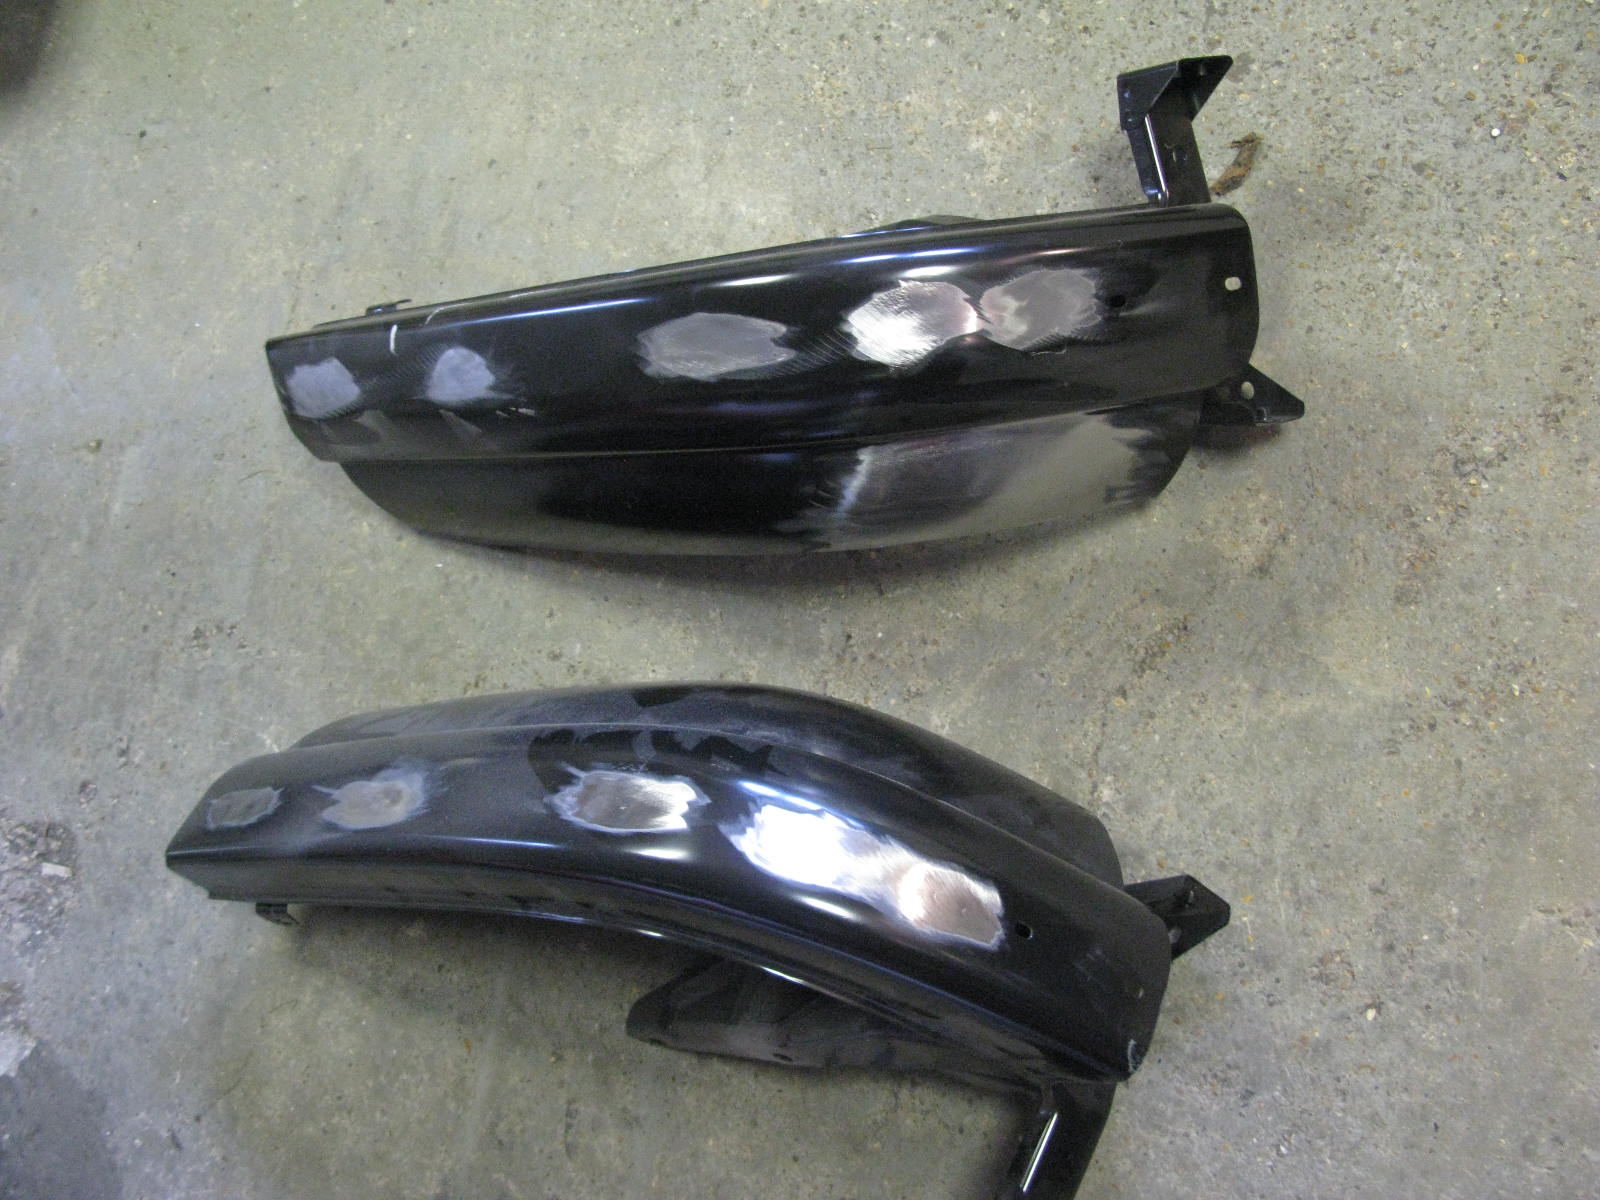
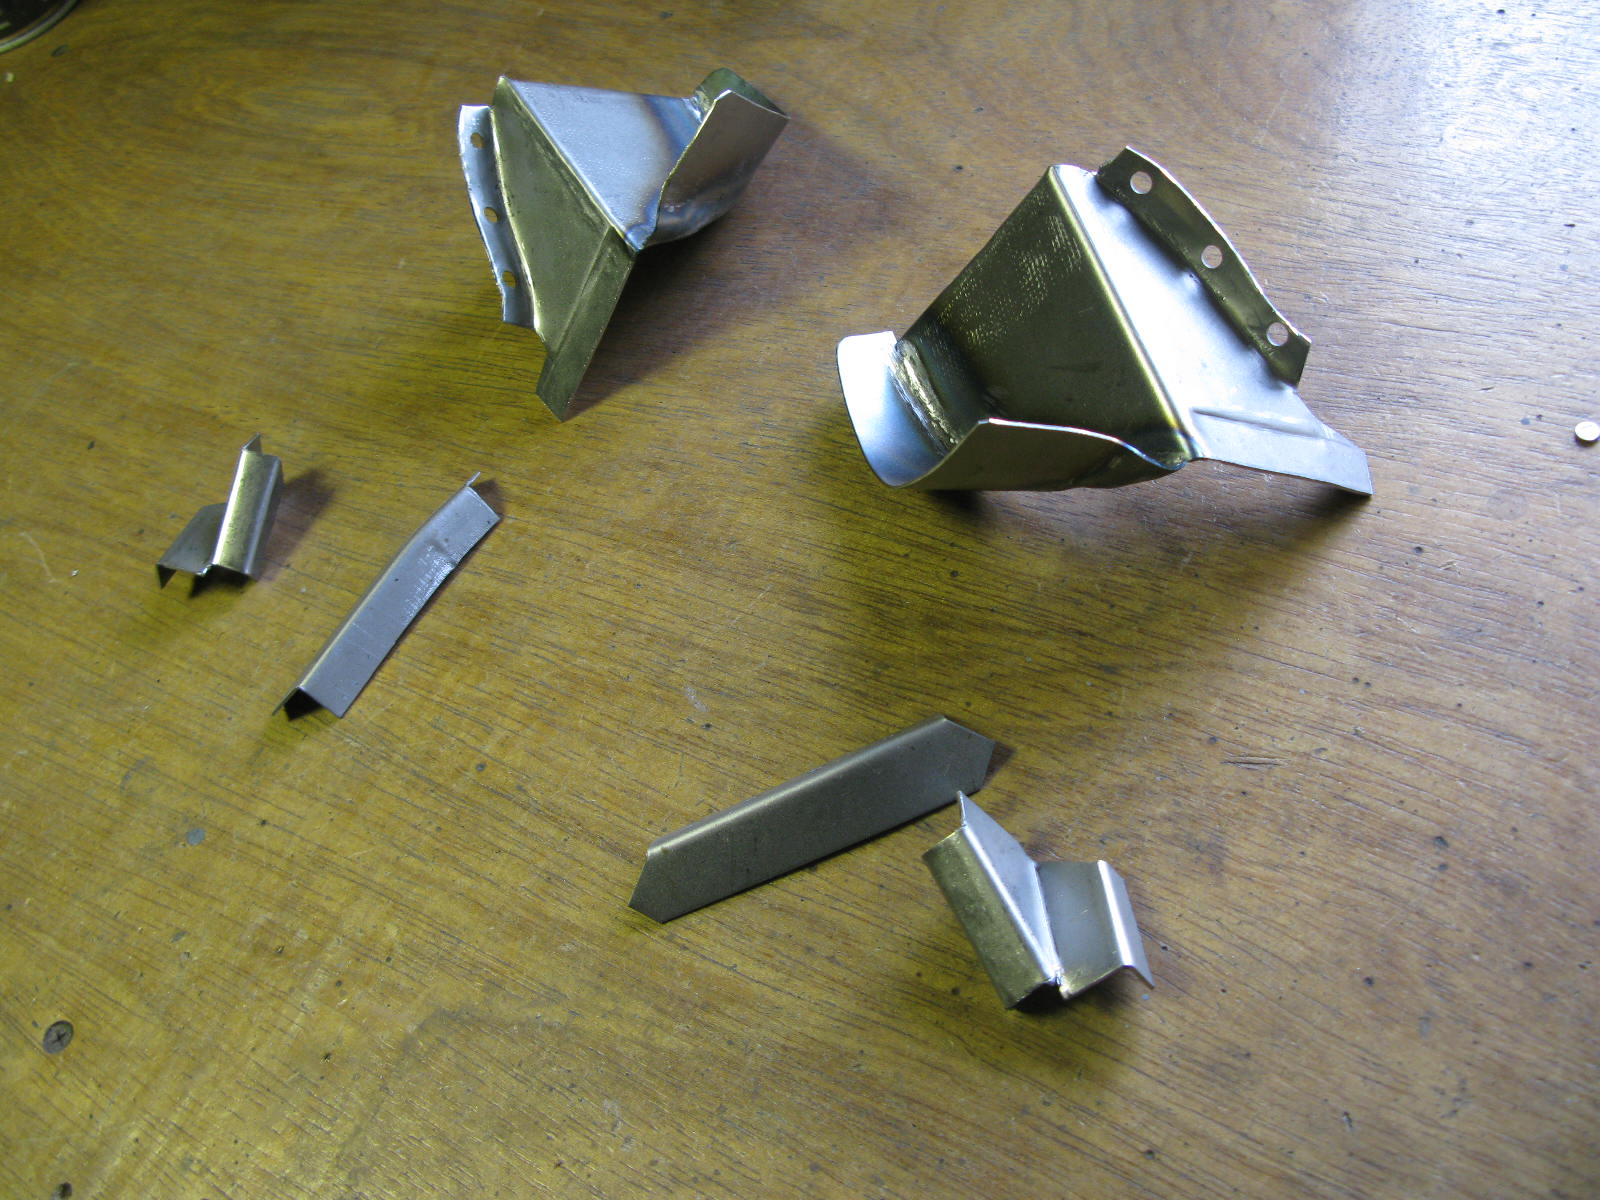
With the main panel modified, I then pondered how to fix it to the two bumperettes. As specified, the exhausts run right through the existing brackets (which by now had been removed). I elected to use some thicker aluminium and fabricated a couple of brackets which were TIG welded into place. These have worked out very well, and have obviously now been drilled as appropriate.

The panel itself also needed quite a lot of basic fettling. They are pretty awful, but cheap and can be salvaged.

PaintRichard FryComment
Rear Bumpers

For various reasons, including a dalliance with some possible aluminium rear bumper corners (that didn't quite work out), I was pretty late getting the rear bumpers and number plate panel to Barry. In the end I bought new (steel) ones from Porsche. Not cheap, but the quality is good.

I asked Barry to do a bit of sports purpose modification before they went to paint:

Oooh yeah, I'm so creative. Surrey Outlaw styleeee:

DSC_6022_crop.jpg
PaintRichard Fry
Painter

My car will be painted by DC Coachworks in Hastings. They've done quite a few Barry shells in the past, which is an advantage. The required standard is understood, and they know they will get a decent base to work from.

As well as old Porsches, DC seems to do quite a lot of work for well-known Ferrari and Jaguar restorers. Steve at DC shared some photos of previous projects:

That 250 is my personal favourite. Here's my car, in good company, ready to start next week:

And it's Goodnight from Barry - Shell Complete

So that's the shell done. Next stop paint.

Front Wings

Original front wings were used. A set came with the car, and they cleaned up very nicely.

The RH wing needed a repair in the headlamp bowl area. Barry said:

I think this is my favourite repair on the whole car. Technically it's one of the hardest.

Once done, the various issues with the headlight fit were overcome, and a smidge of lead added to the wing to deal with the indicator fit. As I said before, woe betide anyone temped to use filler here, it'll end in your tears and their laughter should you dink it revealing a blob of plastic under that lovely paint.

Gapping and Visit

I'm not sure what to say about gapping. It seems to be a painstaking 3D jigsaw puzzle, where getting one piece in place sometimes dislodges another.

Anyway after various iterations and a lot of patience, my shell was looking pretty good. I had a chance to visit in person and take a few photos - see what you think.

Gapping - heavy lump experiments: Results

So we tried it out. Using two imperial units of mass - the Barry and the Sandbag.

Barry's report on the experiment:
With the assistance of one of my workshop neighbours we measured, using a digital vernier, the door gap change just above door handle height.
I sat (feet dangling) on the rear slam panel with my sandbag in hand. This combination weighs in at 89kilos (72 for me, 17 for the bag). The centreline of the rear panel is around 125mm rearwards of the rear engine mount centreline, so we've gone quite a bit over the calculated weight.
...which you will remember was 80kg ish.

Results:
The total movement was .22 of a mm.
I have to say, when you lean on the rear slam of your car, you'd swear the rearmost brackets were still in. You just can't feel any notion of motion as one might say.

Conclusion:
It's always been Barry's practice to have the top door gaps a tiny bit tighter than the bottoms. They only ever go out at the top when loaded up with drivetrain, when well-used, etc. Apparently the official Porsche manual says that too.

So that's enough. The very small movement is taken care of by the usual procedure. No weightlifting action required at the painters.

Gapping - what about that big heavy lump in the back?

As the metalwork drew toward a close, and thoughts turned to paint, gapping became a bit of a pre-occupation. More on that later, but I wanted to share the results of a little experiment.

One Porsche painter said to me that they prefer to re-gap with the engine and gearbox in the car. In their view, on some cars, the door gaps move quite a lot when that lump of mass is added, and they like to compensate. That got us thinking. Barry hadn't heard of any painter doing that sort of pre-loading on one of his shells but, as you might imagine from someone whose email address is doorgap@, he wasn't inclined to let it lie.

So we did a little experiment. First: find the required mass we could hang off the rear engine mounts to simulate the engine and gearbox in their correct places. A few calculations and...

... we concluded that hanging 80Kg off the rear engine mounts, with the front engine / gearbox mounts attached to the jig, would be a close enough simulation.

So after the first proper round of gapping, with everything looking quite nice, we tried it out.

Sill Closers and Oil Pipes

The 2.2 wouldn't have had sill closers to the front originally, but they are a no-brainer. They help keep the road muck out of the sills, fully box them and are hardly visible when the car is built.

The 2.2S is complicated of course by having those oil pipes, so there has to be a compromise on the sill closer to this side. Even so, it can't help but stiffen the whole structure up.

To the rear, a kidney bowl has to be modified to allow the oil pipes through. We put a tiny flare on the top of the metal, so a) there's no chance of it fretting the pipes, and b) it gives somewhere for the bead of sealant to sit neatly.

With the oil pipes, kidney bowls, jacking points and reinforcements plus those closers all in place, the outer sills could be welded in.

LH Door Rebuild

Same as the other side, although on this side the frame needed fewer repairs.

RH Door Rebuild

With the car dry assembled to the doors as supplied, the door could be removed, and the skin safely stripped away, safe in the knowledge that all references are in place.
This door was pretty mucky inside, and needed a few frame repairs.

Barry: With the frame repaired, and multiple test fits to the aperture (as they move a lot during the repairs, hence why it's critical to have your shut-hole all ready pre-aligned), the door could be prepared for the new skin.
Again, after multiple fittings, the skin could finally be tweaked over and welded into place. When they go well, they are a very rewarding panel to see back on the car. There are multiple ways of royally cocking it right up though, so it's always a relief to get the doors fitted for the last time.

Original Paint

A couple of pics from the workshop that I enjoyed receiving.

The original paint code plate on the A-post was very much the worse for wear when I got the car. But it survived all those years, including during blasting, protecting a little patch of paint.

Lovely - it has its original colour and still a bit of shine. So that's the paint formulation sorted. Whatever matches that square is correct, as far as I'm concerned.

By the way we're not stripping that original bit off. Will mask it up during the paint process so it can go back under the replacement paint code plate in the end.

A(nother) Cautionary Tale: Bonnet

I think we have fully established on this build that anything with a layer of primer on it must be assumed to be crappy. Nevertheless, today's nasty surprise was actually surprising. Surely the bonnet, which has been sitting there innocuously in its grey primer for 2+ years, looking for all the world like a new one, was above suspicion?

Er, no... This morning's 07:25 email from Barry read as follows:

Bad news on the bonnet I'm afraid, it's toast, or at least is as far as a high standard restoration like yours is concerned.

It's been well dented, and poorly pulled out. Probably more seriously, it's got a nasty pitting to much of the area I've stripped, possibly it's been crudely repaired and then left in bare filler in the damp? Either way the conclusion is the same, we need a new bonnet.

Balls. Another £1560.24 to Porsche.

Here's how that cautionary tale looks in photographic form.
Bonnet, as bought (with car):

Looked quite nice. Reality, as revealed this morning: